Selenium Webdriver on Windows
Table of Content
Launch Selenium Webdriver on Windows
Connect to your VM
Run our sample code and develop your own scripts
Troubleshooting
Launch Selenium Webdriver on Windows
Navigate to our listings page Selenium Webdriver on Windows on Azure Marketplace.
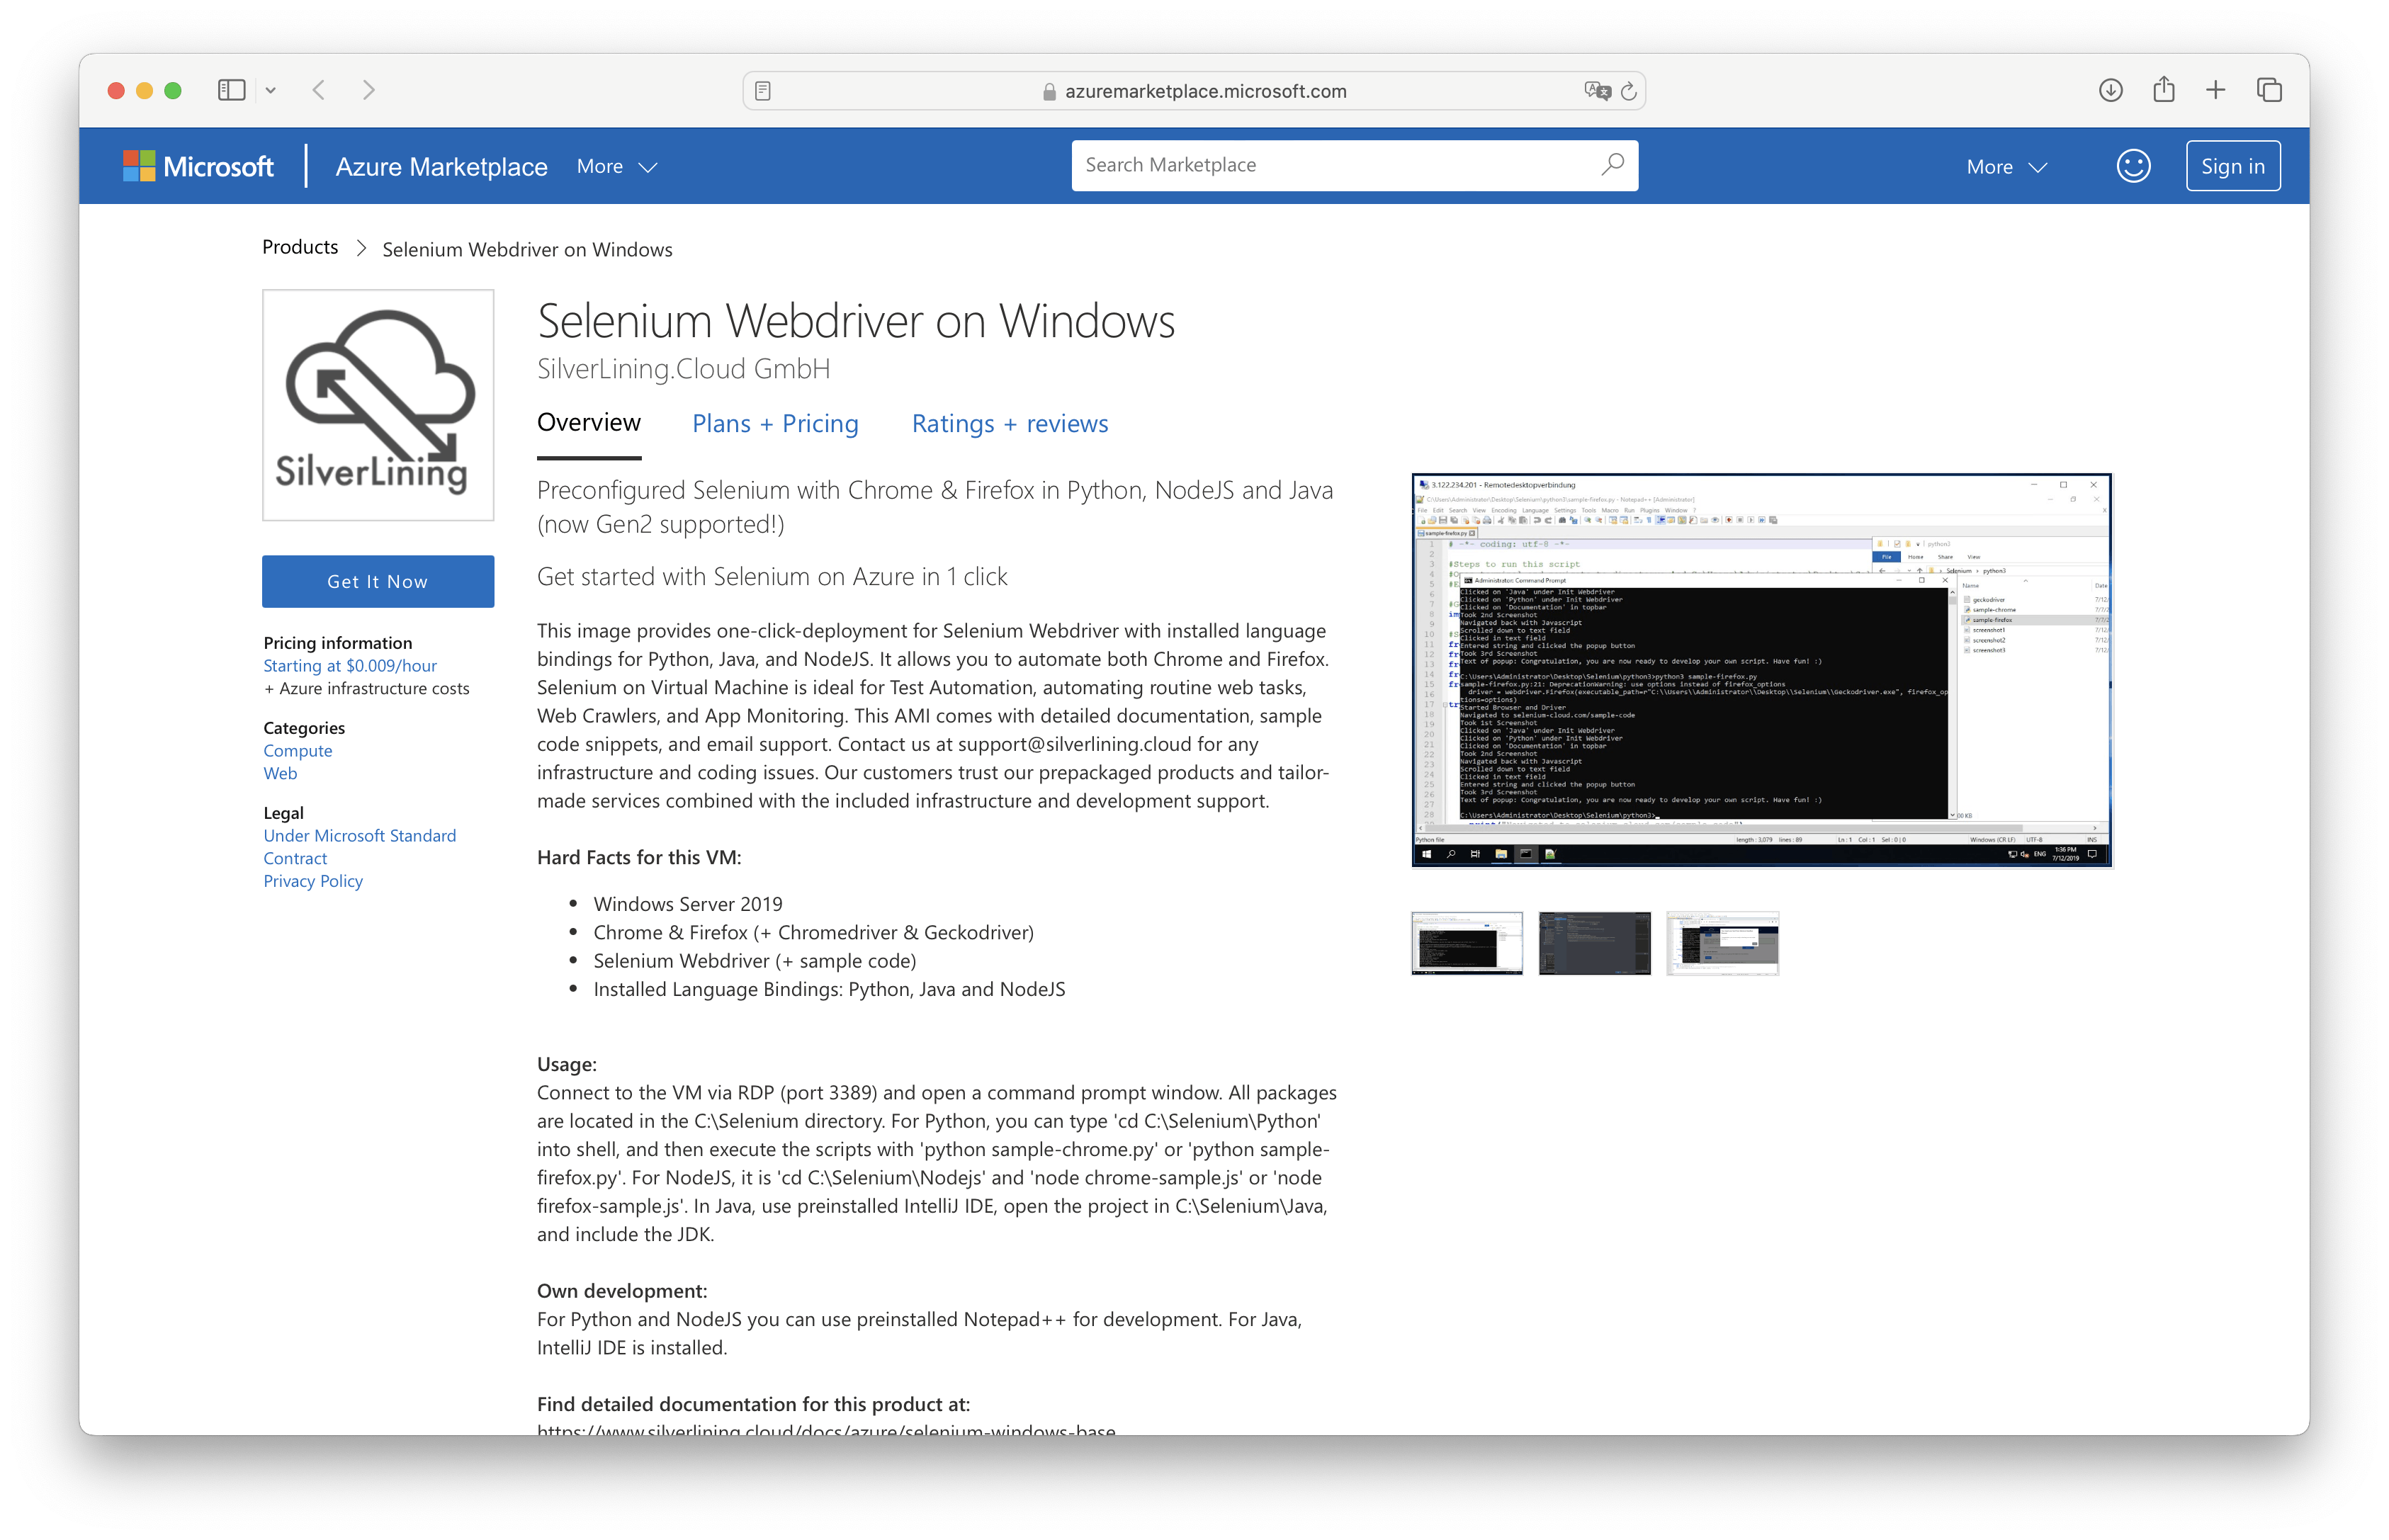
Click on "Get it now" to initiate the launch dialog.
On the "Create a virtual machine" page, enter a username for the virtual machine (e.g., "azureuser") and a password.
Review the settings and proceed to create the virtual machine.
Connect to your instance via RDP
Please refer to the 'Launch and Configure' section above before proceeding with this part. For the RDP/VNC connection, you will need the username and the password you created in the Azure portal.
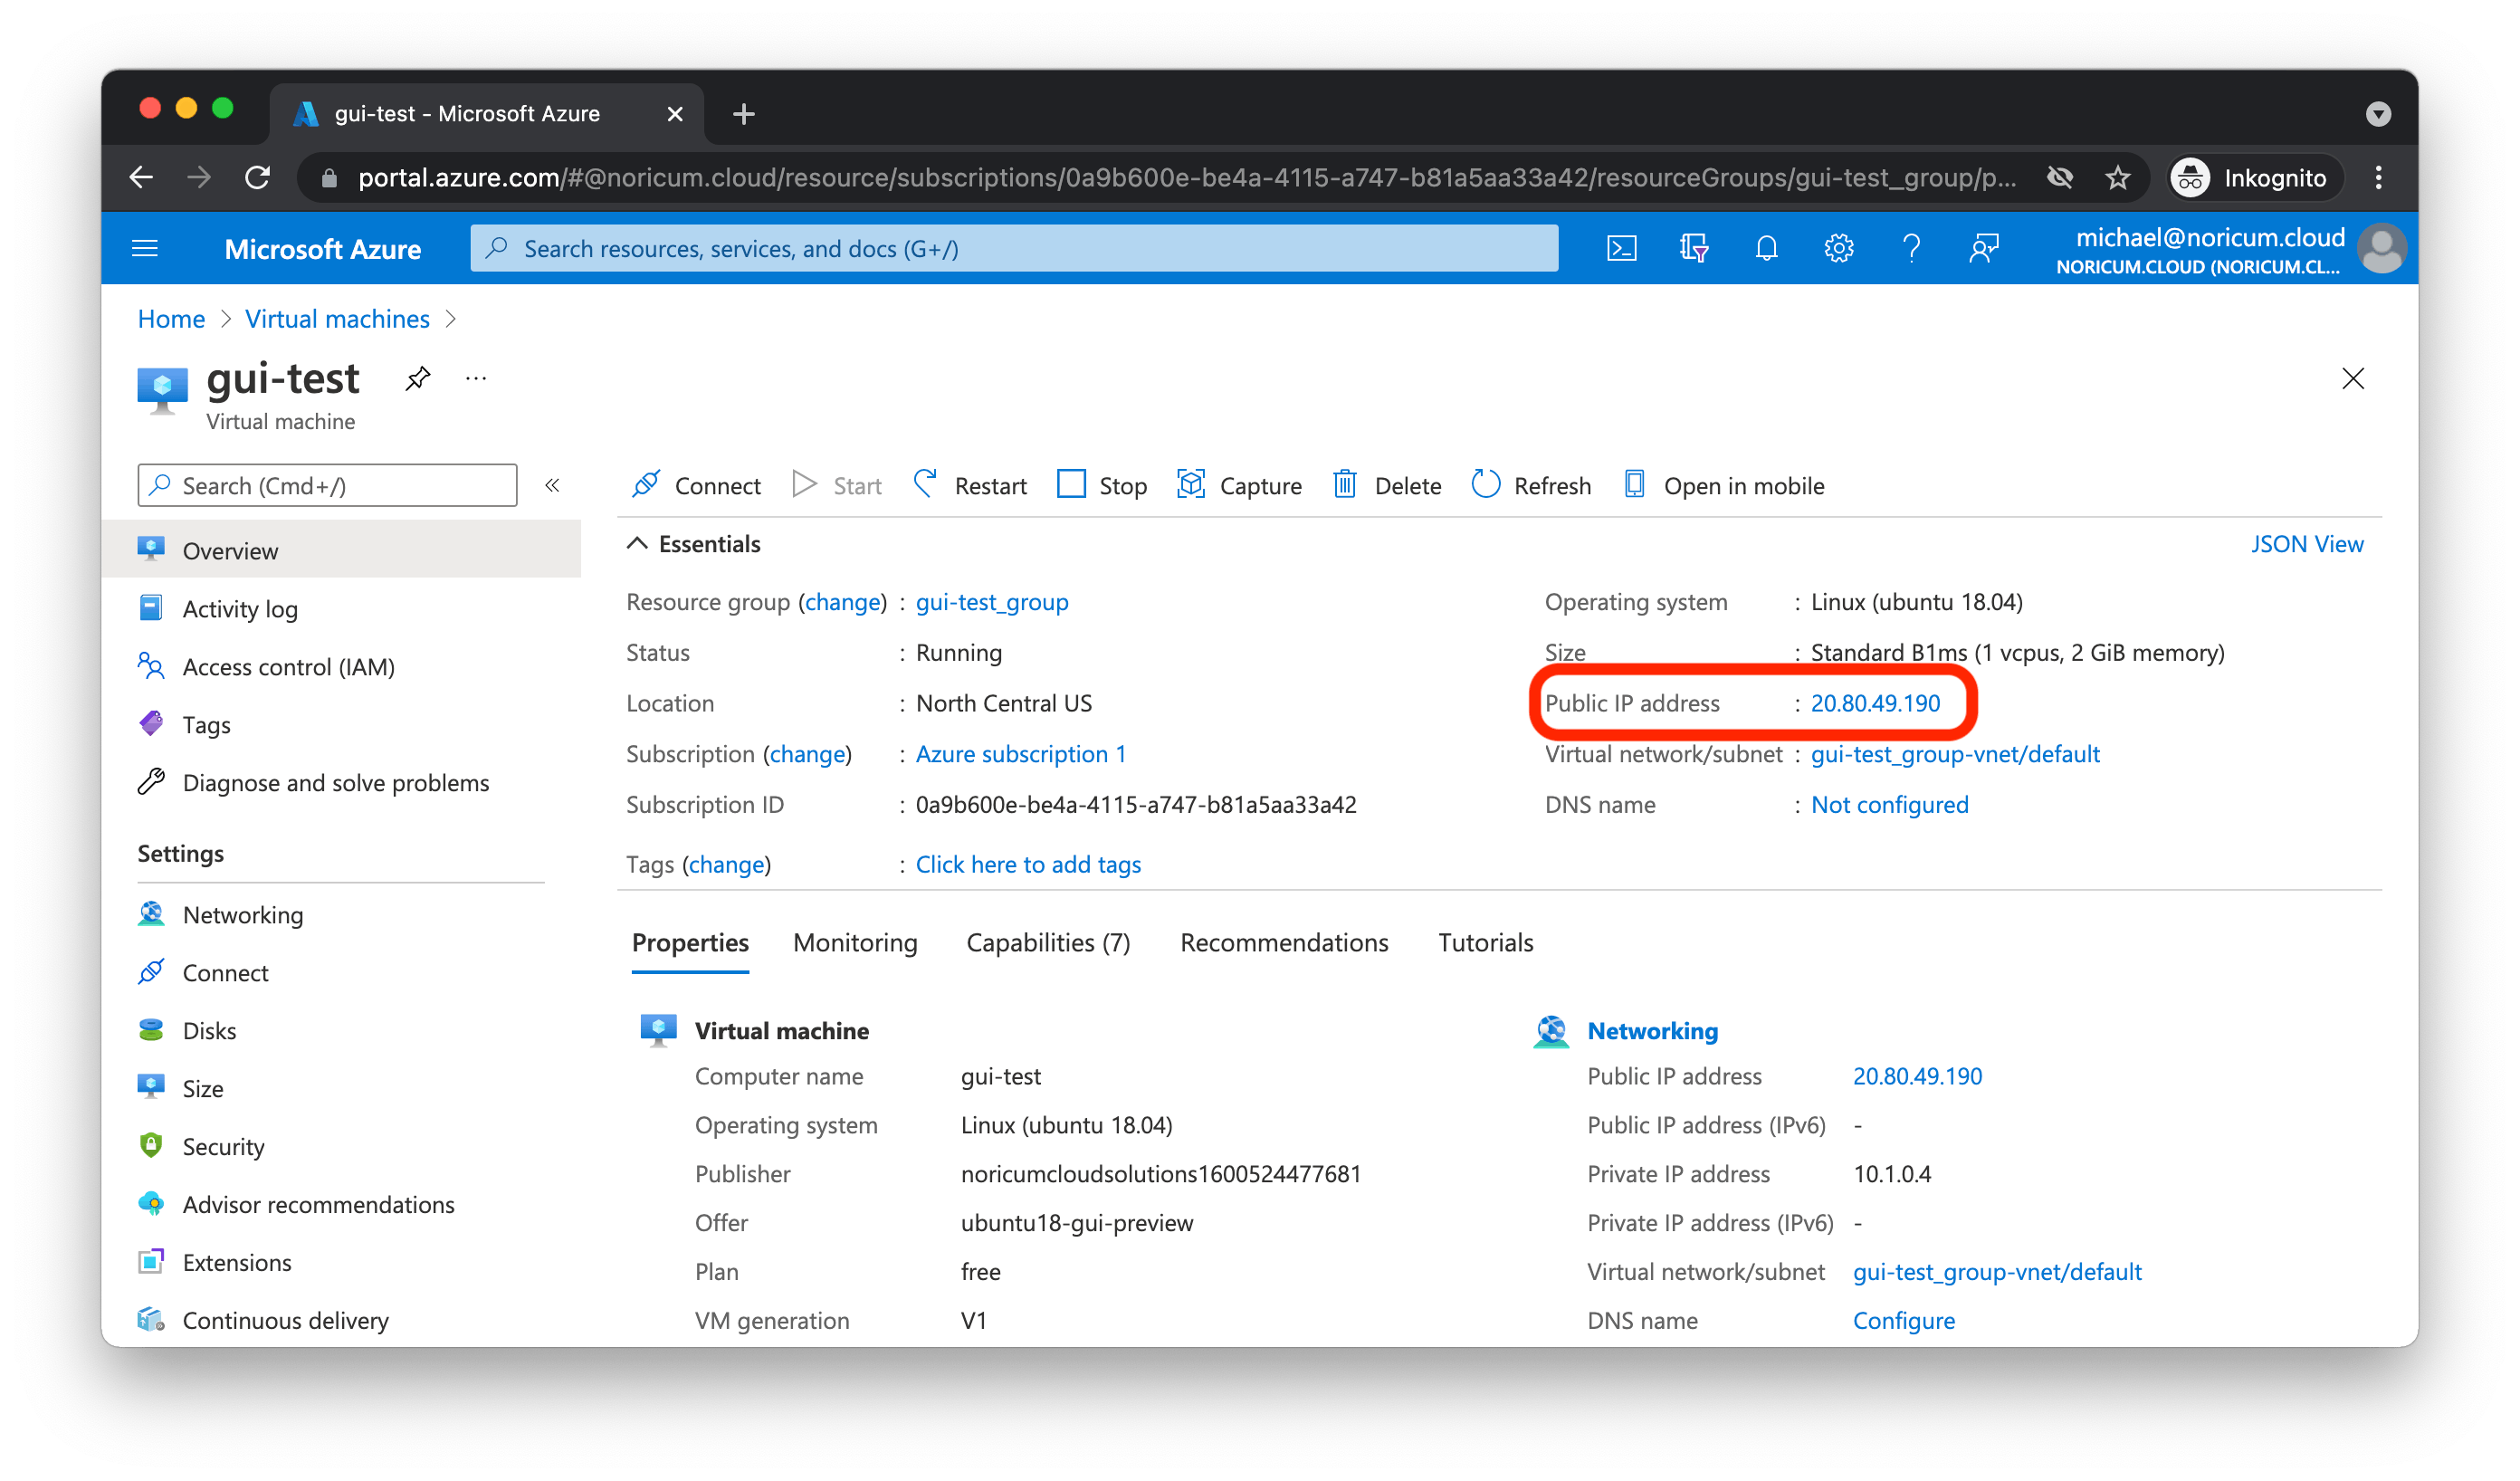
Obtain the public IP address of your Virtual Machine:
Open 'Remote Desktop Connection' and connect using the public IP address of your virtual machine.
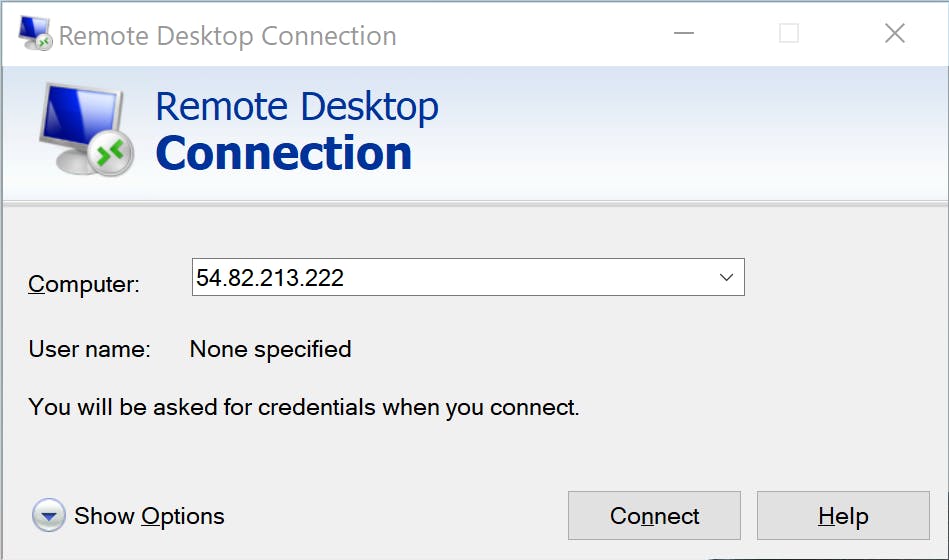
When prompted, enter the username and password you specified during the launch of the virtual machine.
Run our sample code and develop your own scripts
Connect to the instance via RDP and log in as the user you created in the Azure Portal.
Open Visual Studio Code from the desktop.
In Visual Studio Code, go to the Explorer tab on the left panel and click "Open Folder". Navigate to and open the Selenium folder located at "C:\Selenium".

Open the Python folder and open either sample-chrome.py, sample-firebox.py or sample-edge.py.
Install the required Python extension.

Run a script by clicking Run and then Start Debugging. When prompted, select Python Debugger as the debugger and choose the currently active Python file to debug.

Note: The first execution after startup is typically very slow, especially on instances with low memory. There is a chance the browser might run out of memory. Performance should improve over time, but consider using a virtual machine with more available memory.
Troubleshooting
Resolving Copy & Paste Issues
You may experience issues with copying and pasting to and from the virtual machine. Ensure that your local RDP client supports clipboard sharing. If the keyboard shortcuts for copy and paste do not work, try using right-click to copy or right-click to paste.