Selenium Webdriver on Headless Ubuntu
Table of Content
Launch Selenium Webdriver on Headless Ubuntu
Connect to your VM via SSH
Deploy files on your VM remotely
Run our sample code and develop your own scripts
Run Scripts in the Background After Closing the SSH Window
Launch Selenium Webdriver on Headless Ubuntu
Navigate to our listings page Selenium Webdriver on Headless Ubuntu on Azure Marketplace.
Click on "Get it now" to initiate the launch dialog.
On the "Create a virtual machine" page, enter the username for the virtual machine (e.g., "azureuser"). Set up an SSH key file or use password authentication.
Review the settings and proceed to create the virtual machine.
Connect to your VM via SSH
Please refer to the official documentation for detailed instructions on how to connect to a virtual machine with SSH.
Open a Command Prompt / Terminal window and navigate to the directory where you have saved the .pem key file, which was created in the Azure portal. You can connect to your VM using the username specified during the virtual machine creation process by executing the following command:
ssh -i <name-of-key-file.pem> <username>@<public-ip>

Deploy files on your VM remotely
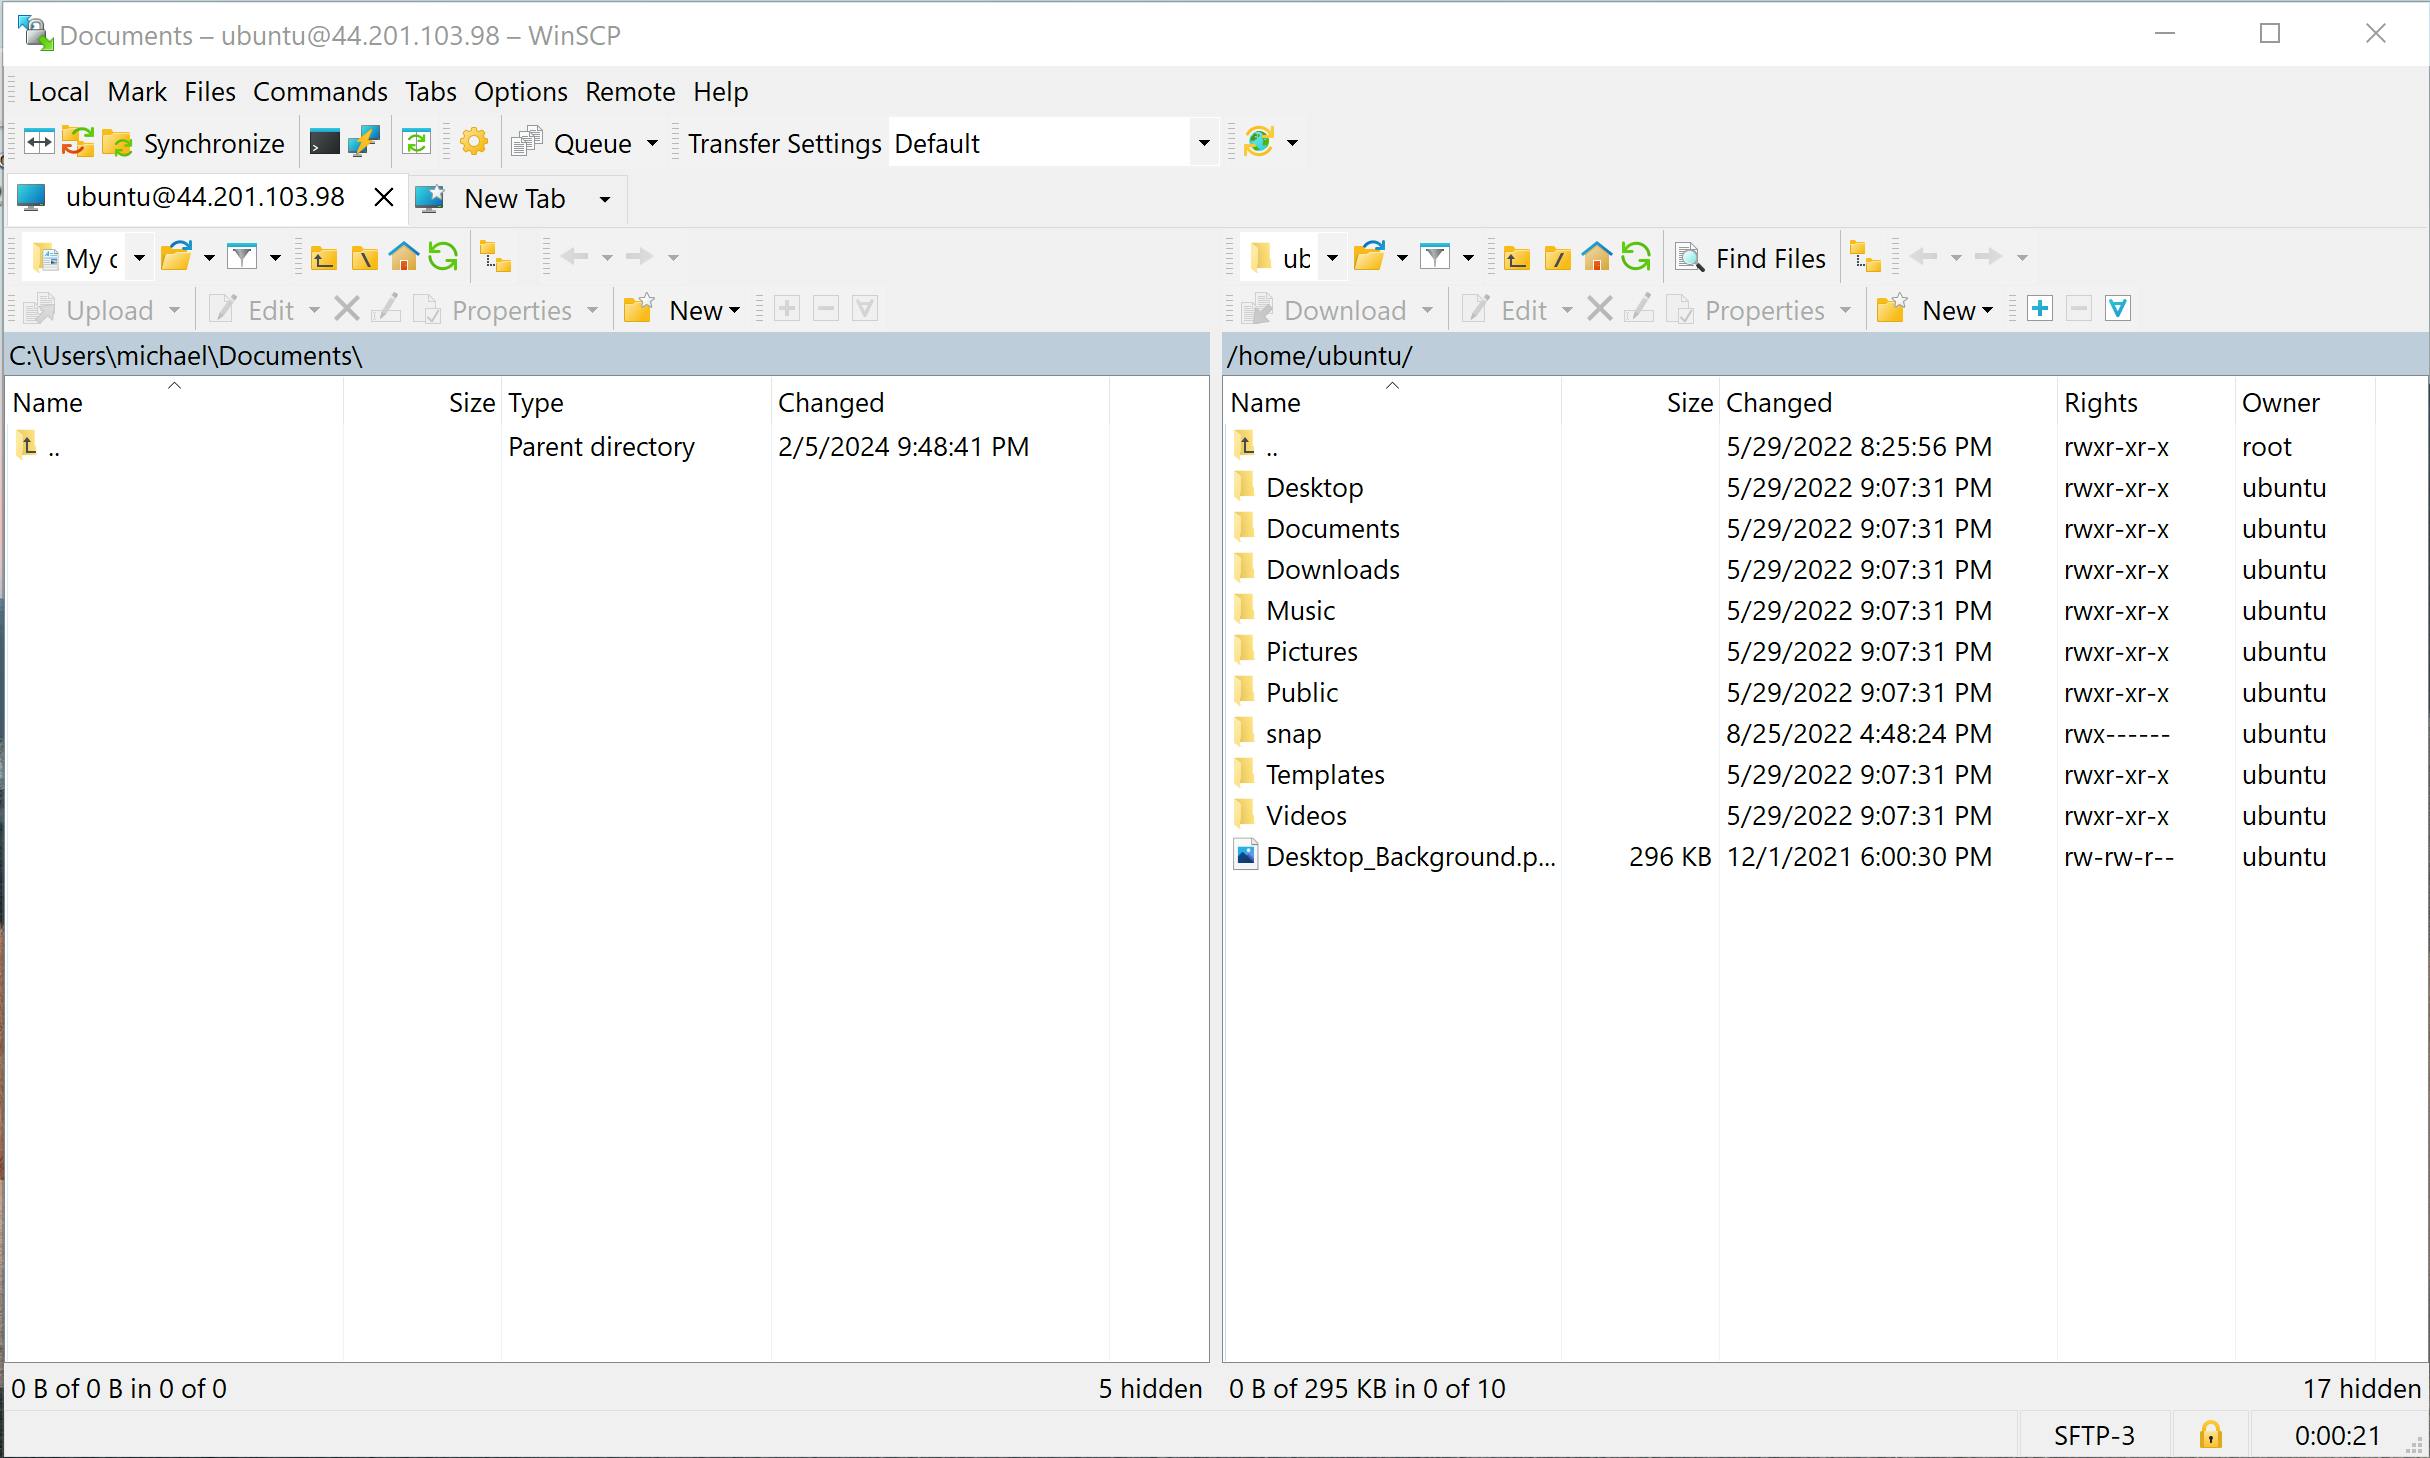
Download and install WinSCP or any other SCP client of your choice.
Choose 'SFTP' as the file protocol and enter the public IP address of your instance, along with the username you specified when launching the virtual machine.
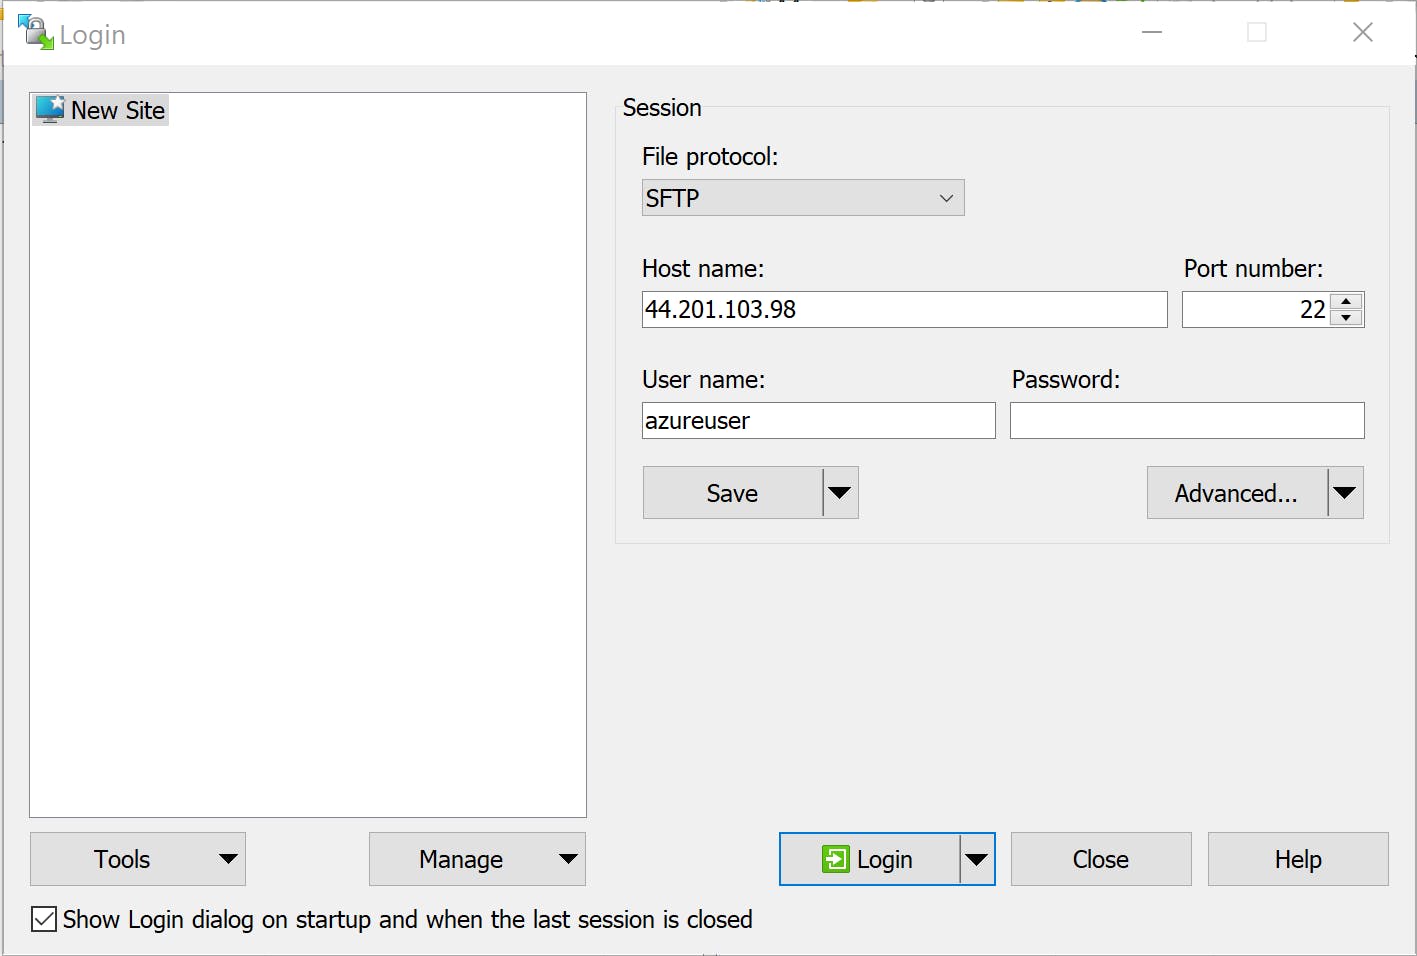
If you opted for password authentication, enter the specified password. Alternatively, if you wish to use a private key file (.pem) that you generated, you can add it by first clicking 'Advanced' and then selecting 'Authentication' from the left-side menu.
Connect to the virtual machine by clicking on 'Login'.
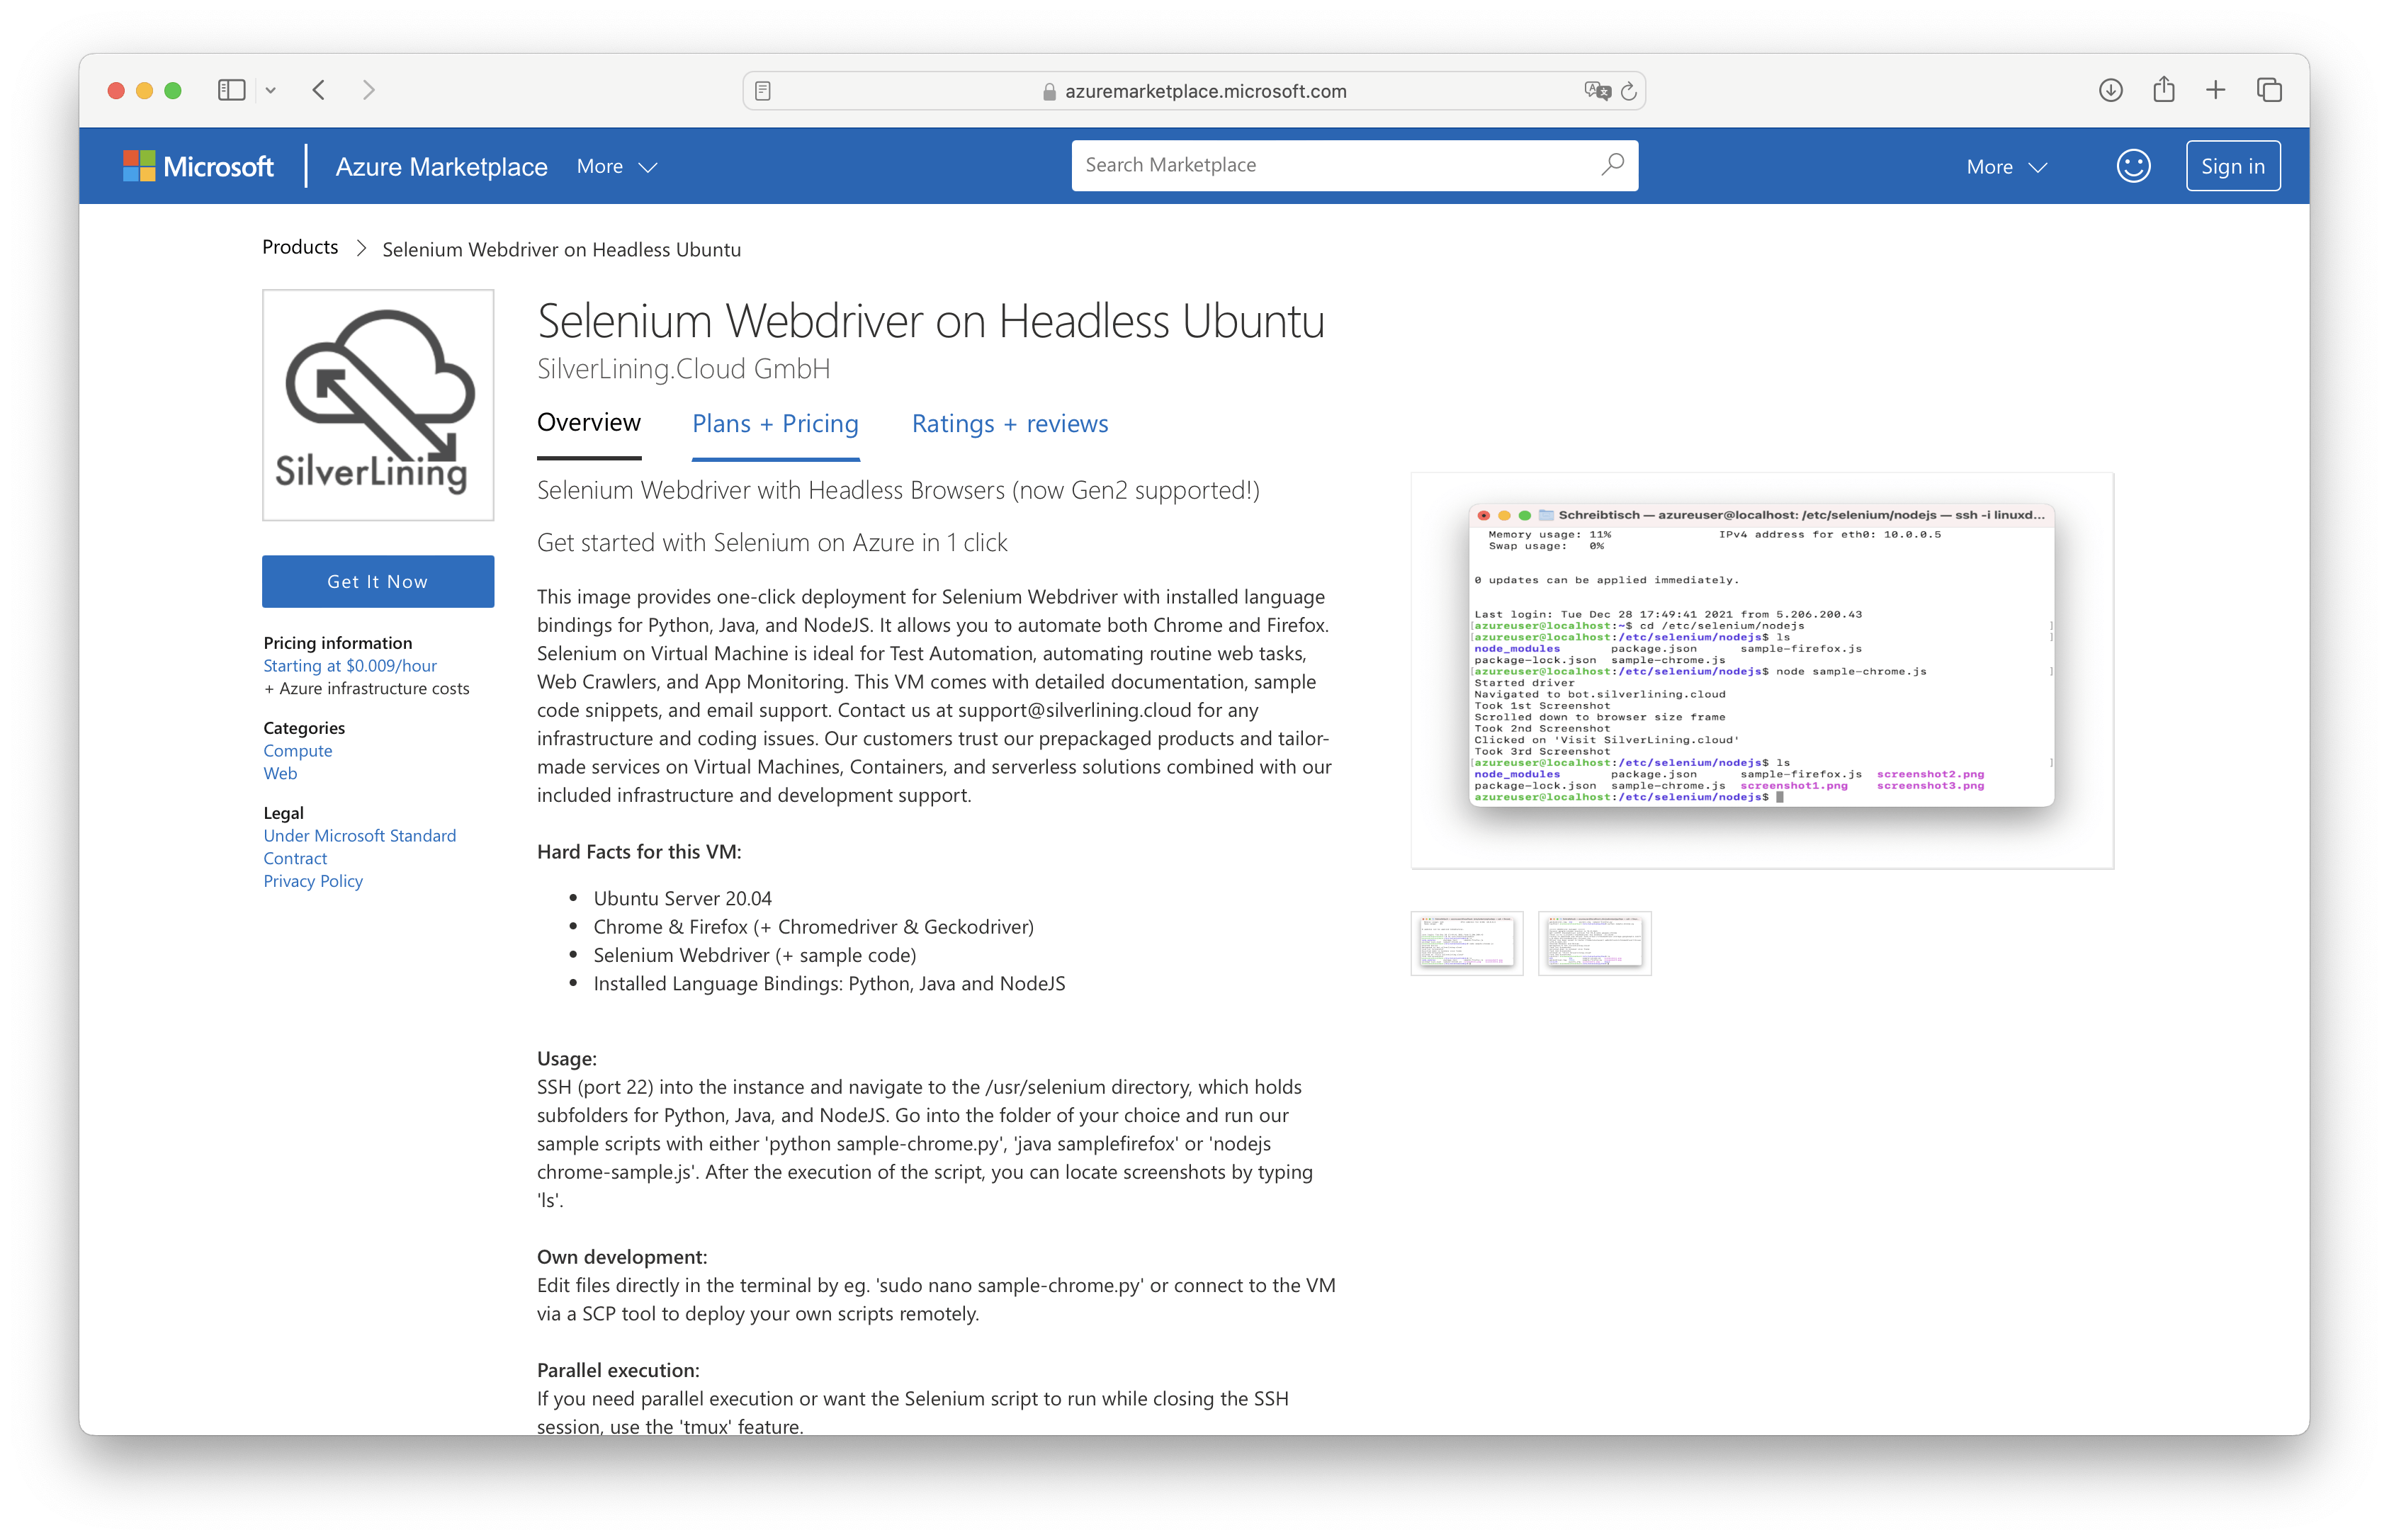
Run our sample code and develop your own scripts
Connect to the terminal via SSH and log in with the user you specified when you created the VM in Azure.
Navigate to the /opt/selenium/python directory by entering:
cd /opt/selenium/python
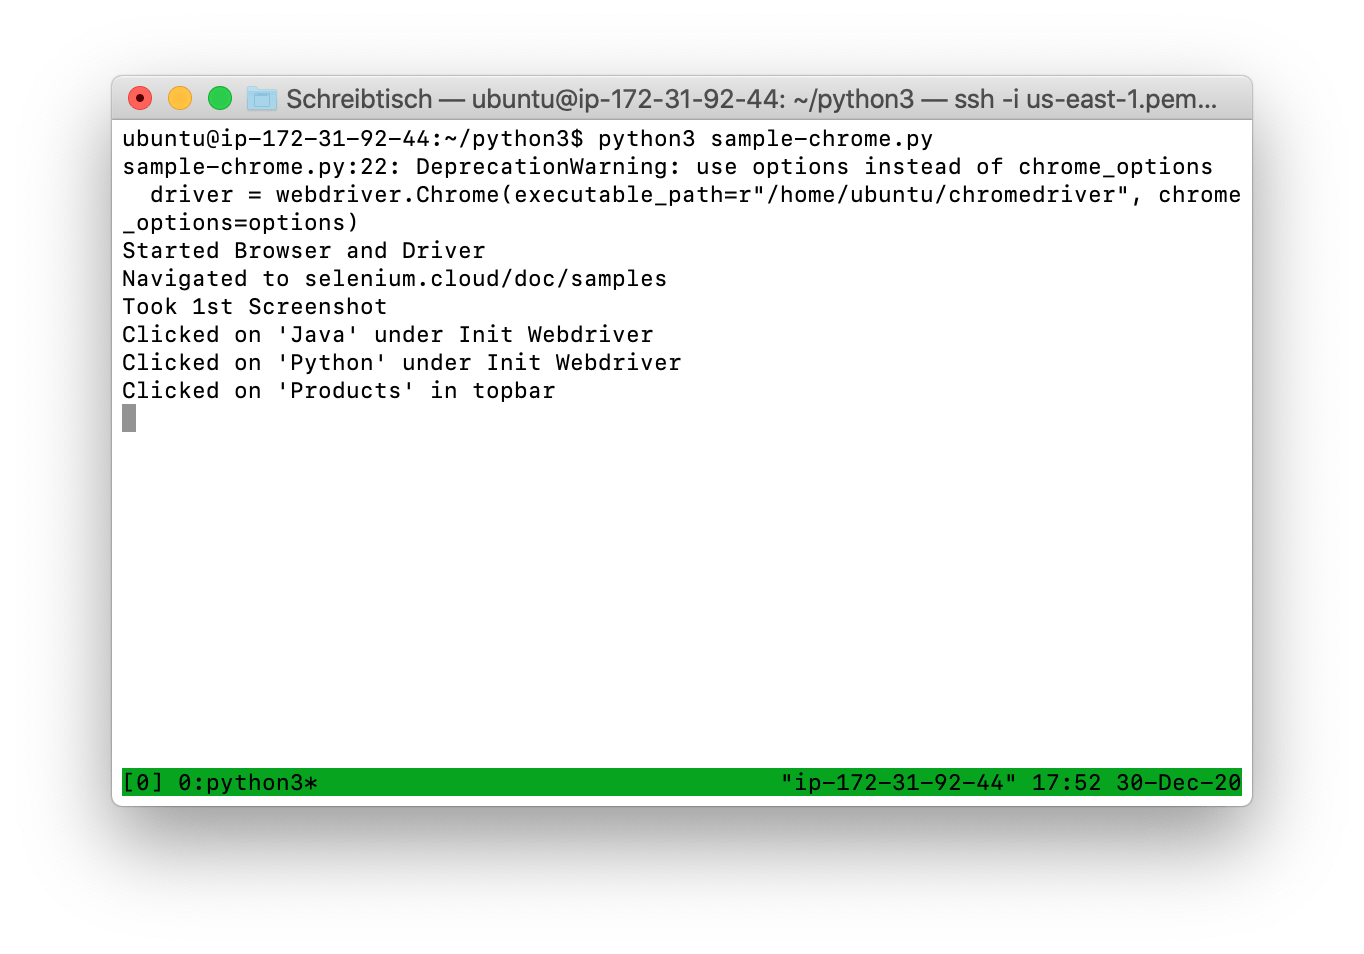
Run the sample code for Chrome with:
python3 sample-chrome.py
Run the sample code for Firefox with:
python3 sample-firefox.py
Run the sample code for Edge with:
python3 sample-edge.py
After a successful run, you will see:

To find the taken screenshot, use:
ls
Edit files with:
nano sample-firefox.py
Alternatively, you can deploy your scripts with an SCP tool.
Run the modified scripts again with:
python3 sample-chrome.py
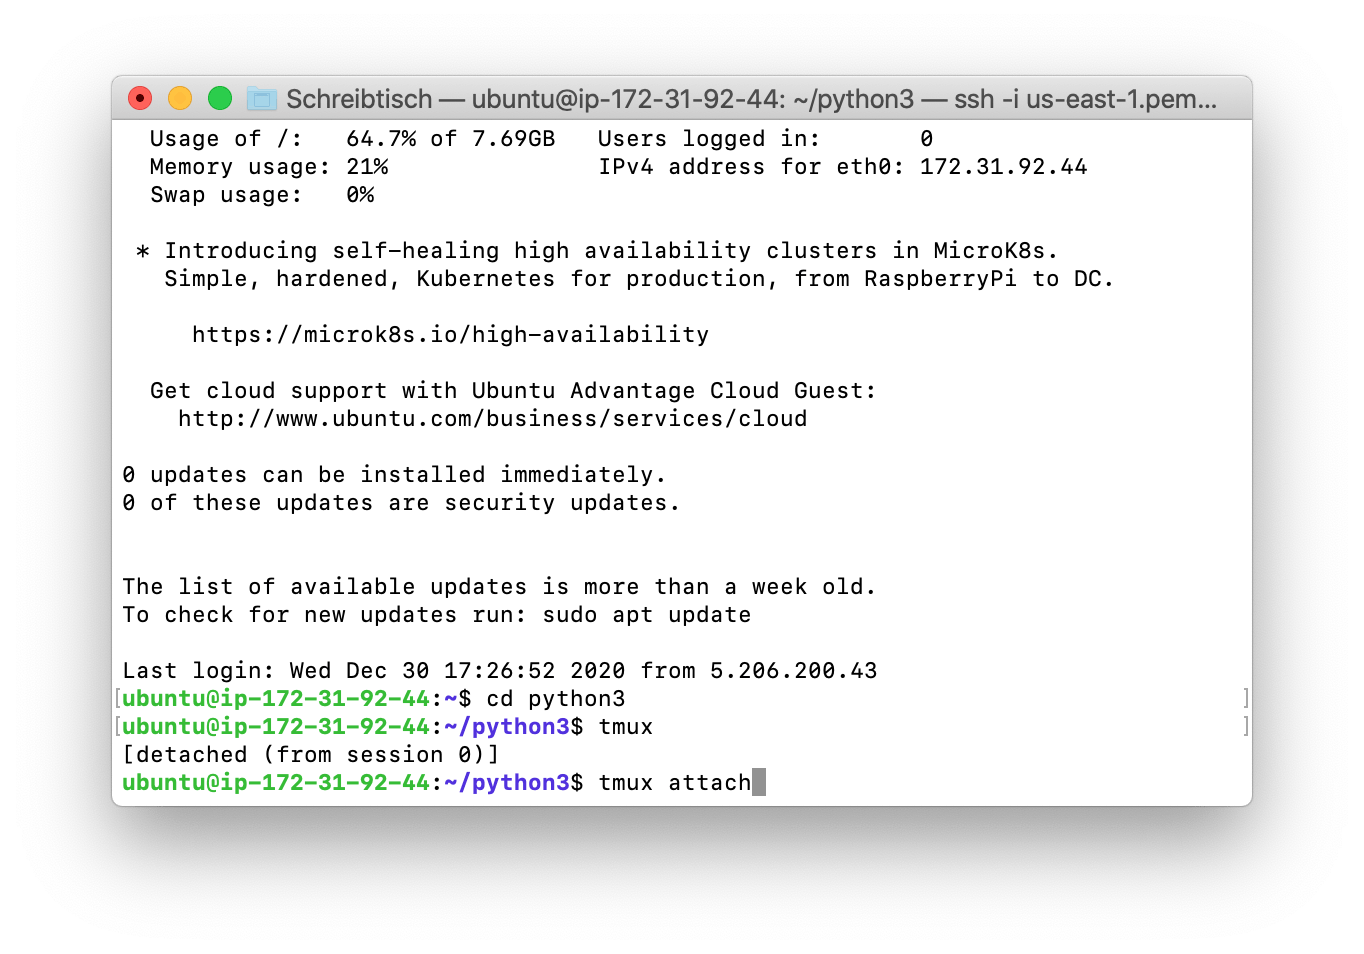
Run Scripts in the Background After Closing the SSH Window
Connect to the terminal via SSH by logging in with your created user account (the default username is 'azureuser'). For guidance, refer to the chapter titled 'Connect to Your VM via SSH'.
Start a new tmux session by entering the following command:
tmux
Start the script you wish to run in the background.
To detach the tmux session while keeping your script running in the background, press CTRL+b followed by d. You can now safely close the SSH session; your script will continue to run inside tmux.
To resume your tmux session at any time, use the command:
tmux attach