Selenium on Azure Functions
Table of Content
Subscribe to Selenium on Azure Functions
Connect to the deployment VM
Deploy Selenium on Azure Functions
Run Selenium on Azure Functions
Subscribe to Selenium on Azure Functions
1. Go to the listings page Selenium Webdriver on Windows on Azure Marketplace.
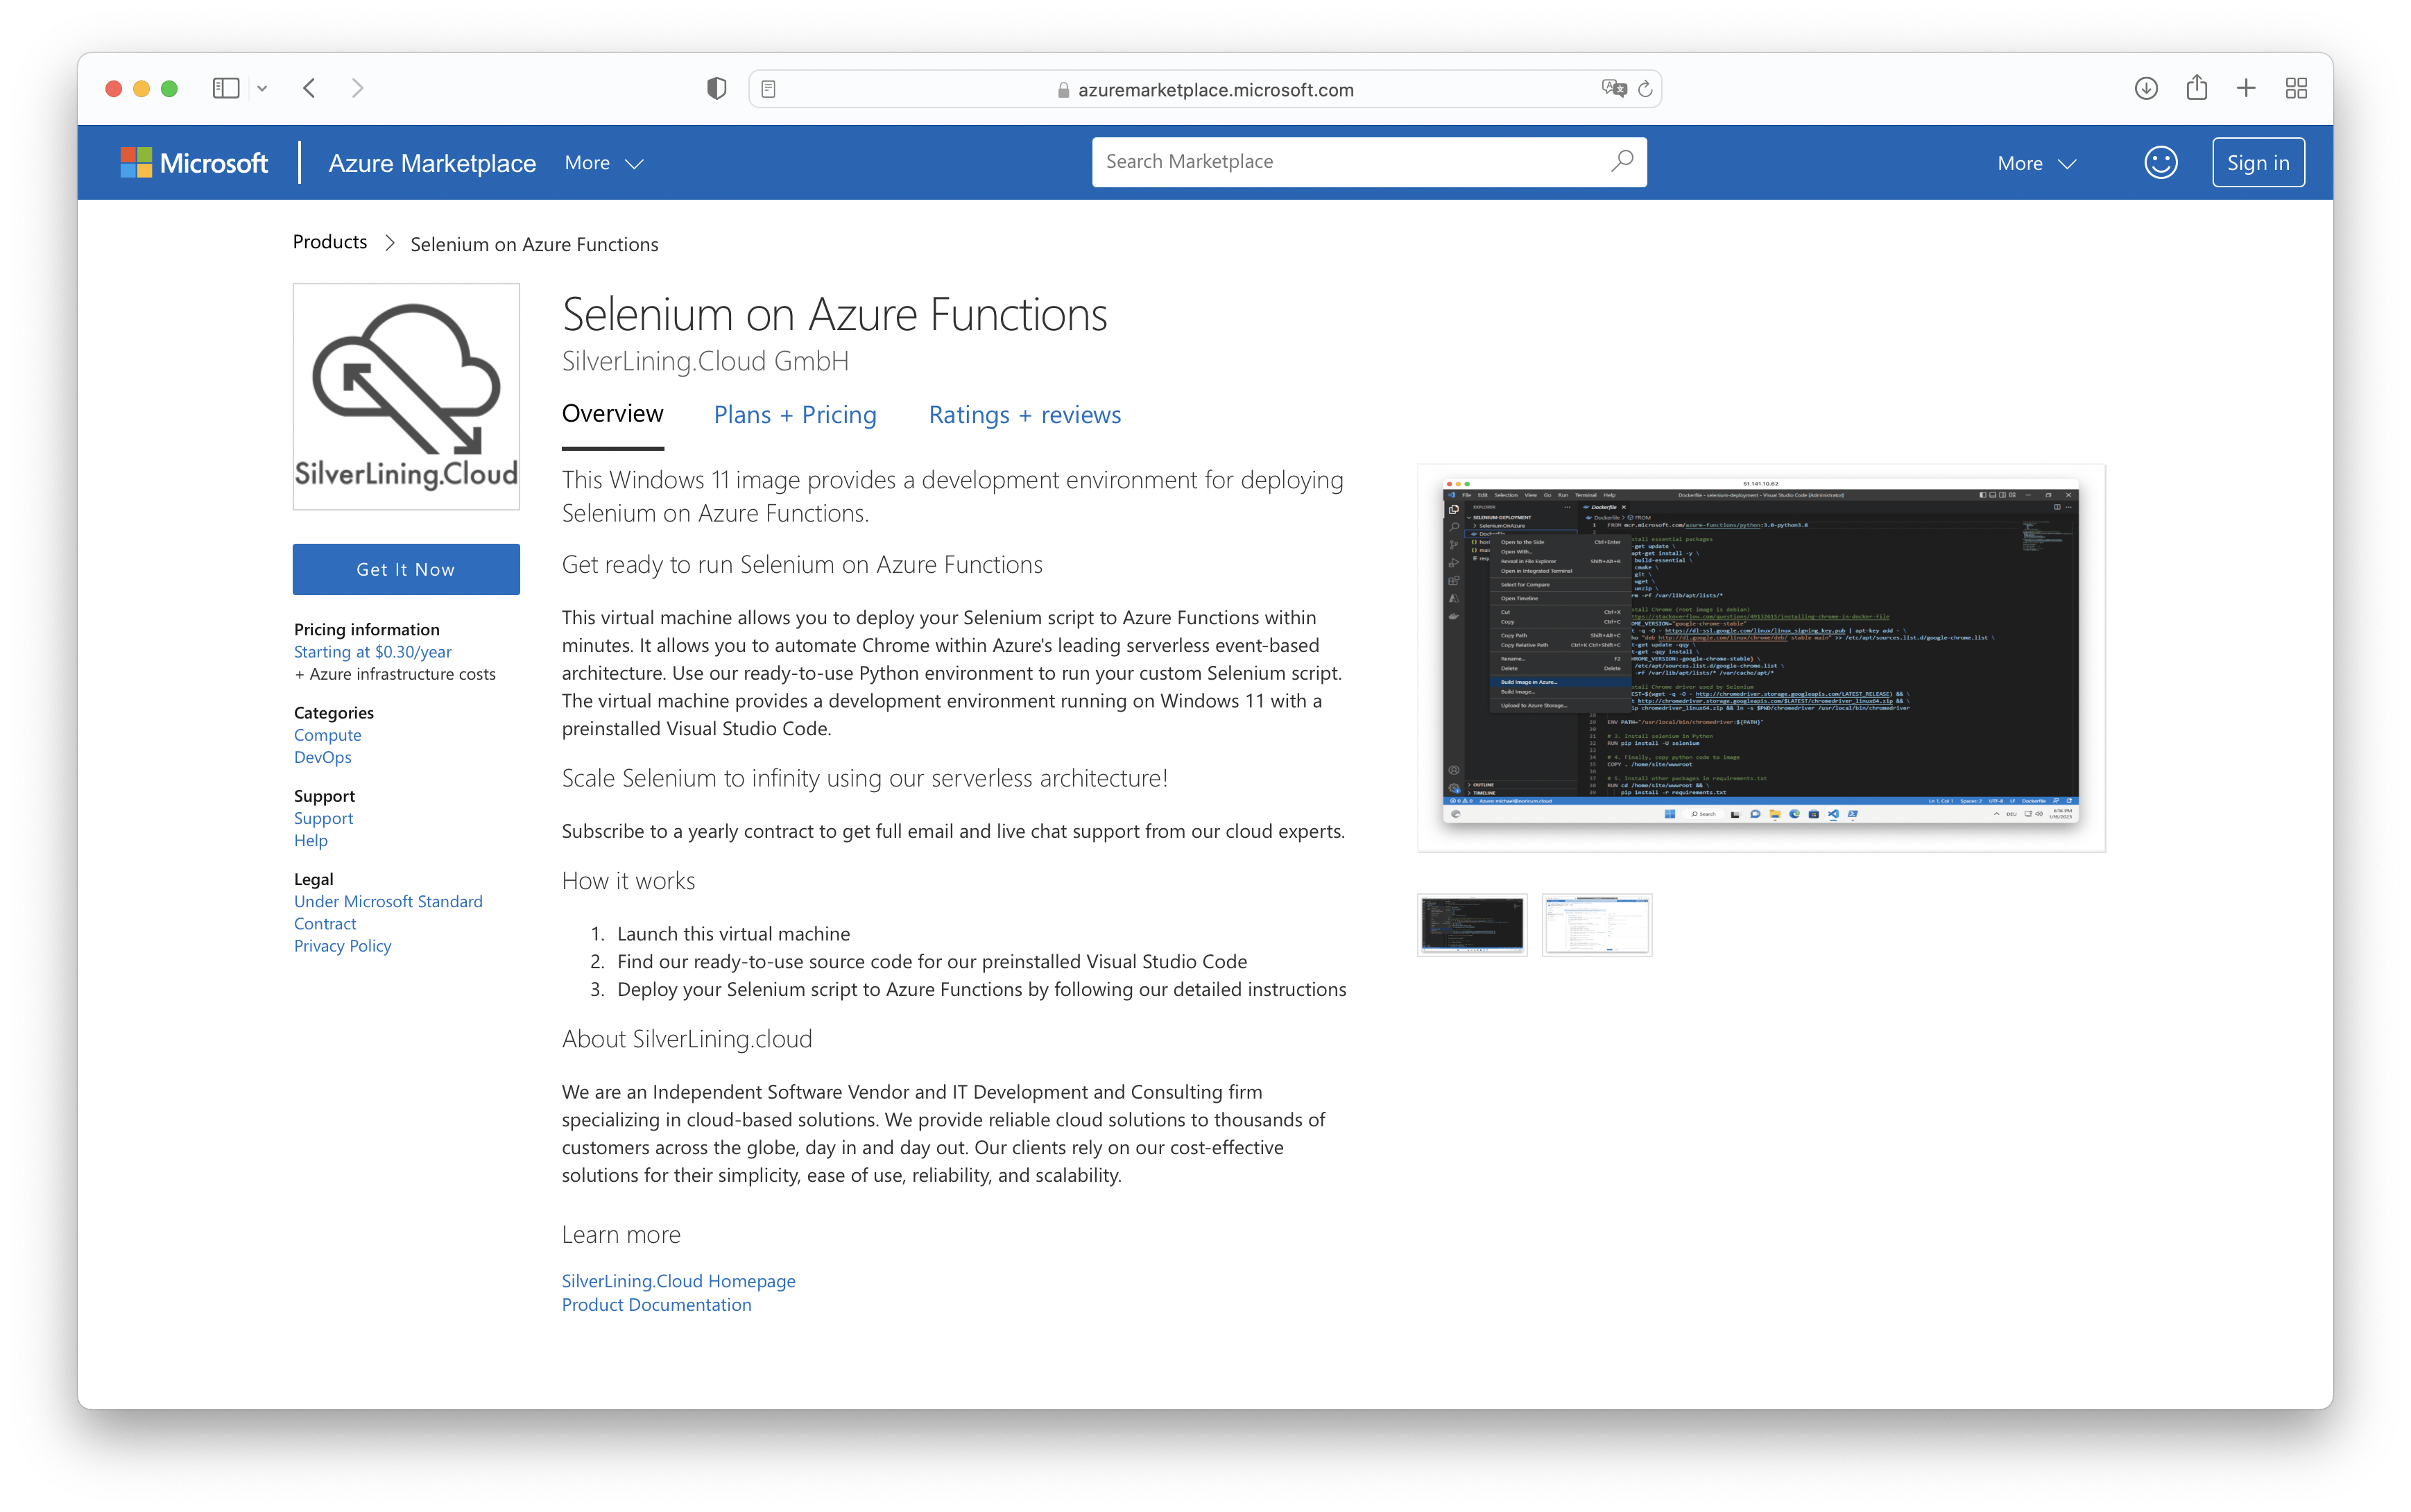
2. Click on 'Get it now', then follow the instructions on the page to launch the Virtual Machine.
Connect to your instance via RDP
1. Open a RDP client tool of your choice and add the appropiate values: Public IP address, username and password you specified when you created the VM
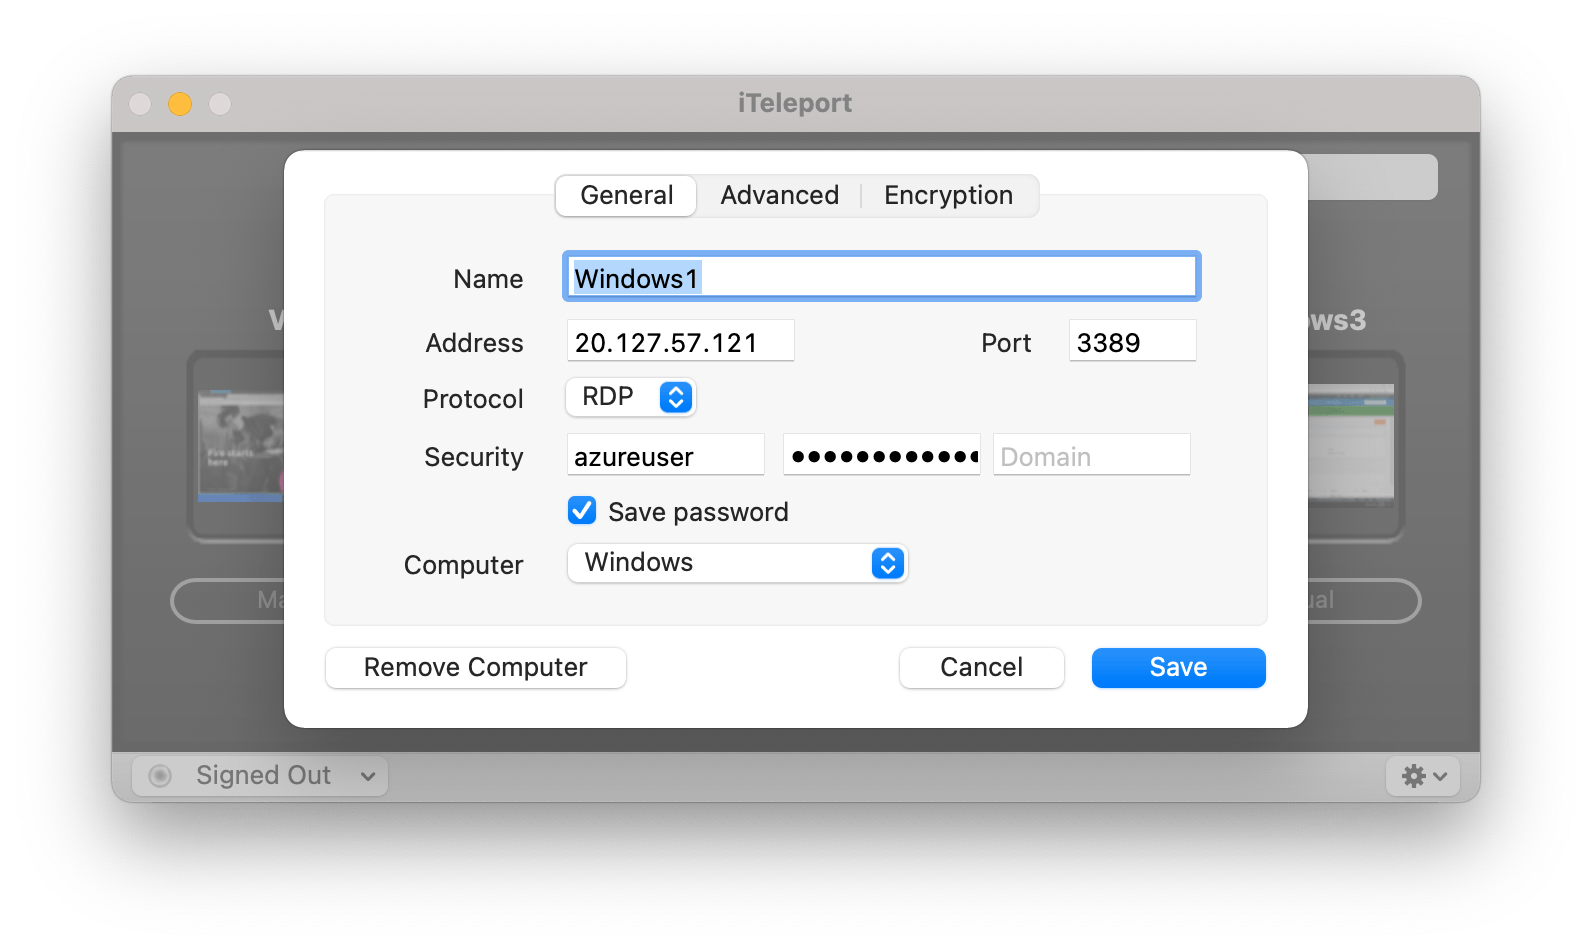
2. Connect to your VM.
Deploy Selenium on Azure Functions
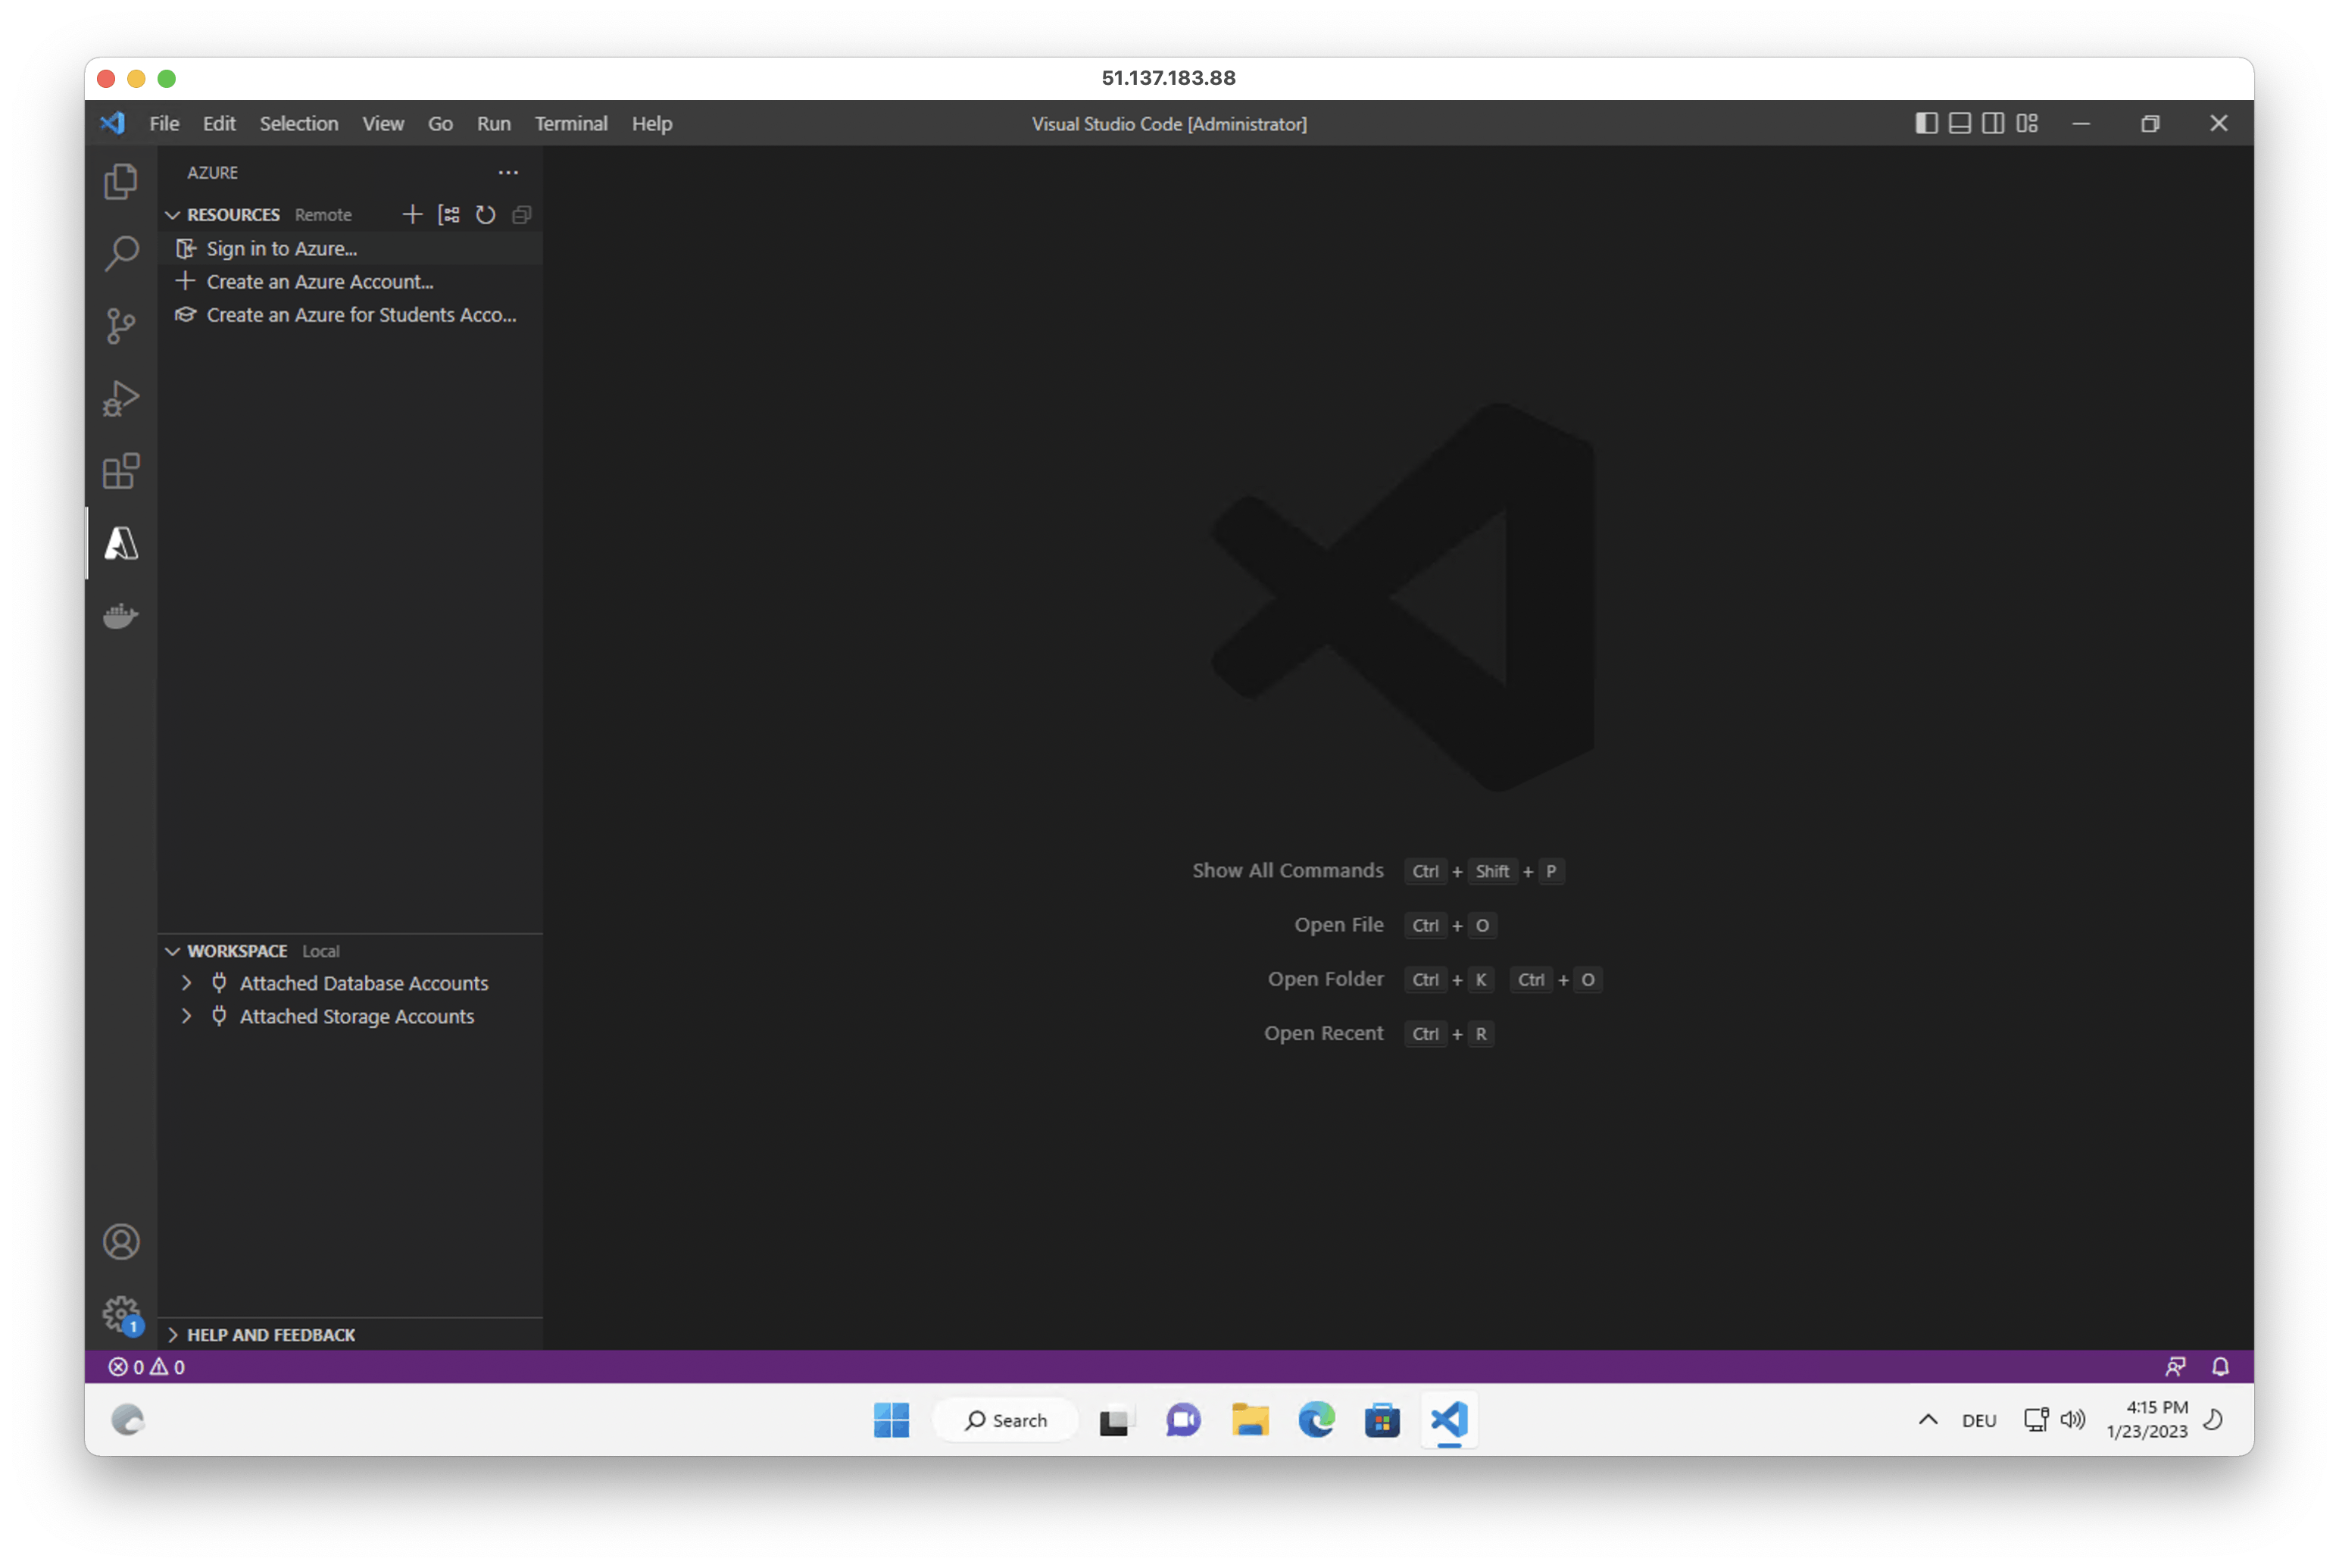
1. Connect to your Virtual Machine and open preinstalled Visual Studio Code on it.
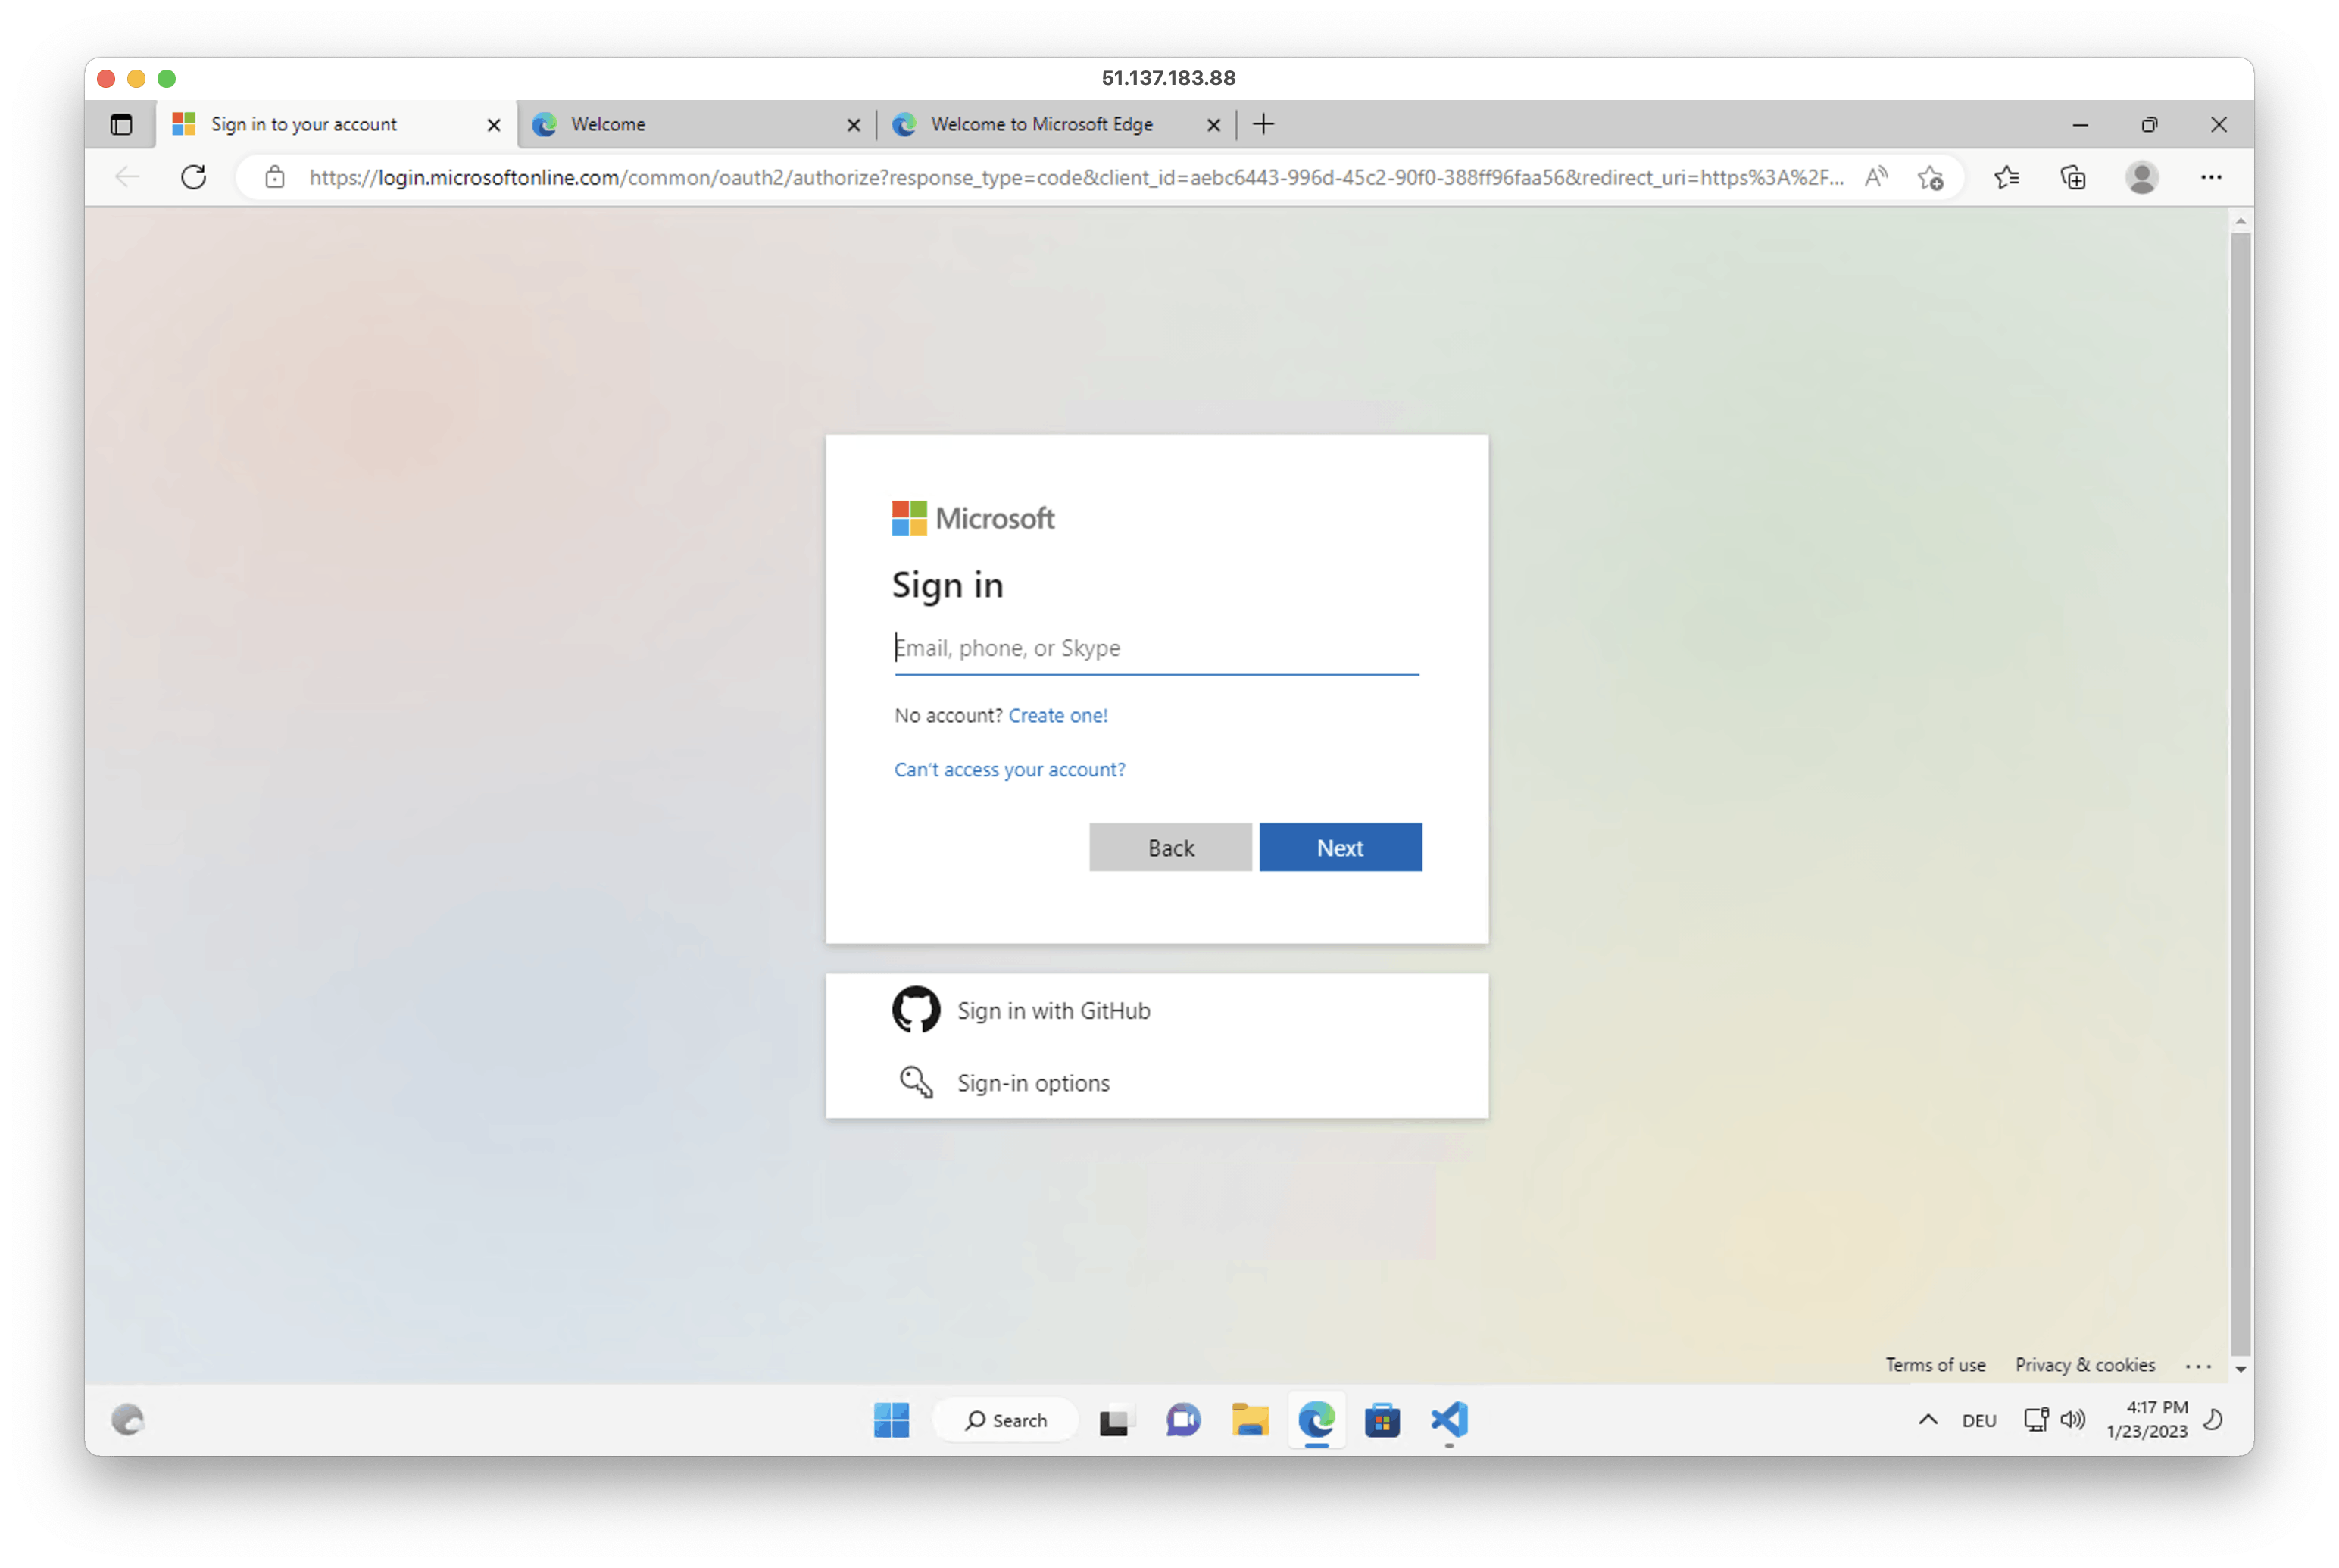
2. Open the Azure extension and sign into your Azure account in the opened browser window.
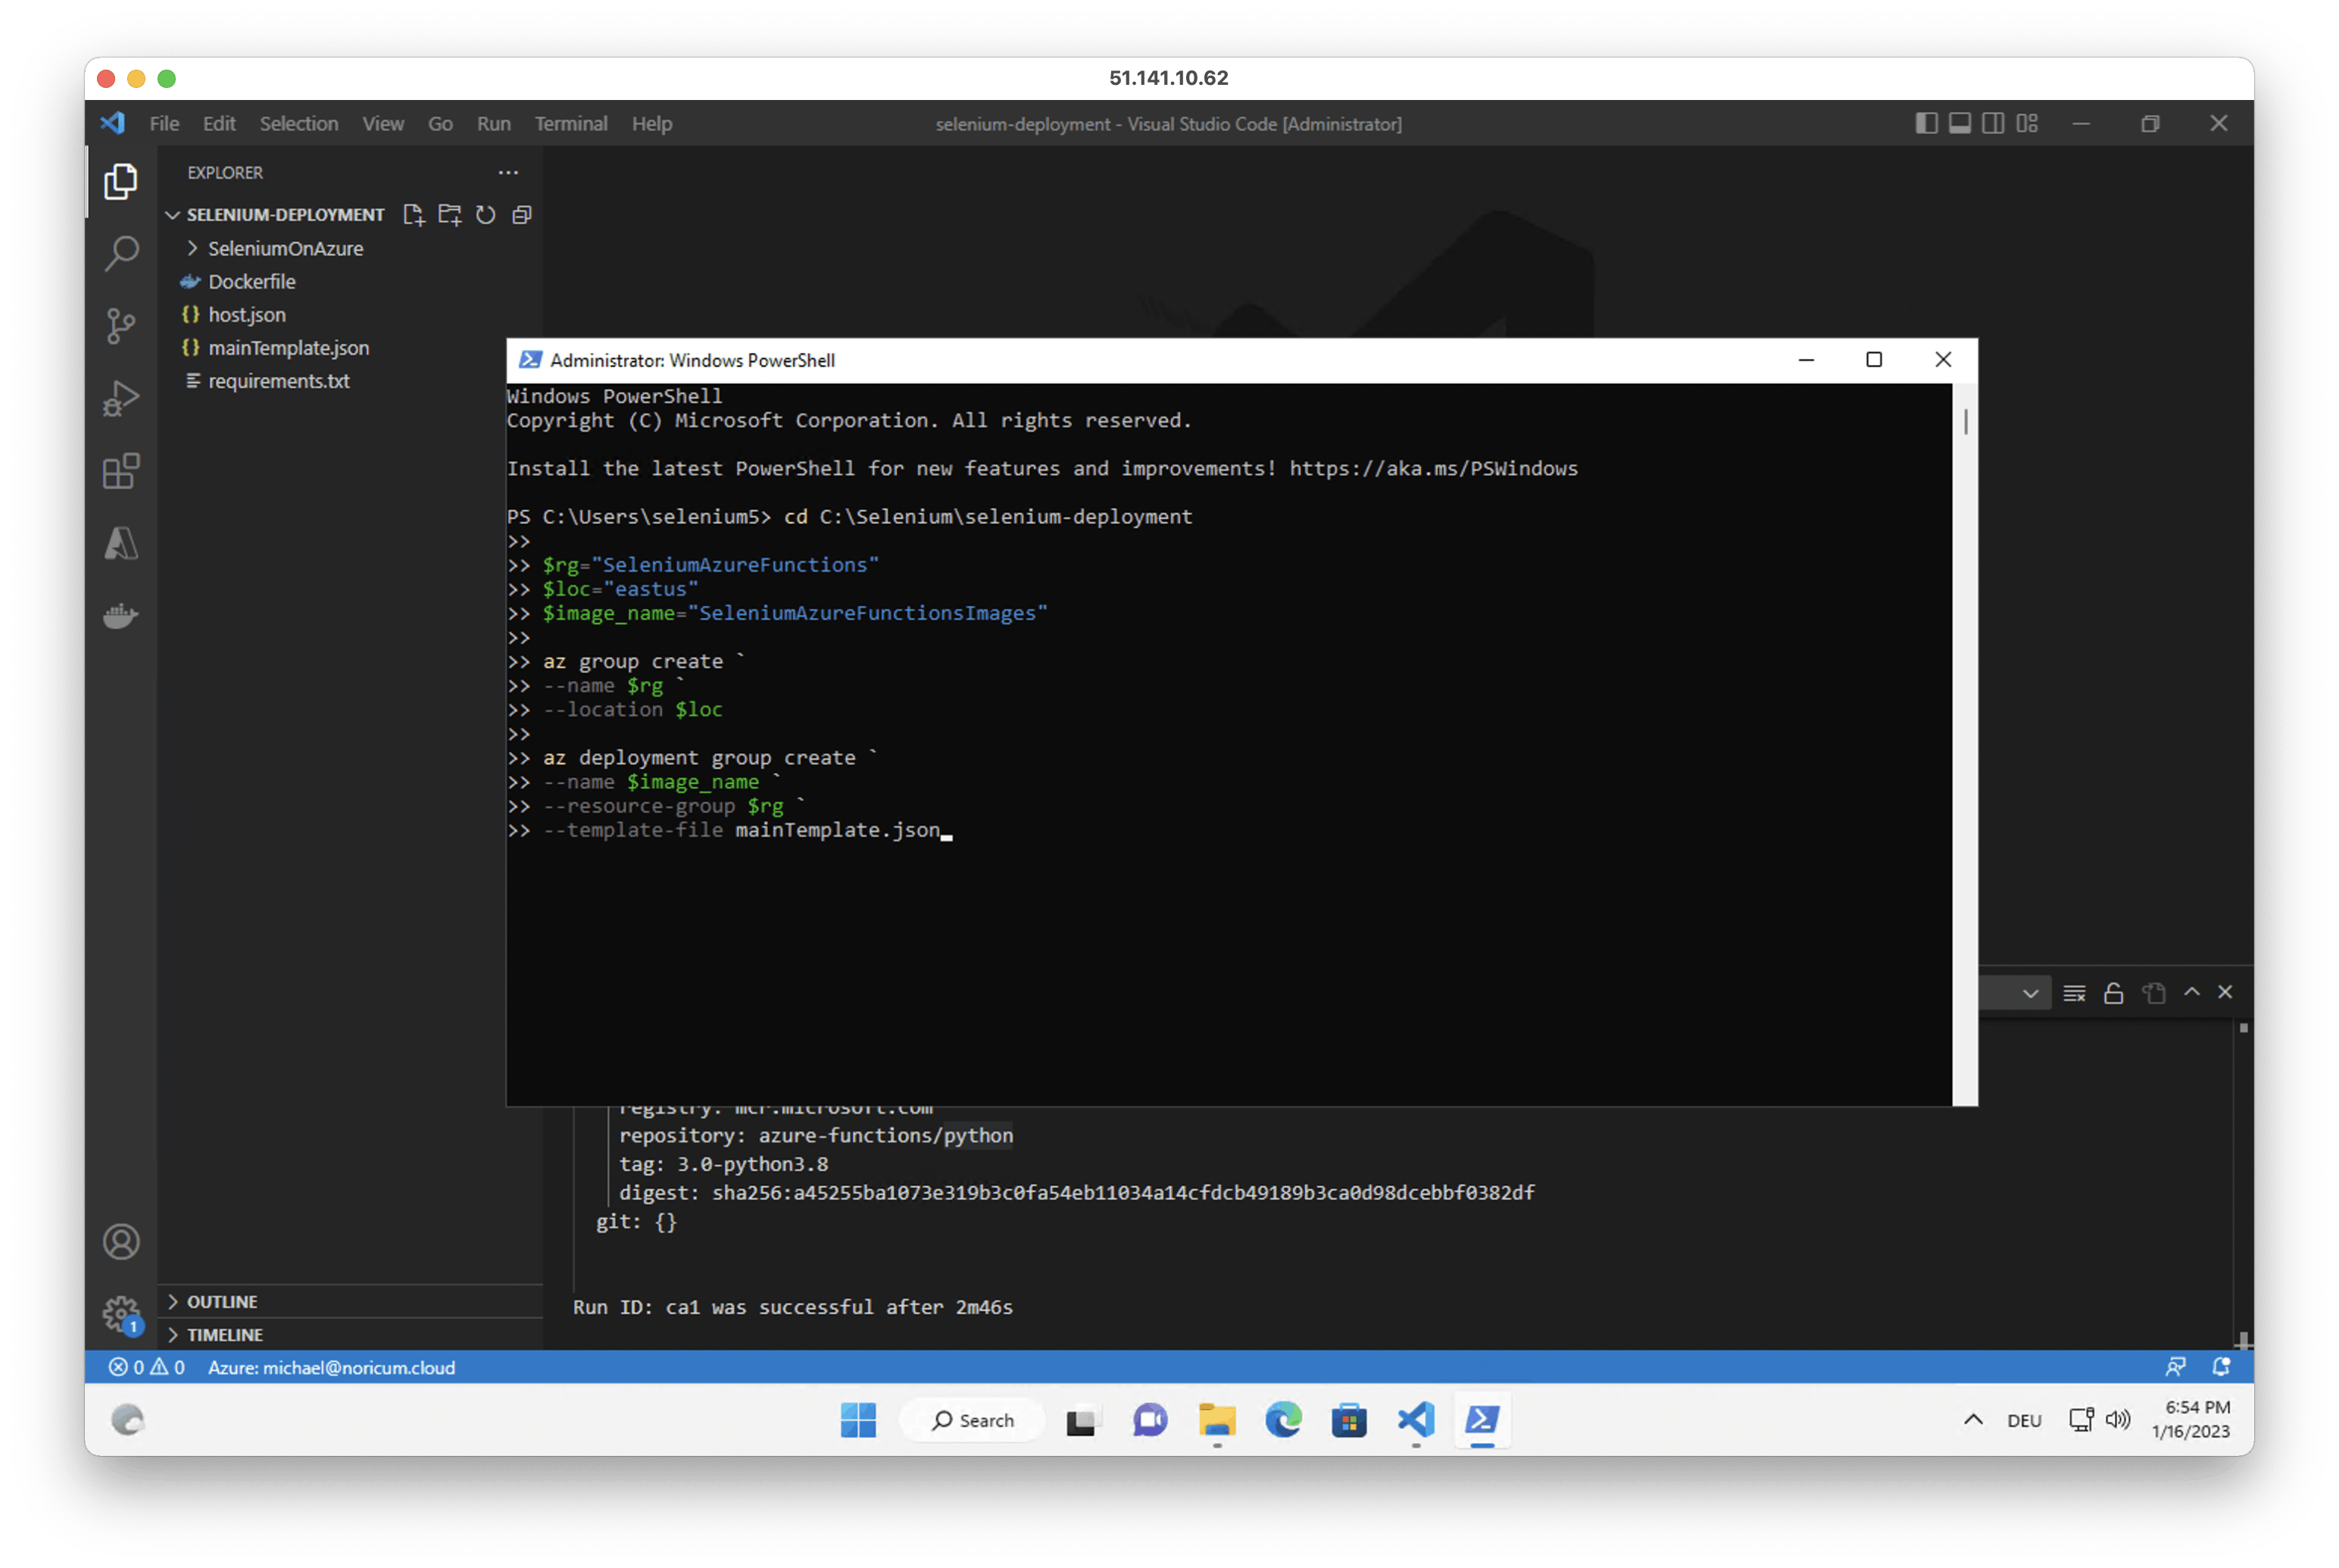
3. Open PowerShell and run the following script. Change the $rg, $loc and $image_name variables if needed.
az login

cd C:\Selenium\selenium-deployment

$rg="SeleniumAzureFunctions"
$loc="eastus"
$image_name="SeleniumAzureFunctionsImages"

az group create `
--name $rg `
--location $loc

az deployment group create `
--name $image_name `
--resource-group $rg `
--template-file mainTemplate.json
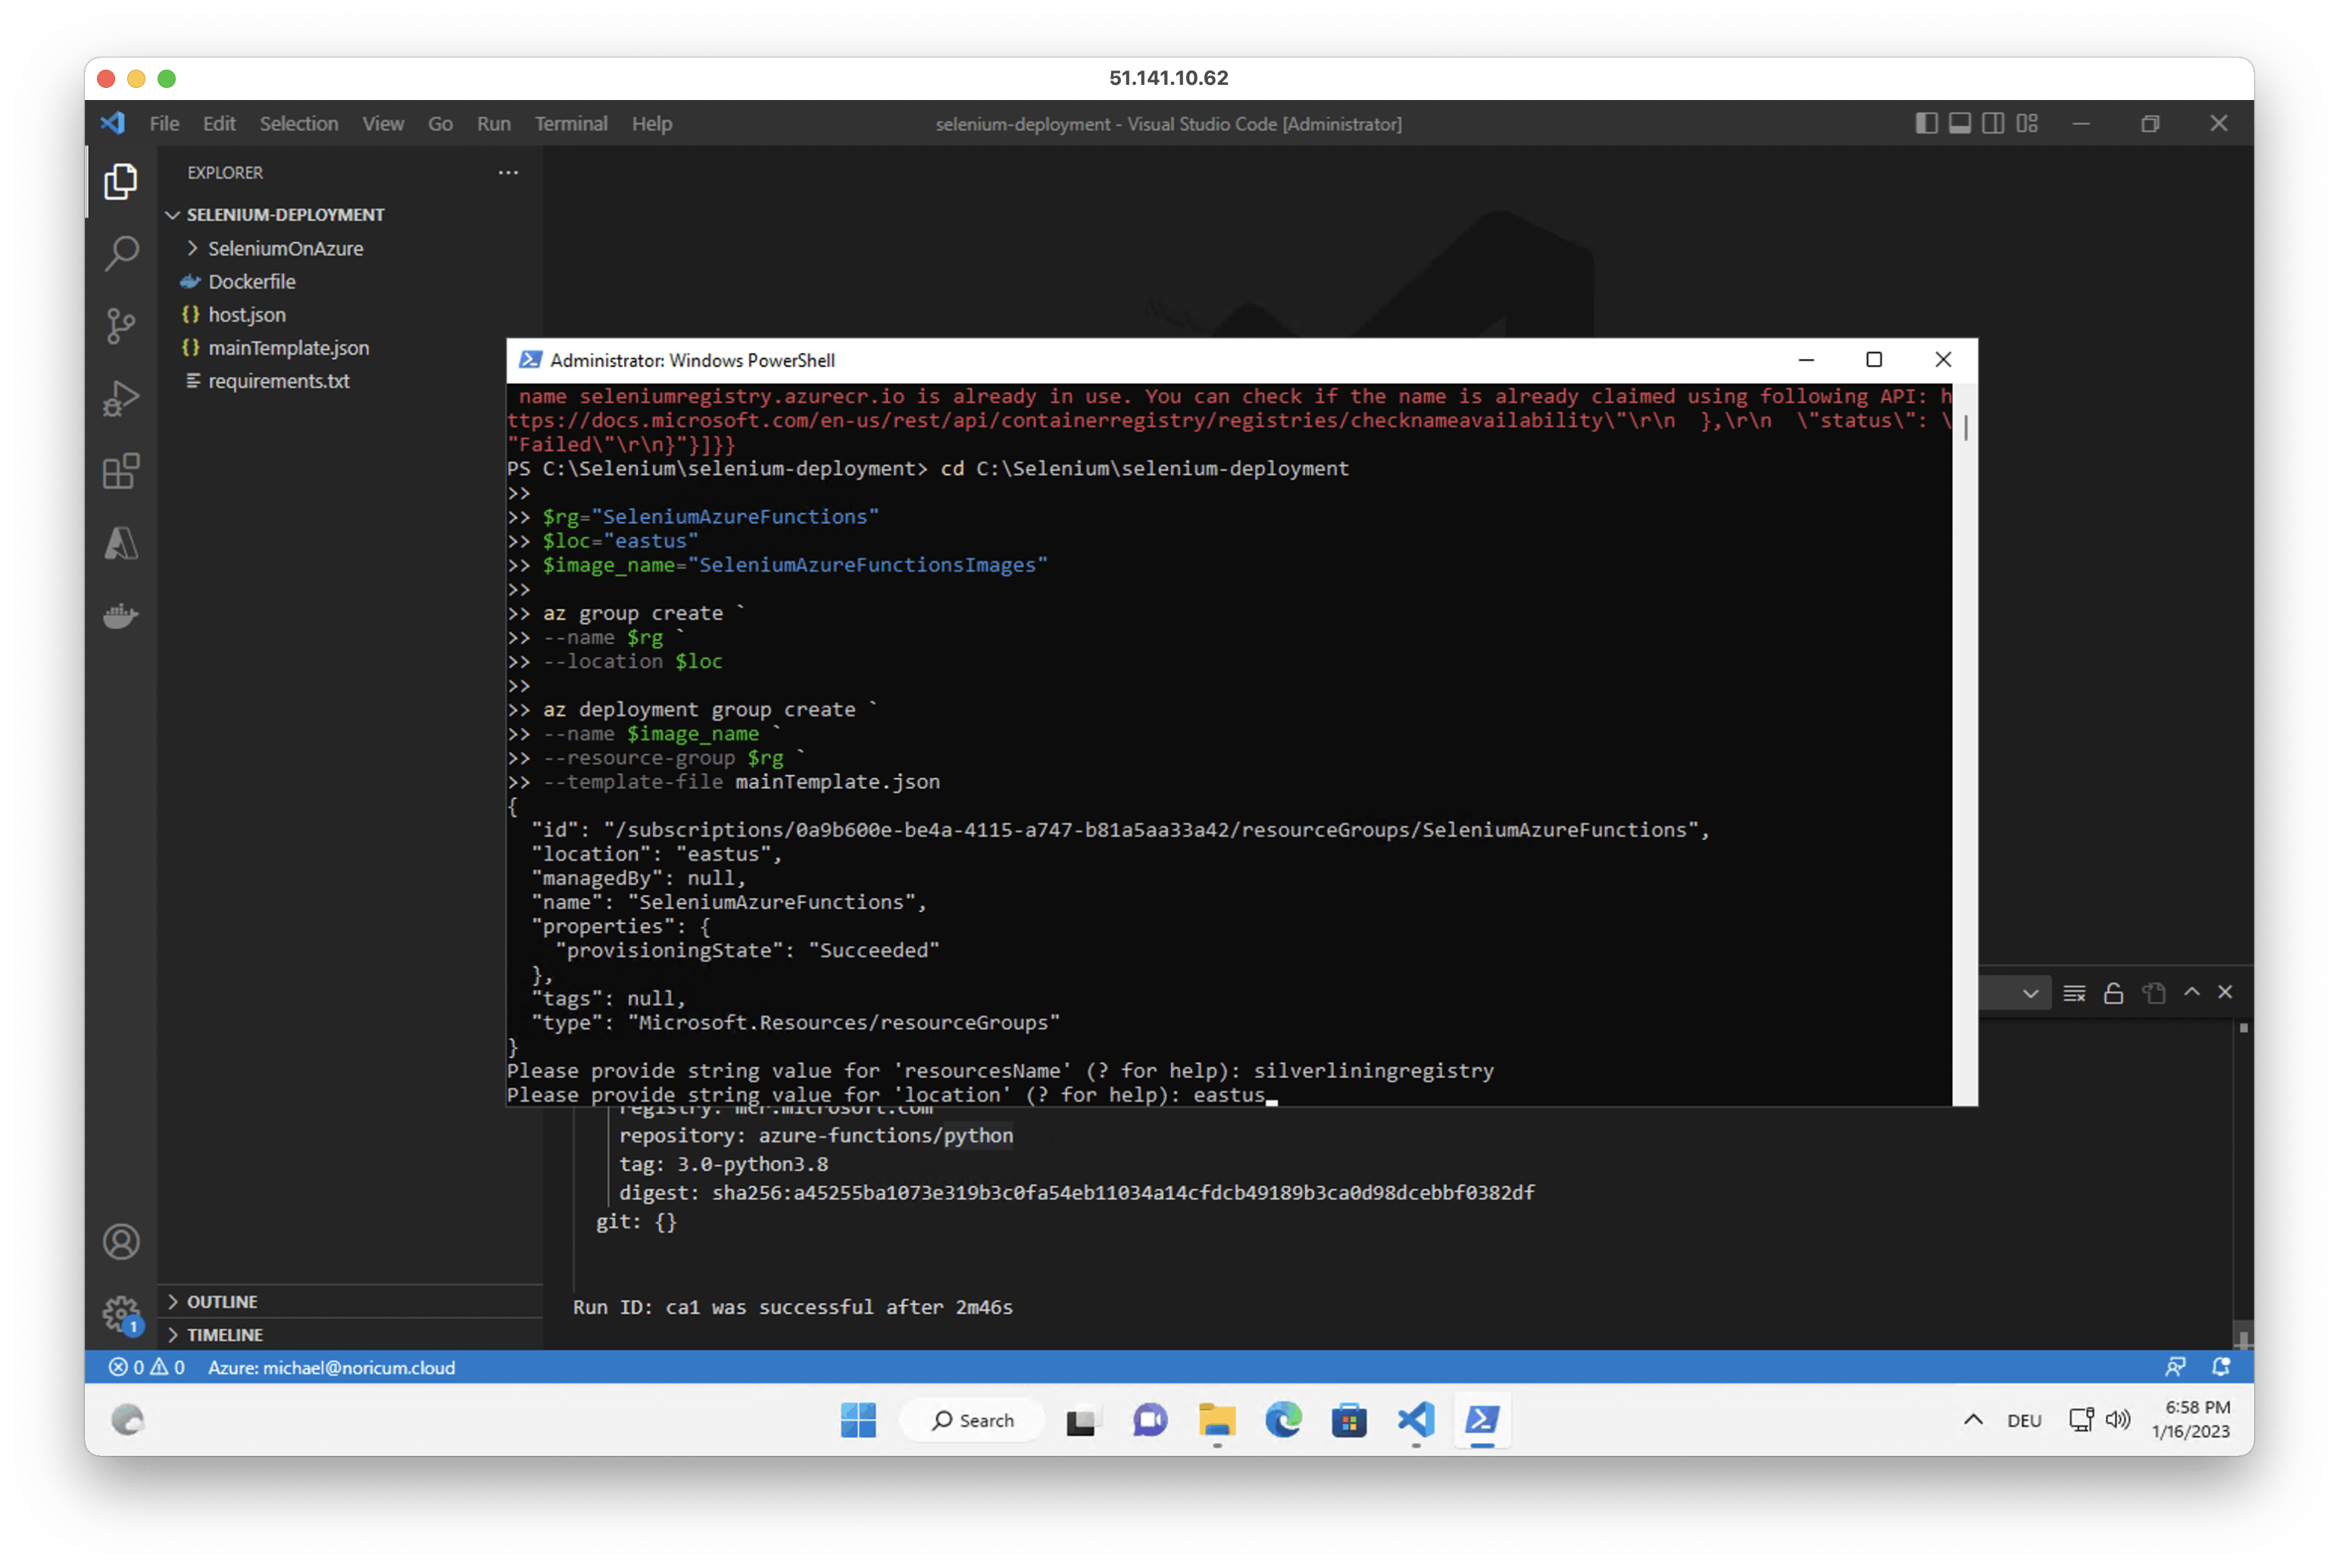
4. Enter a name for the resources when asked by the script (the name has to be a globally unique string in lower case alphanumerical symbols)
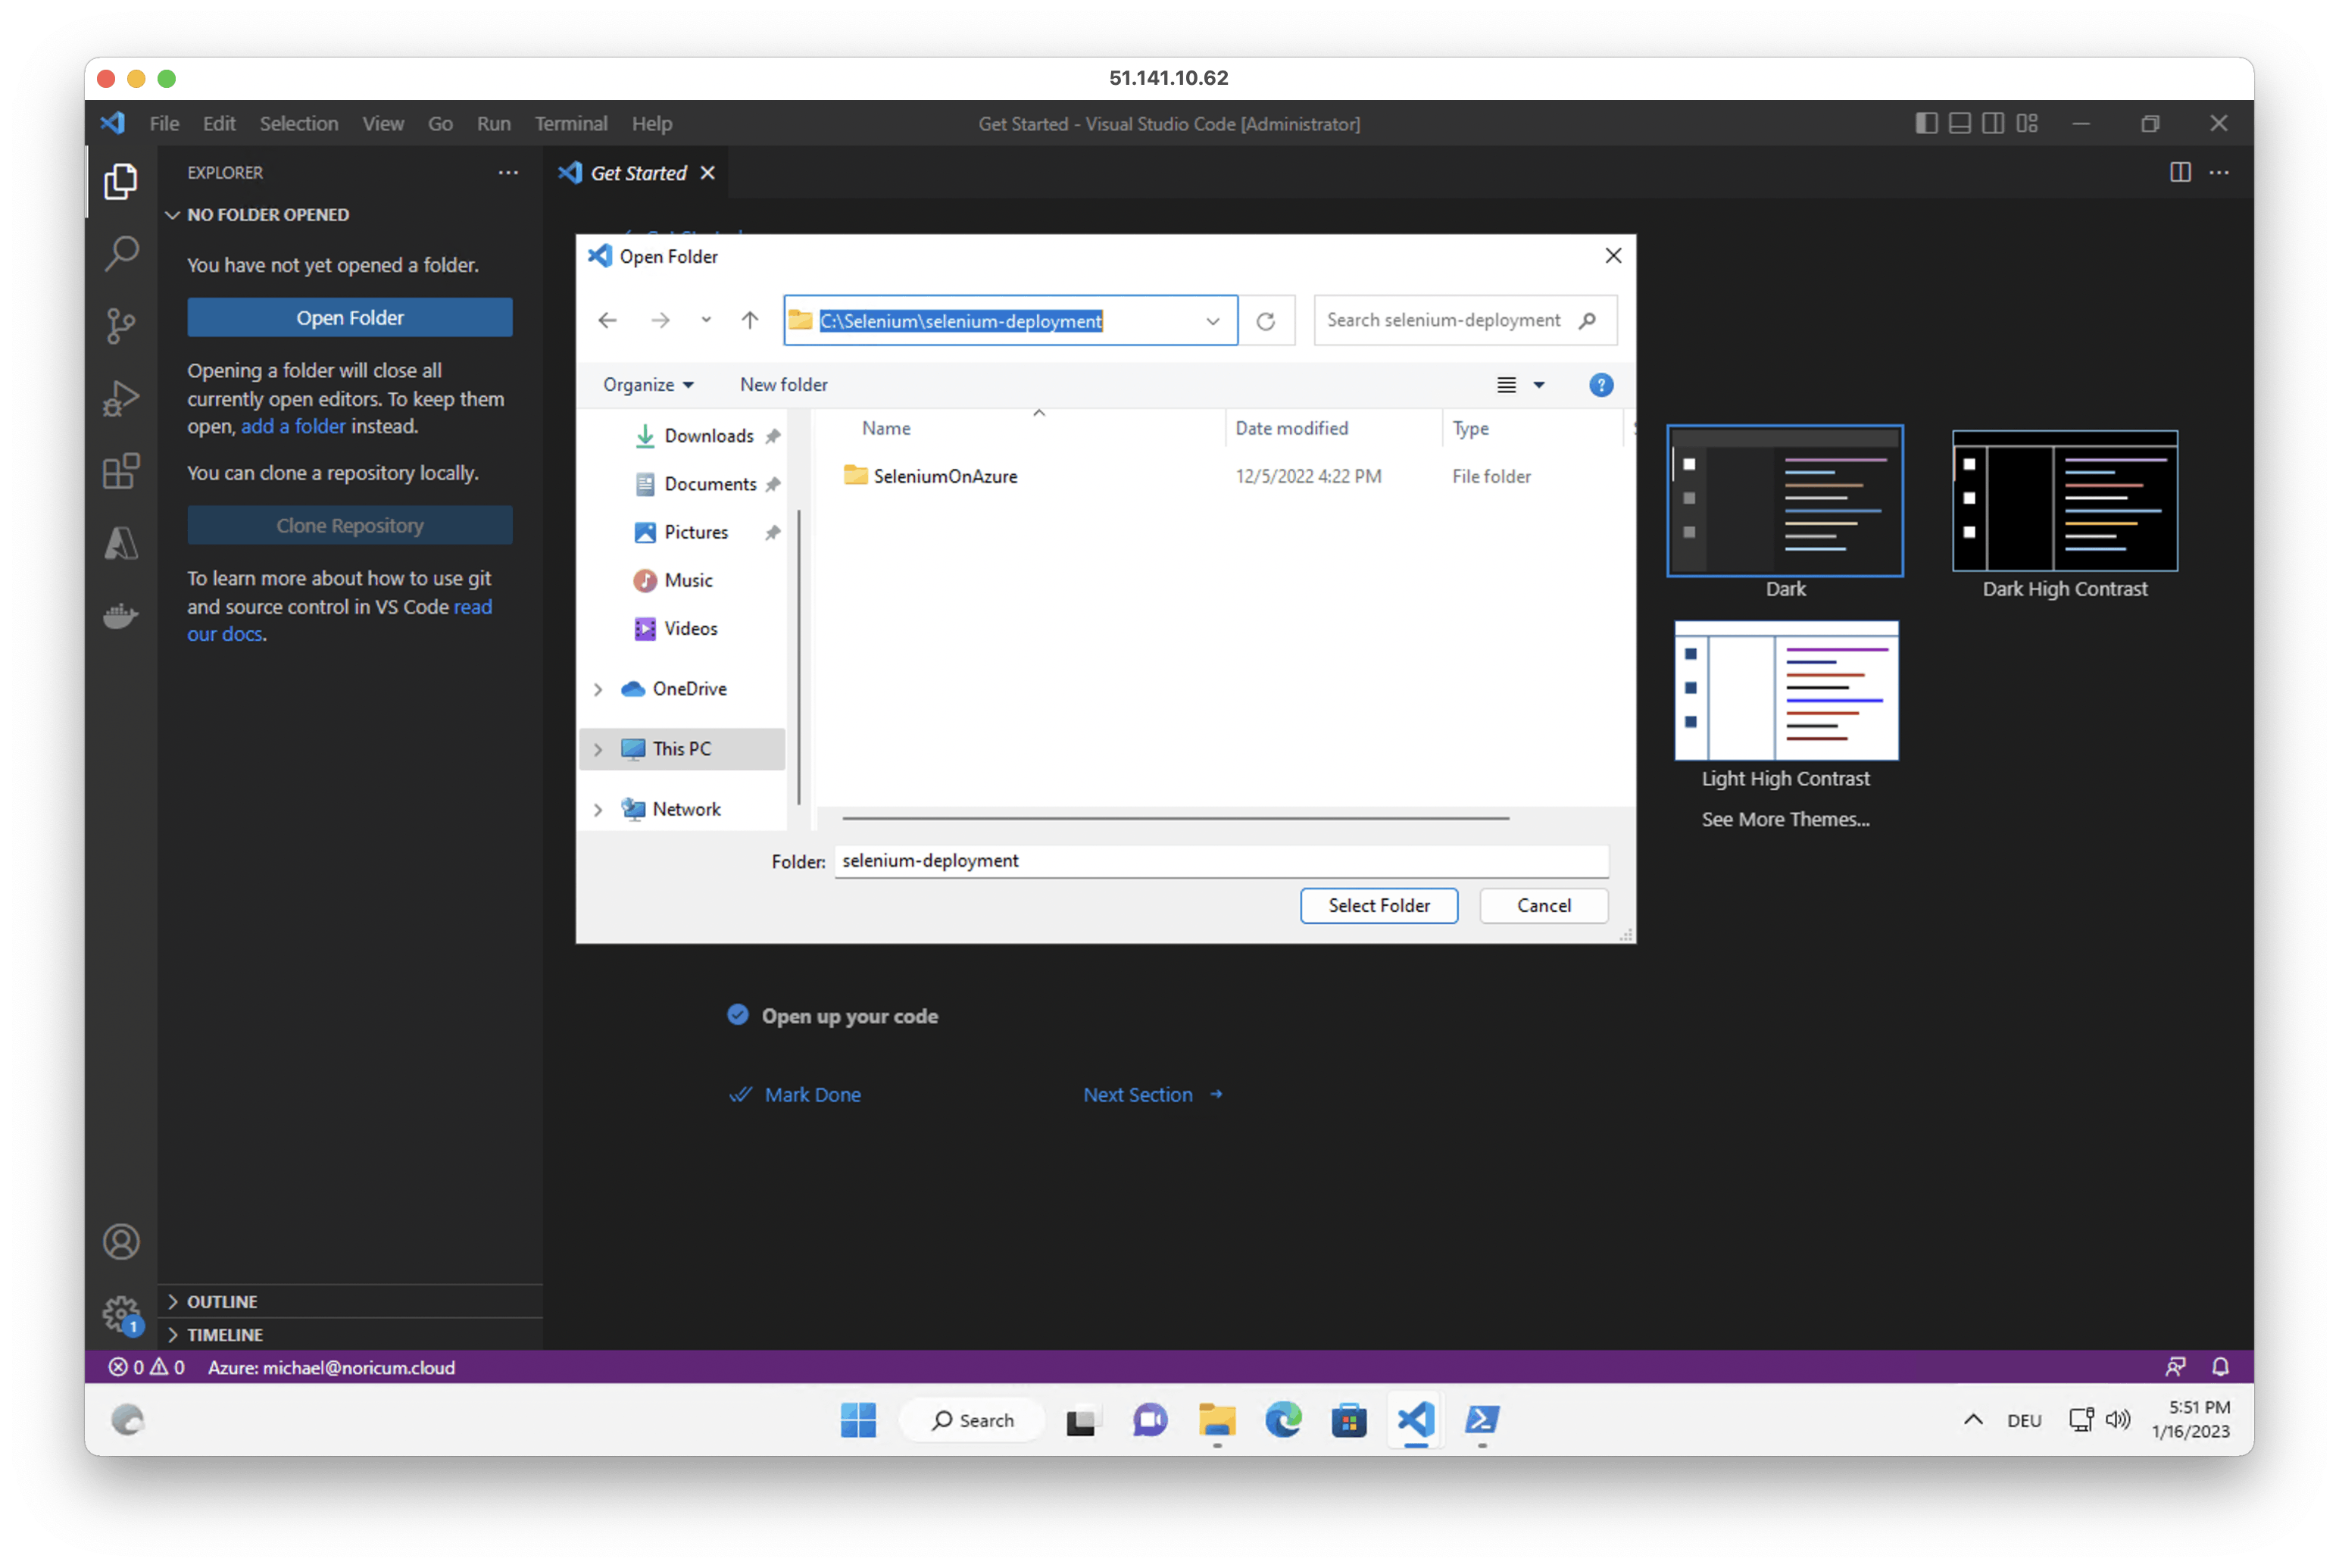
5. Open the Explorer tab in Visual Studio Code and open the C:\Selenium\selenium-deployment
6. Right click on the Dockerfile and click 'Build Image in Azure'. Hit enter and select 'Connect registry', 'Azure', your Azure subscription, the previously created registry and 'Linux'. The build process may take a couple of minutes. Note the name and version tag of the repository for step 8.
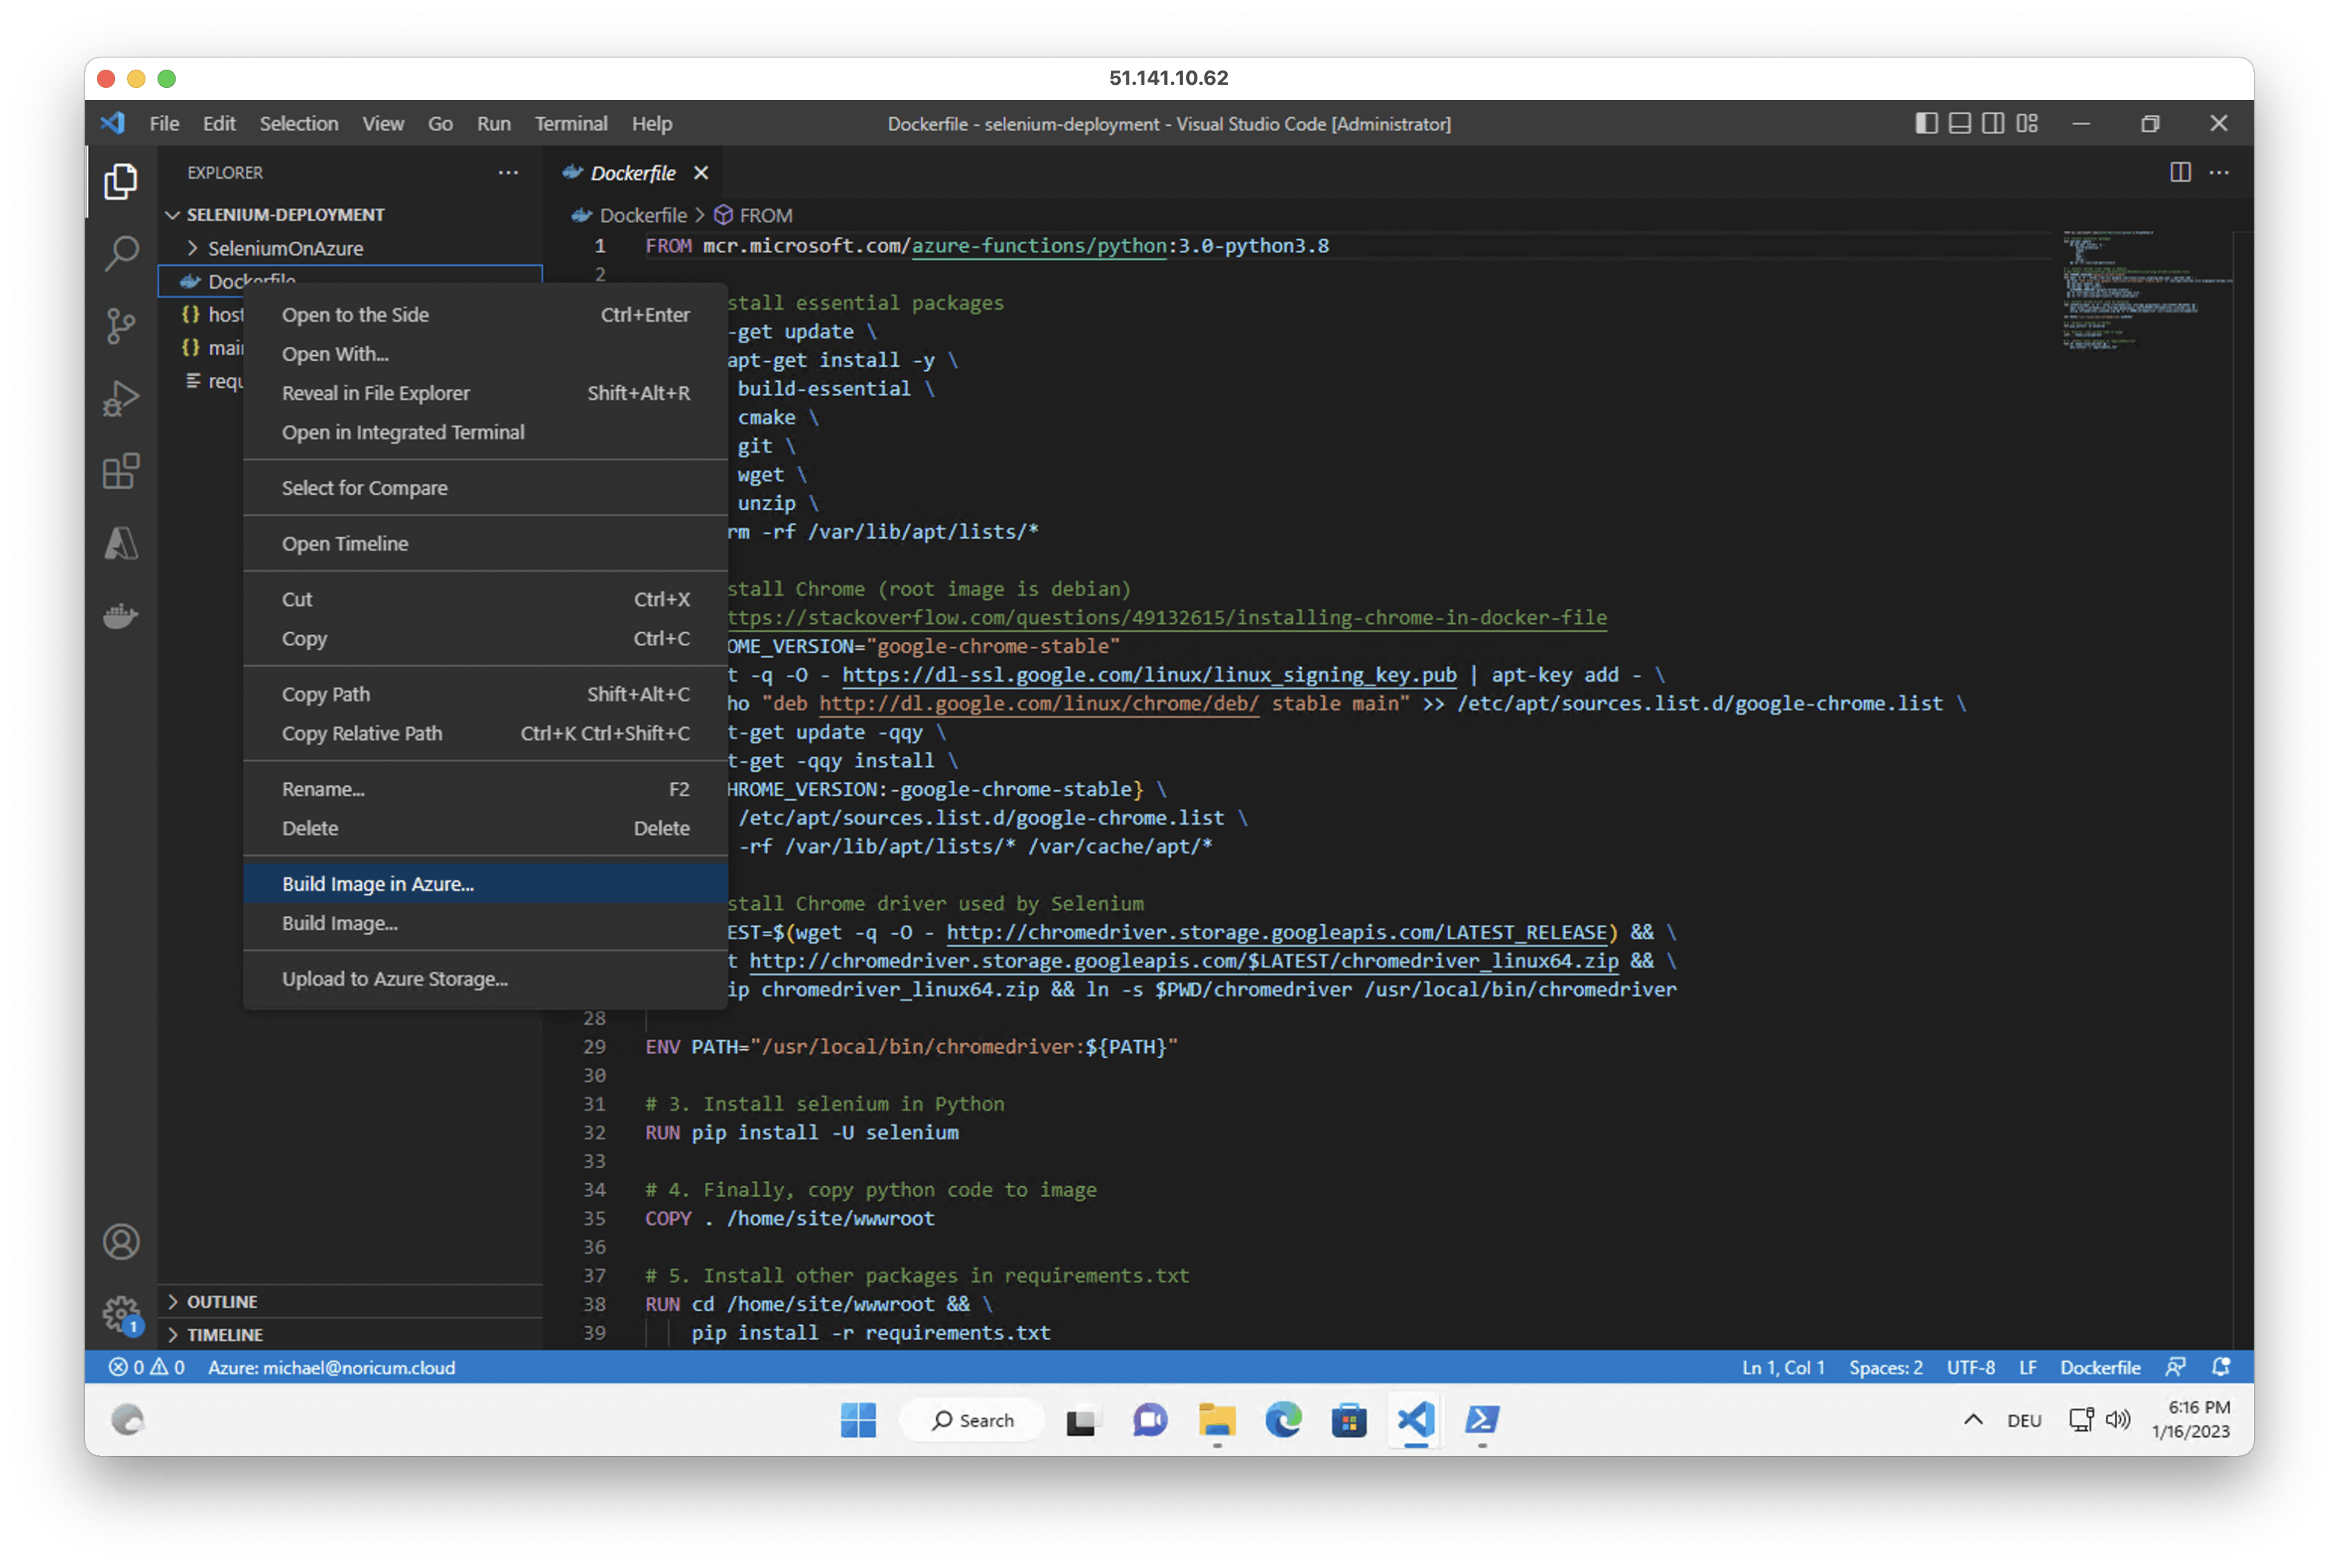
In case the terminal freezes, you can find the version tag of the deployment in the container registry in the docker extension
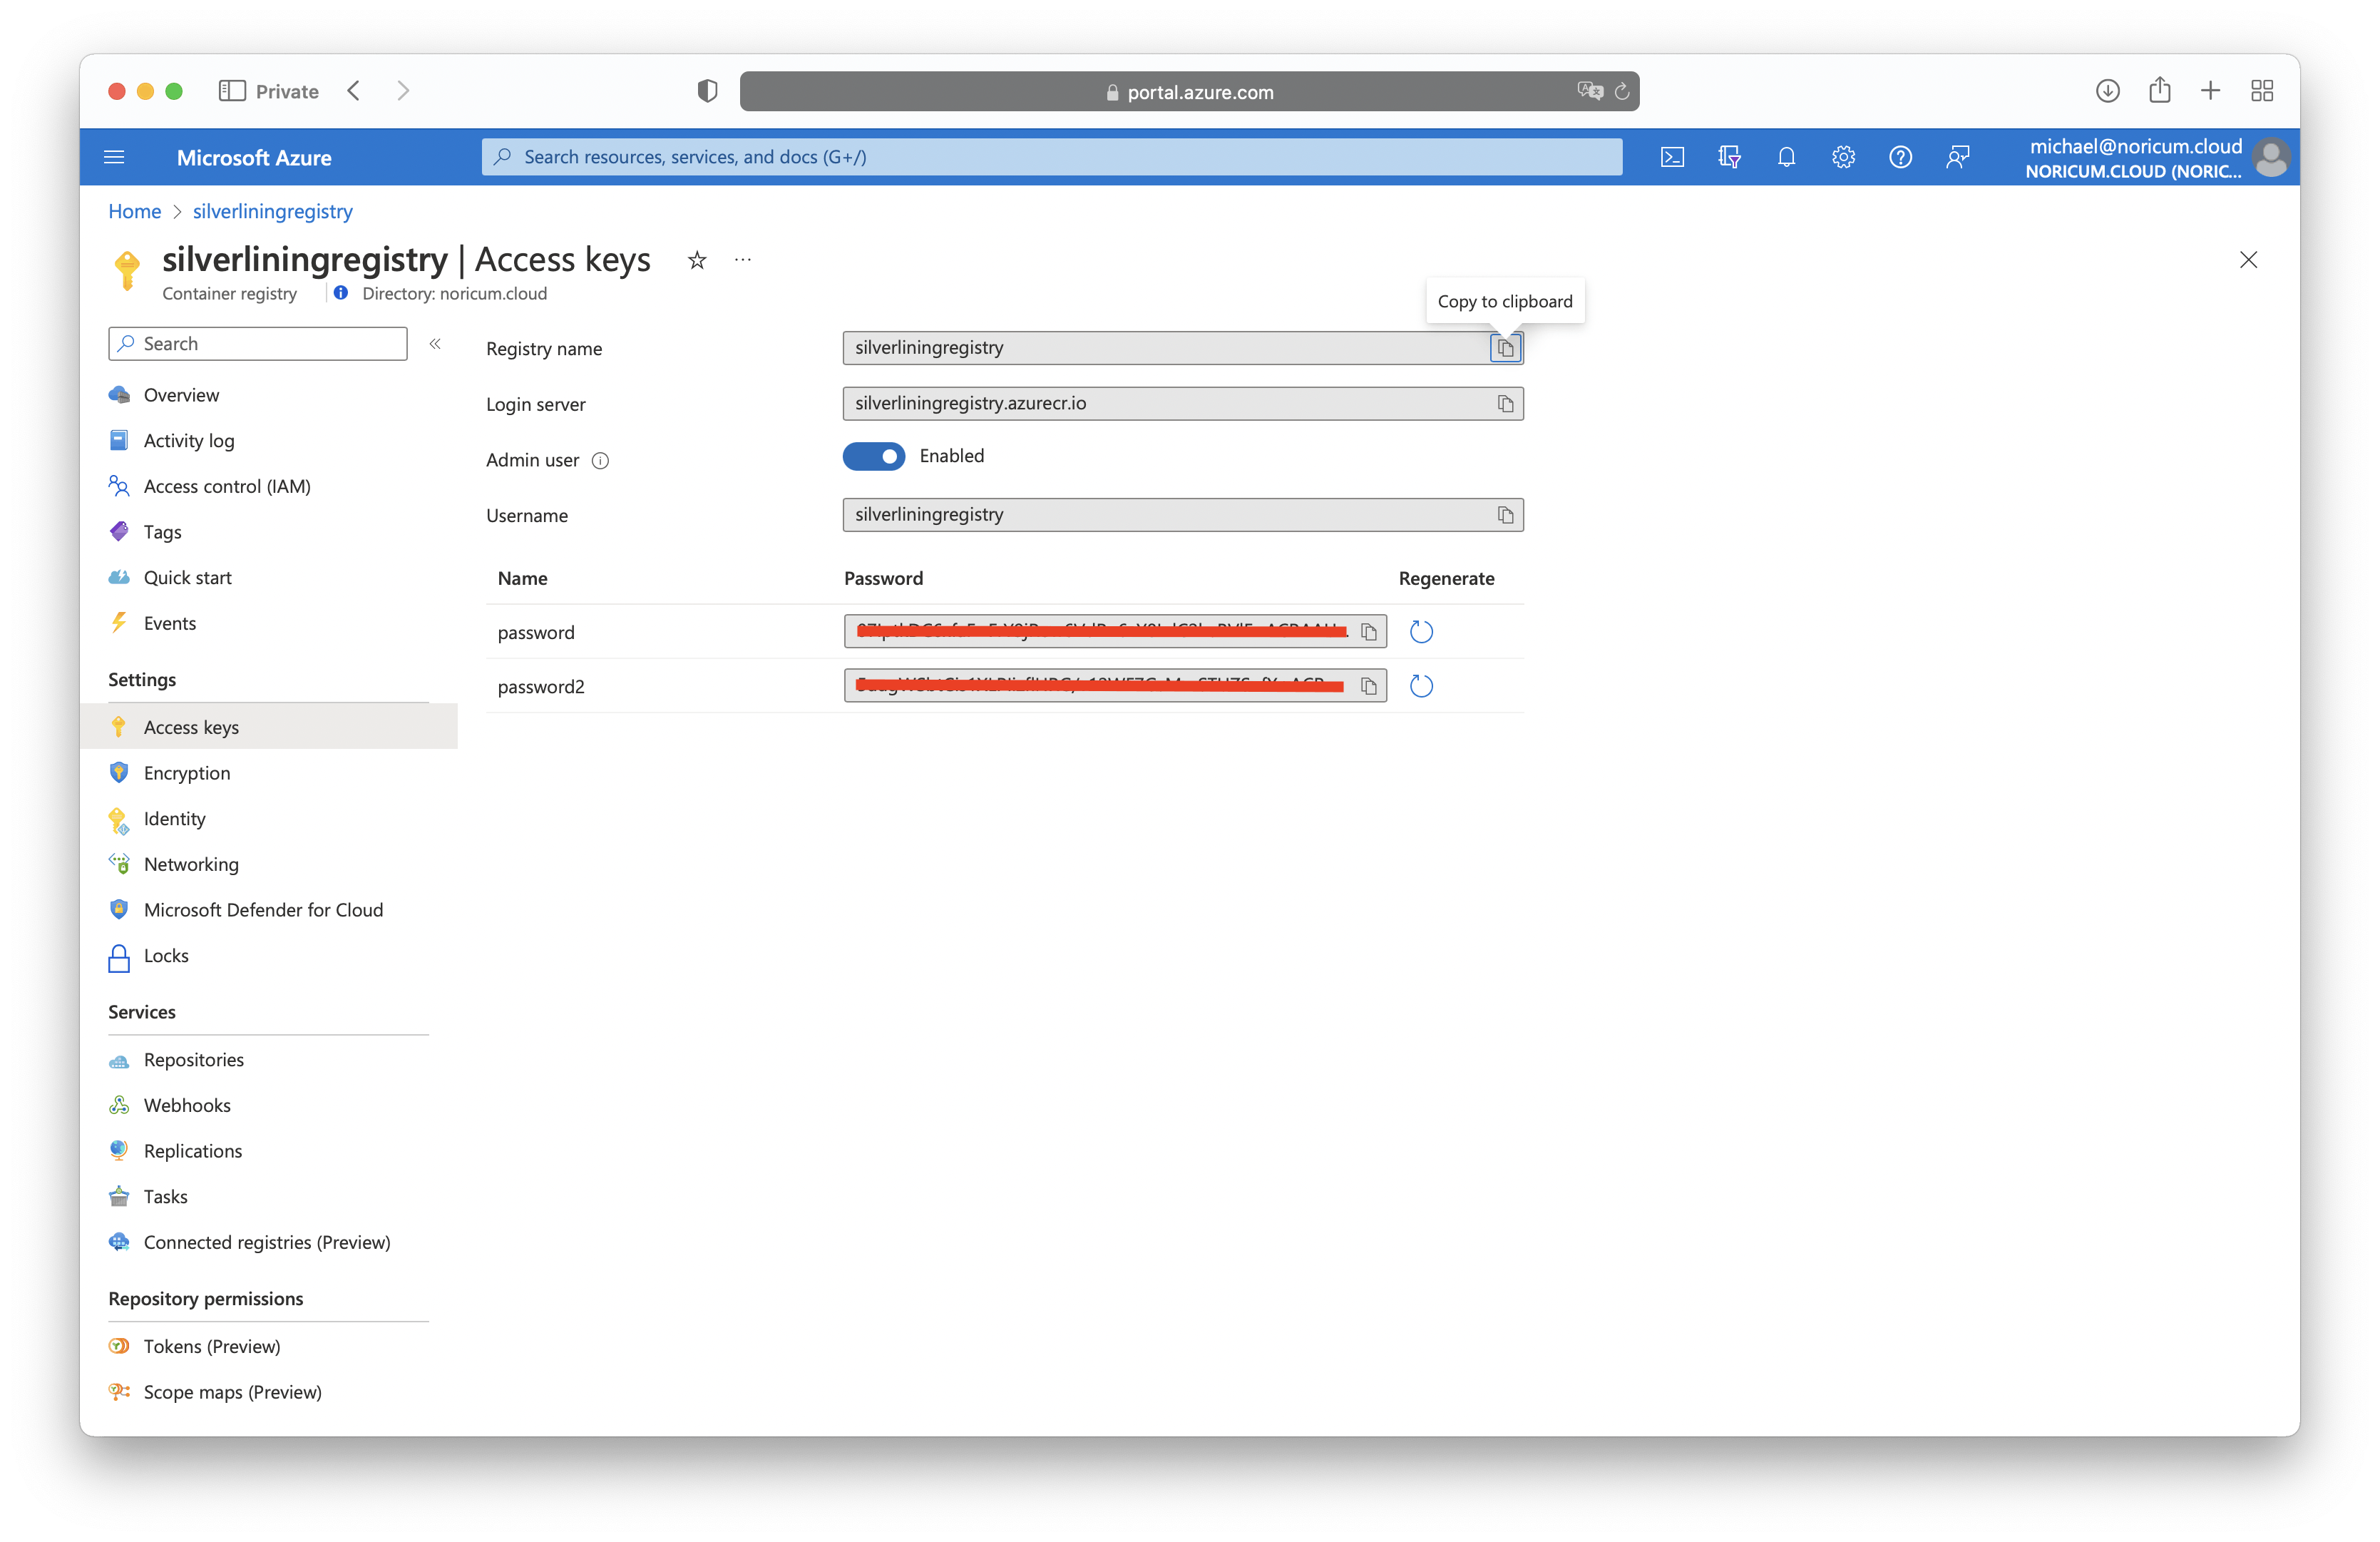
7. Go to the Azure portal and open the created container registry. Click on 'Access keys' and enable 'Admin user'. Save the username and one password for the next step.
8. Go back to the PowerShell windows and run the following script. Replace the values for the variables accordingly.
# Must be the same as in step 3
$rg="SeleniumAzureFunctions"

# Values taken from step 6
$repo="selenium-deployment"
$tag="ca1"

# Values taken from step 7
$username="silverliningregistry"
$password="aaabbbccc...xxxyyyzzz"

$address="${username}.azurecr.io/${repo}:${tag}"
az functionapp create `
--resource-group $rg `
--os-type Linux `
--plan $username `
--deployment-container-image-name $address `
--name $username `
--storage-account $username `
--functions-version 4 `
--docker-registry-server-user $username `
--docker-registry-server-password $password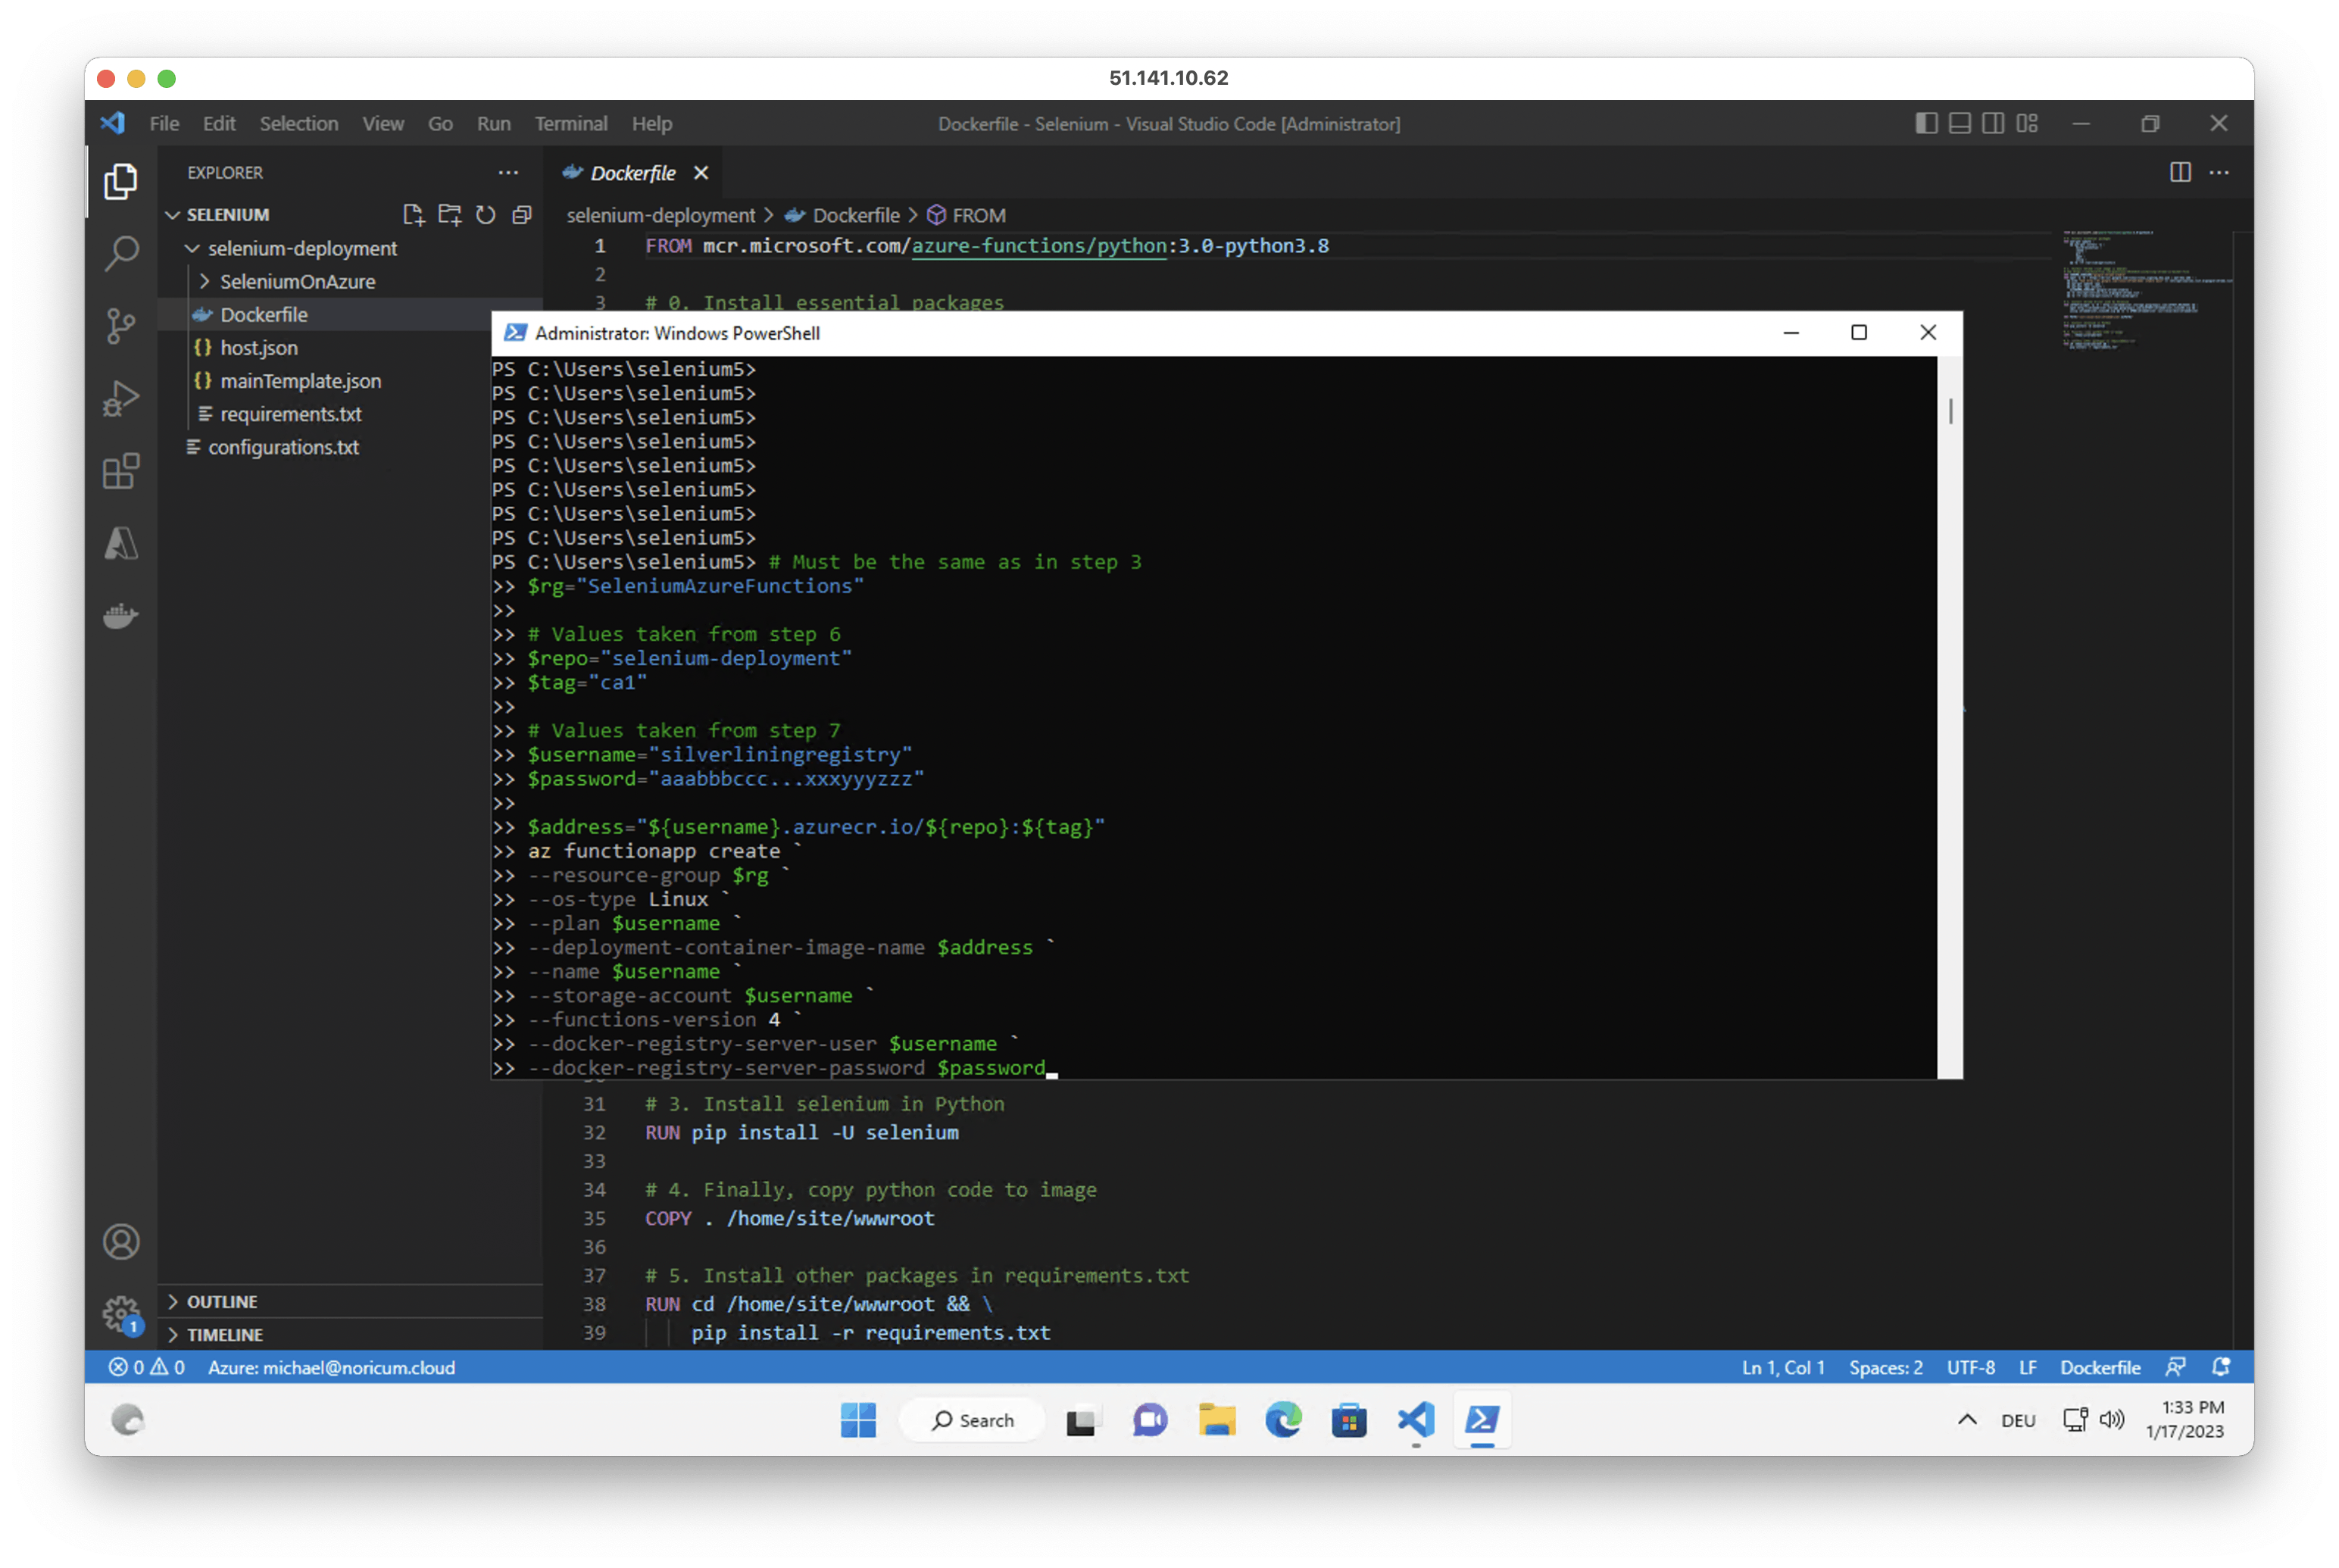
9. To customize the selenium script, edit __init.py__ and repeat the build and deploy process.
Run Selenium on Azure Functions
1. Once the deployment is completed (see chapter above) , open the Azure Portal and navigate to the Function App inside the created resource group.
2. Under Functions select the deployed SeleniumOnAzure function. It may take a couple of minutes after deployment until the function is ready.
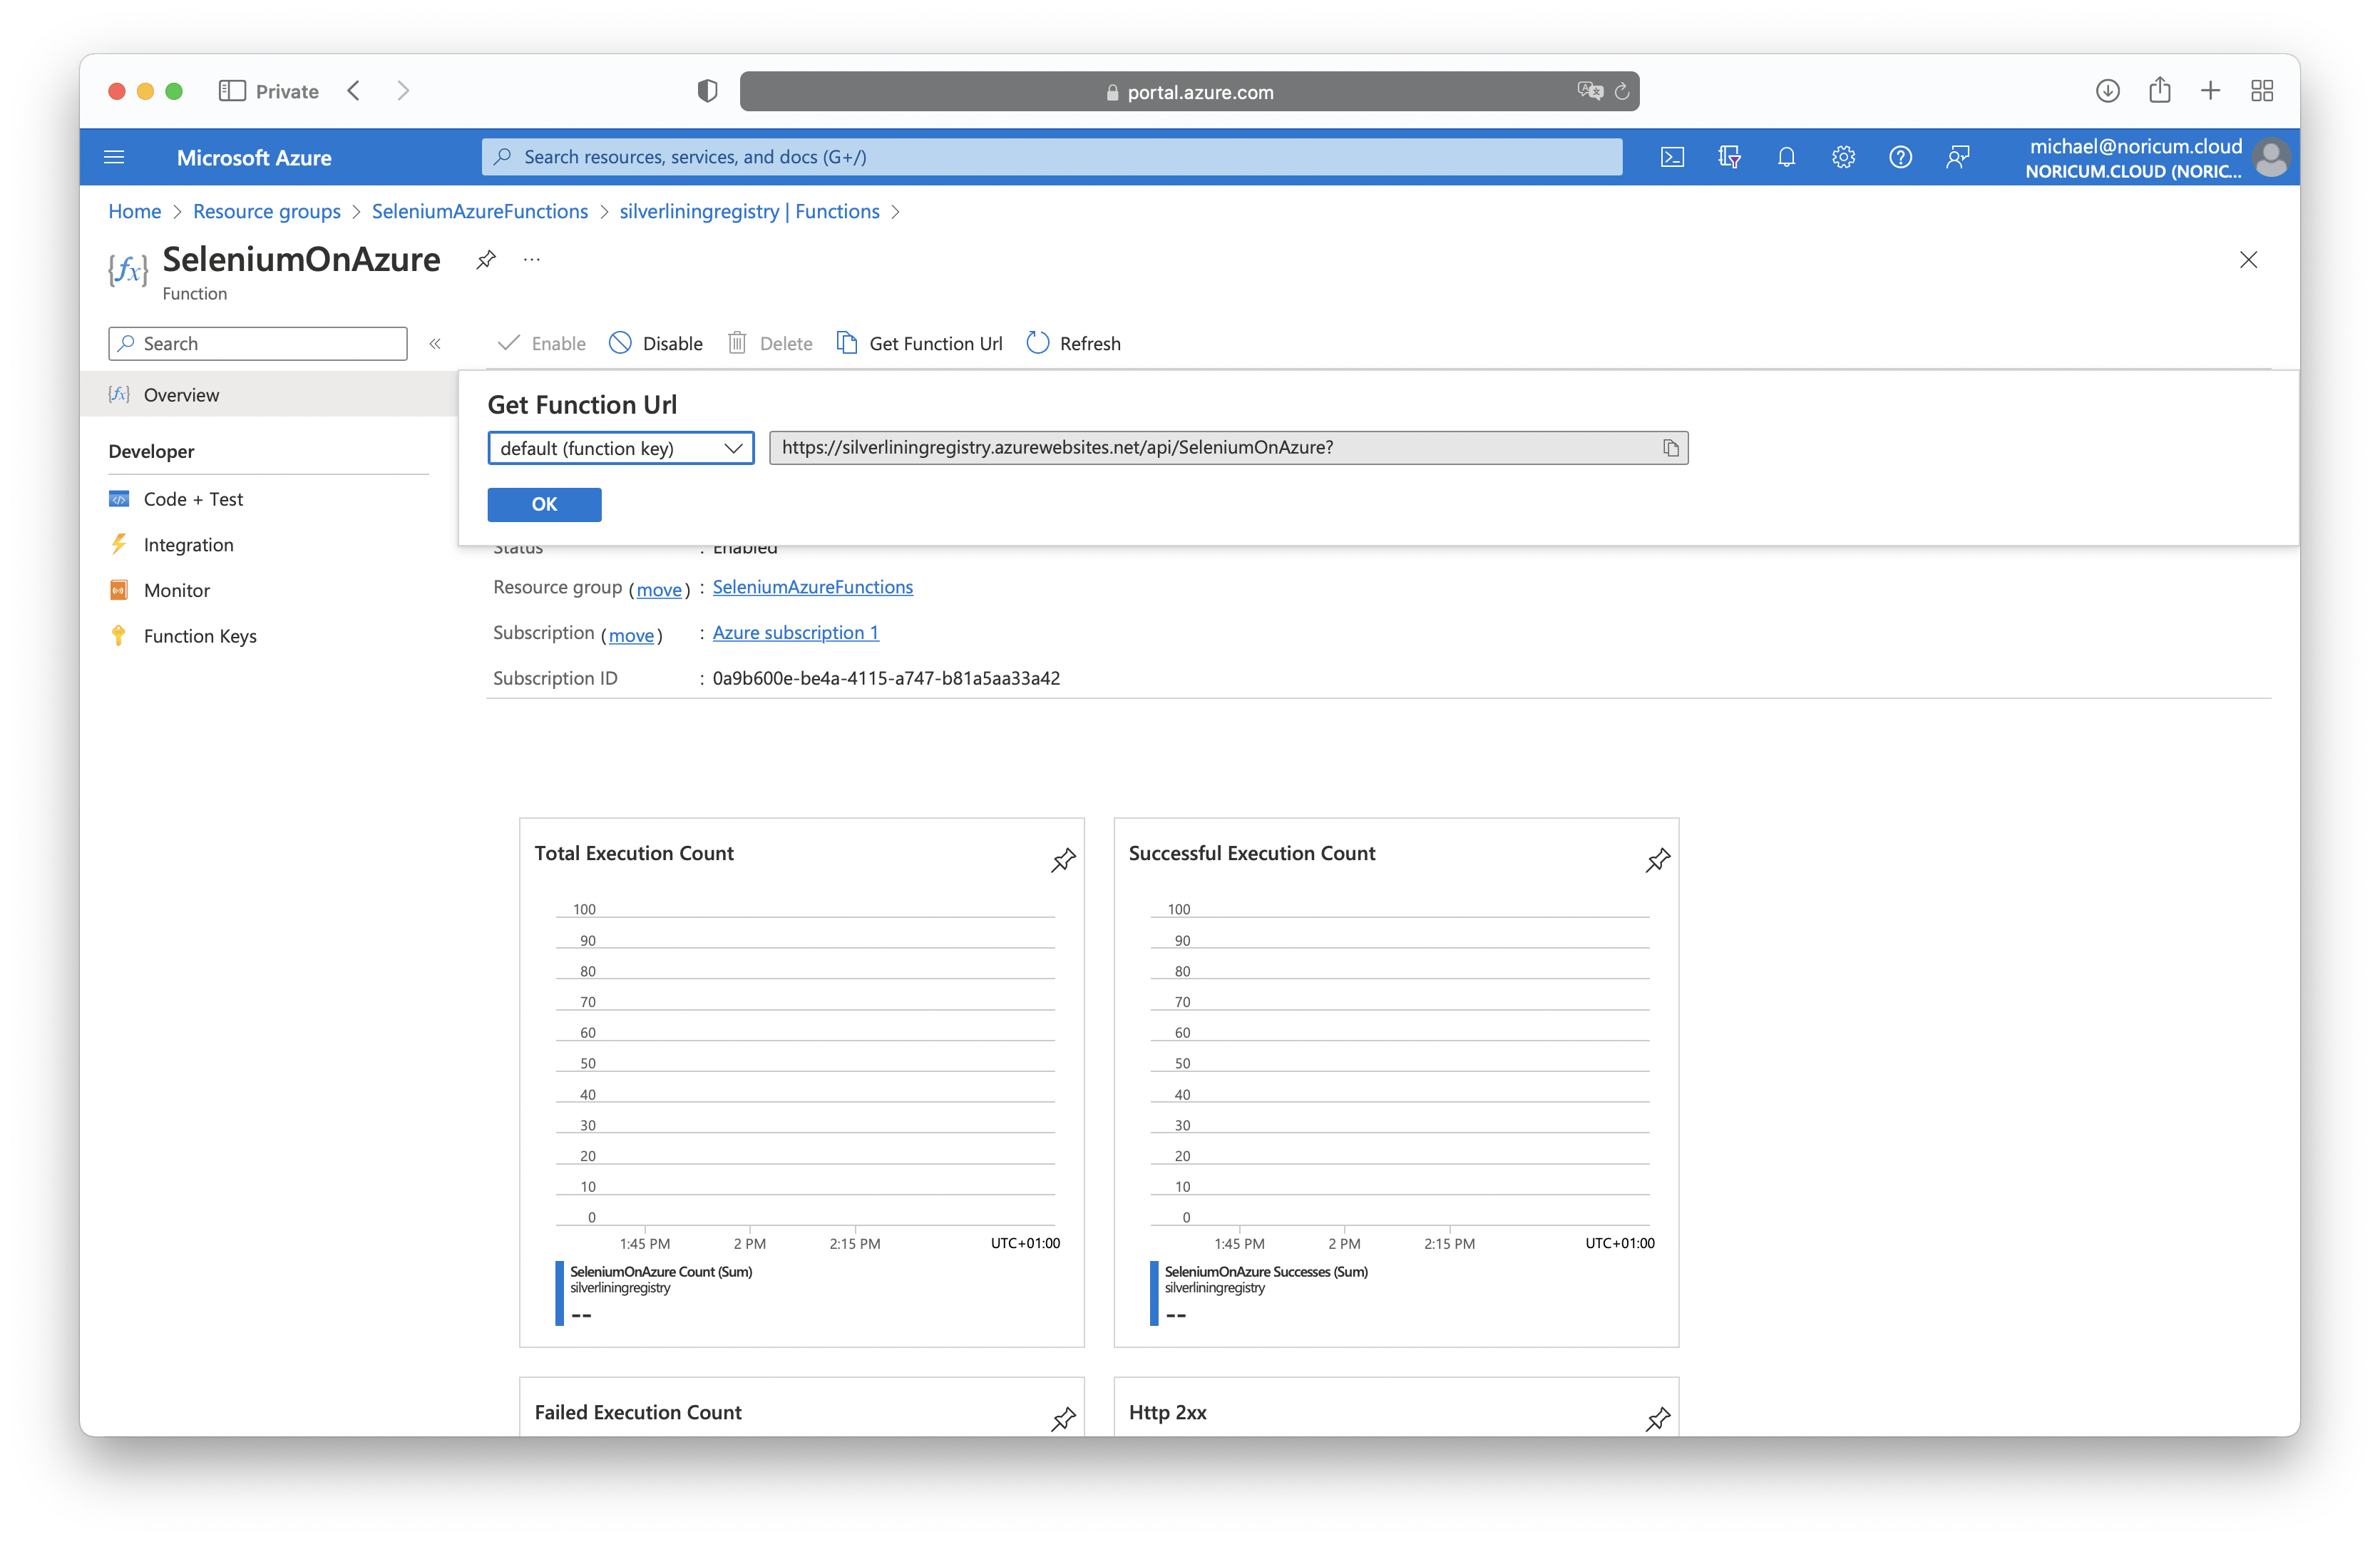
3. To test the function click on 'Get Function Url' and open it in a new browser tab. The default function code will then return a screenshot taken from Serverless Chromium.