Selenium Webdriver in Lambda
Table of Content
Launch Selenium in Lambda
Connect to your VM via SSH
Deploy files on your VM remotely
Set up IAM user
Deploy to Lambda
Troubleshooting
Launch Selenium Webdriver in Lambda
1. Go to the listings page Selenium Webdriver in Lambda on AWS Marketplace.

2. Click on 'Continue to Subscribe', then 'Continue to Configuration' and finally launch it. Follow the instructions on the page to launch the Virtual Machine.
Connect to your VM via SSH
Please see the official documentation for detailed instructions on how to connect to a virtual machine with SSH.
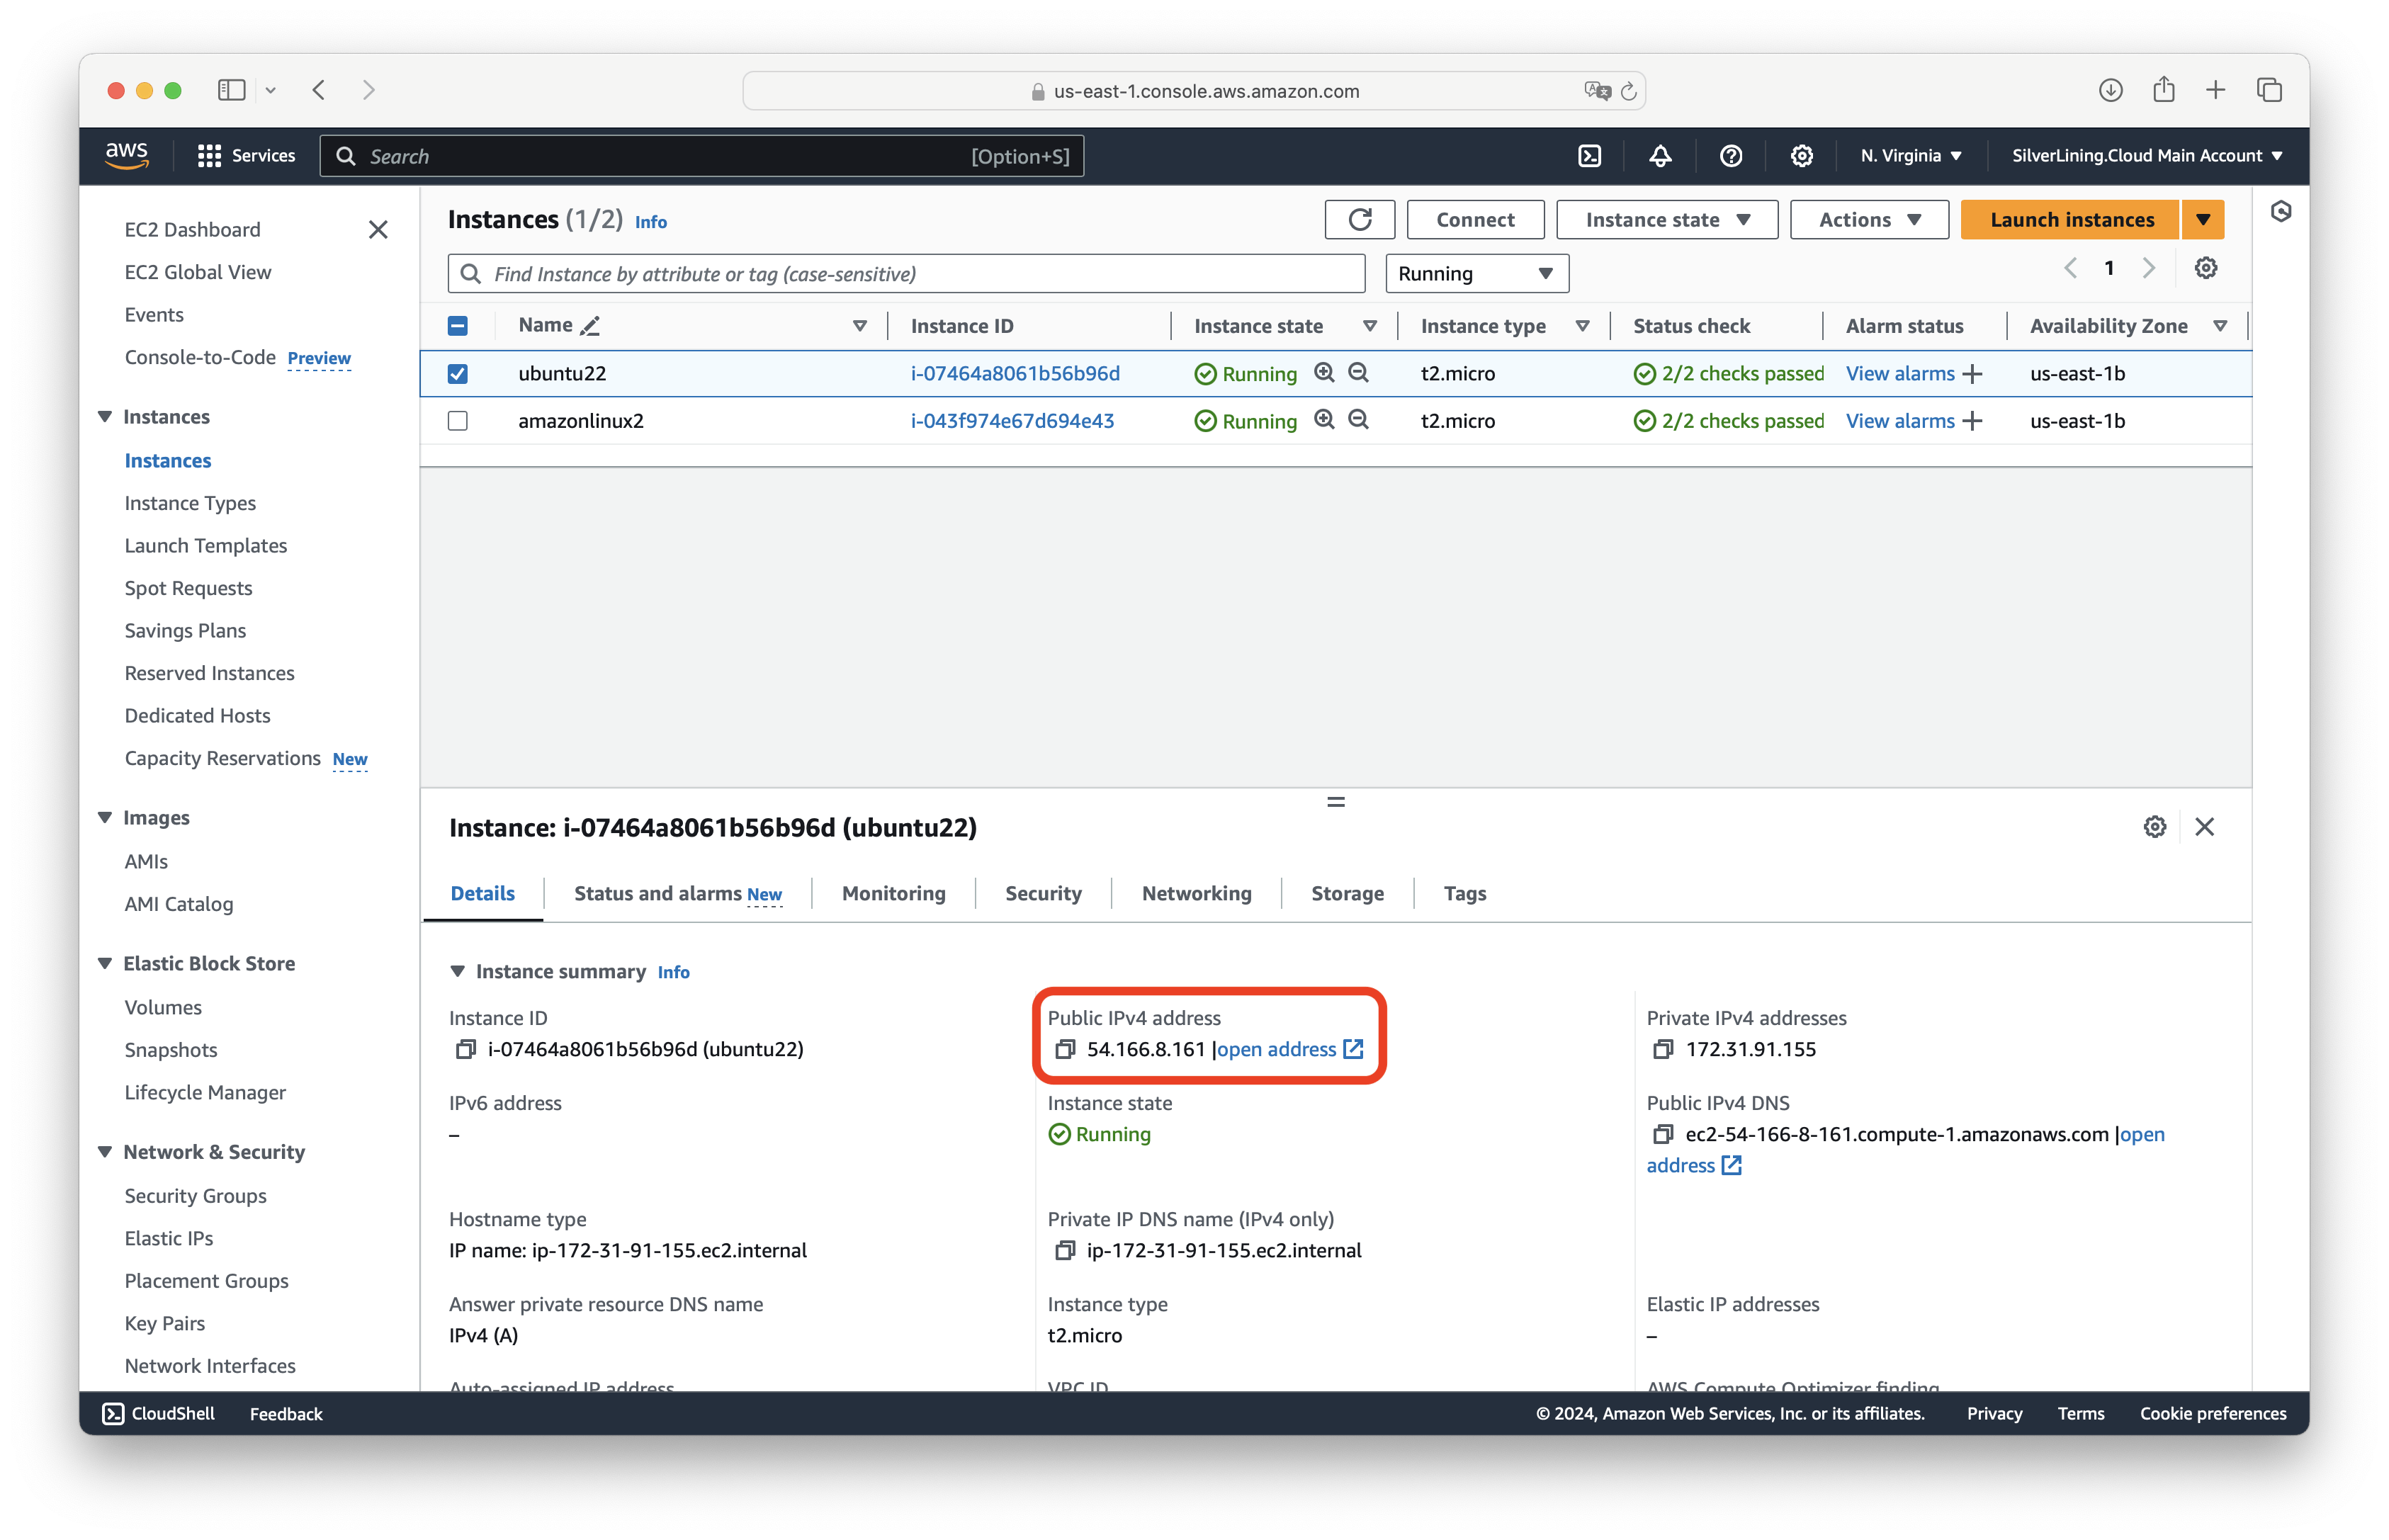
Go to the EC2 Management Console and select the virtual machine to obtain its Public IPv4 address.
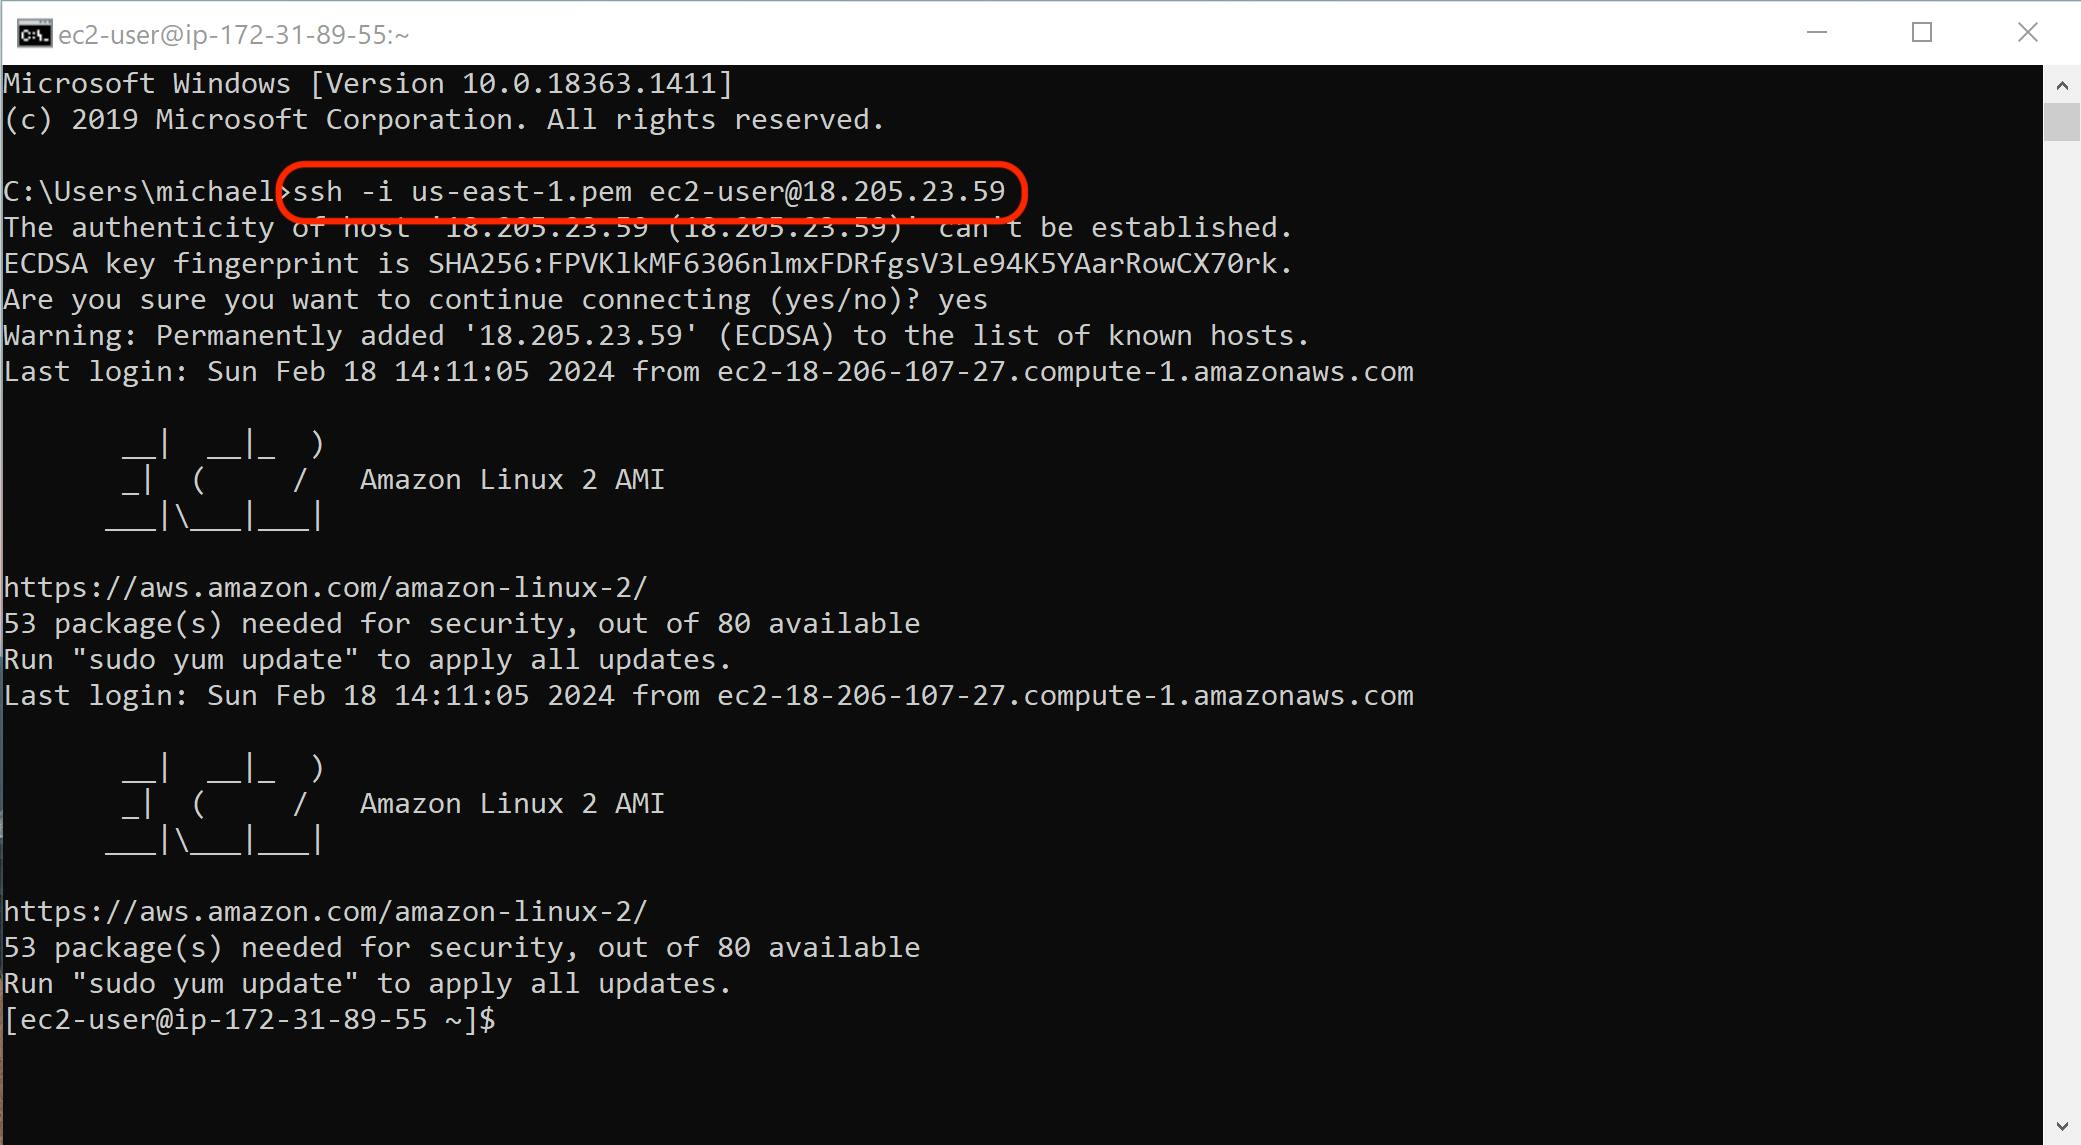
Open a Command Prompt / Terminal window and navigate to the directory where your created .pem key file is located. You can connect to your VM with the user 'ec2-user' by executing the following command:
ssh -i <name-of-key-file.pem> ec2-user@<public-ip>
Deploy files on your VM remotely
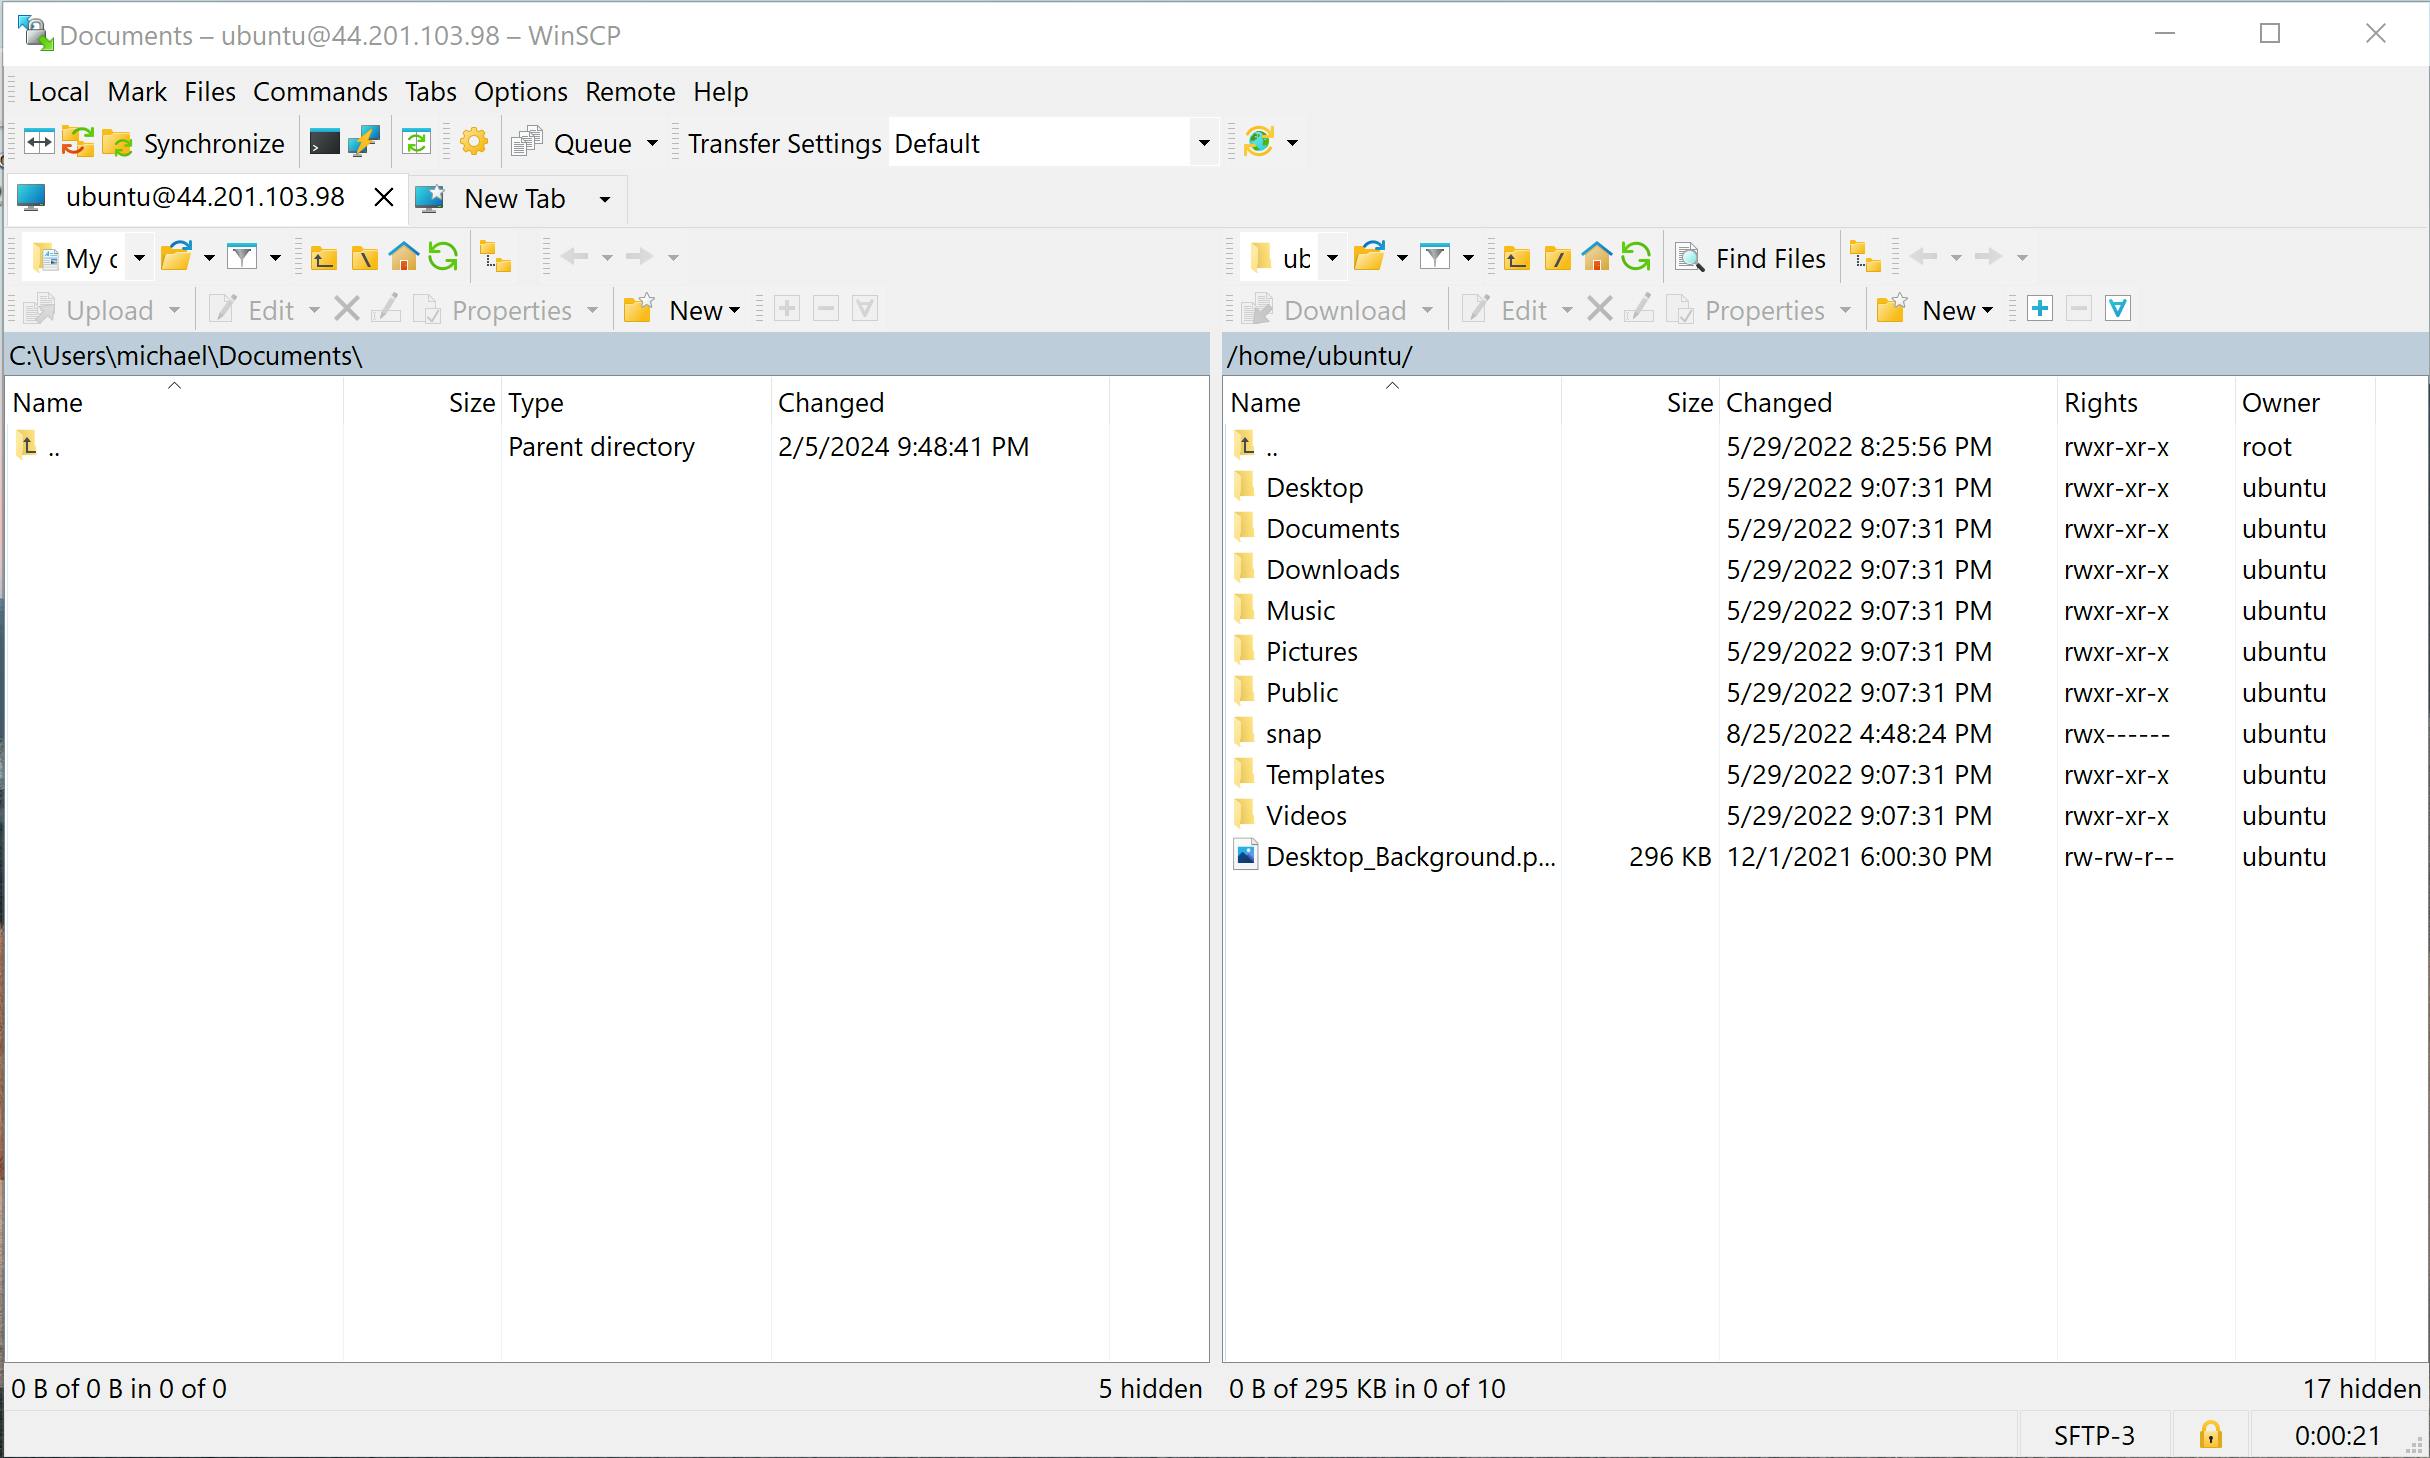
Download and install WinSCP or any other SCP client of your choice.
Choose 'SFTP' as the file protocol and enter the public IP address of your instance, using 'ubuntu' as the username.

Click on 'Advanced'.
In the left-side menu, select 'Authentication'. Under Authentication parameters, select the key file you created when you launched the virtual machine. When prompted, convert the .pem key file to PuTTY format.
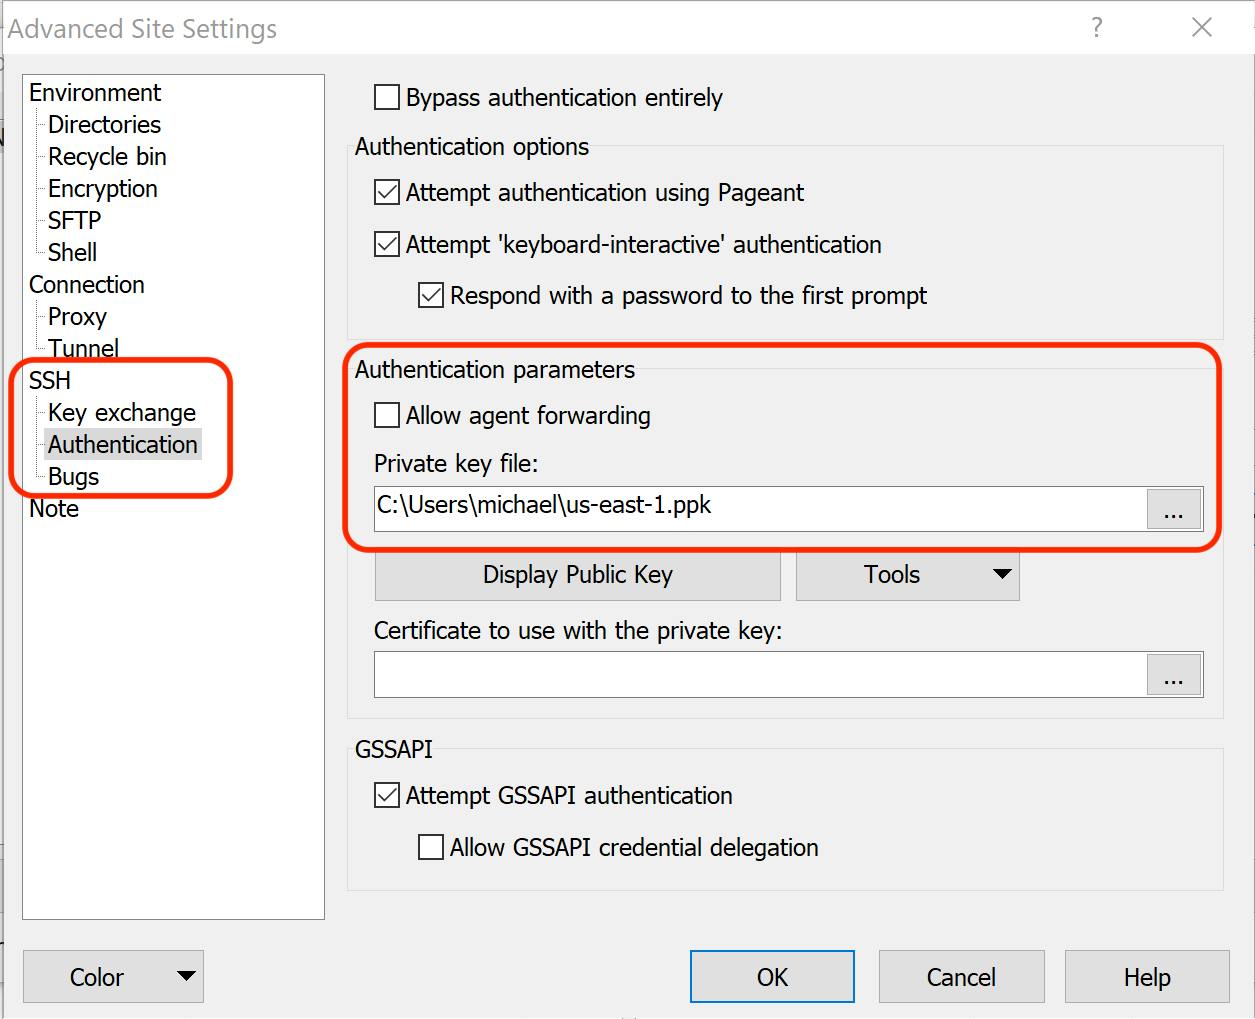
Close the Authentication window by clicking on 'OK', and connect to the virtual machine by clicking on 'Login'.
Set up IAM user
First, create an IAM user to use it for deploying to AWS Lambda. Go to the AWS IAM console at https://console.aws.amazon.com/iam/home, navigate to 'Users', and click on 'Add user'.
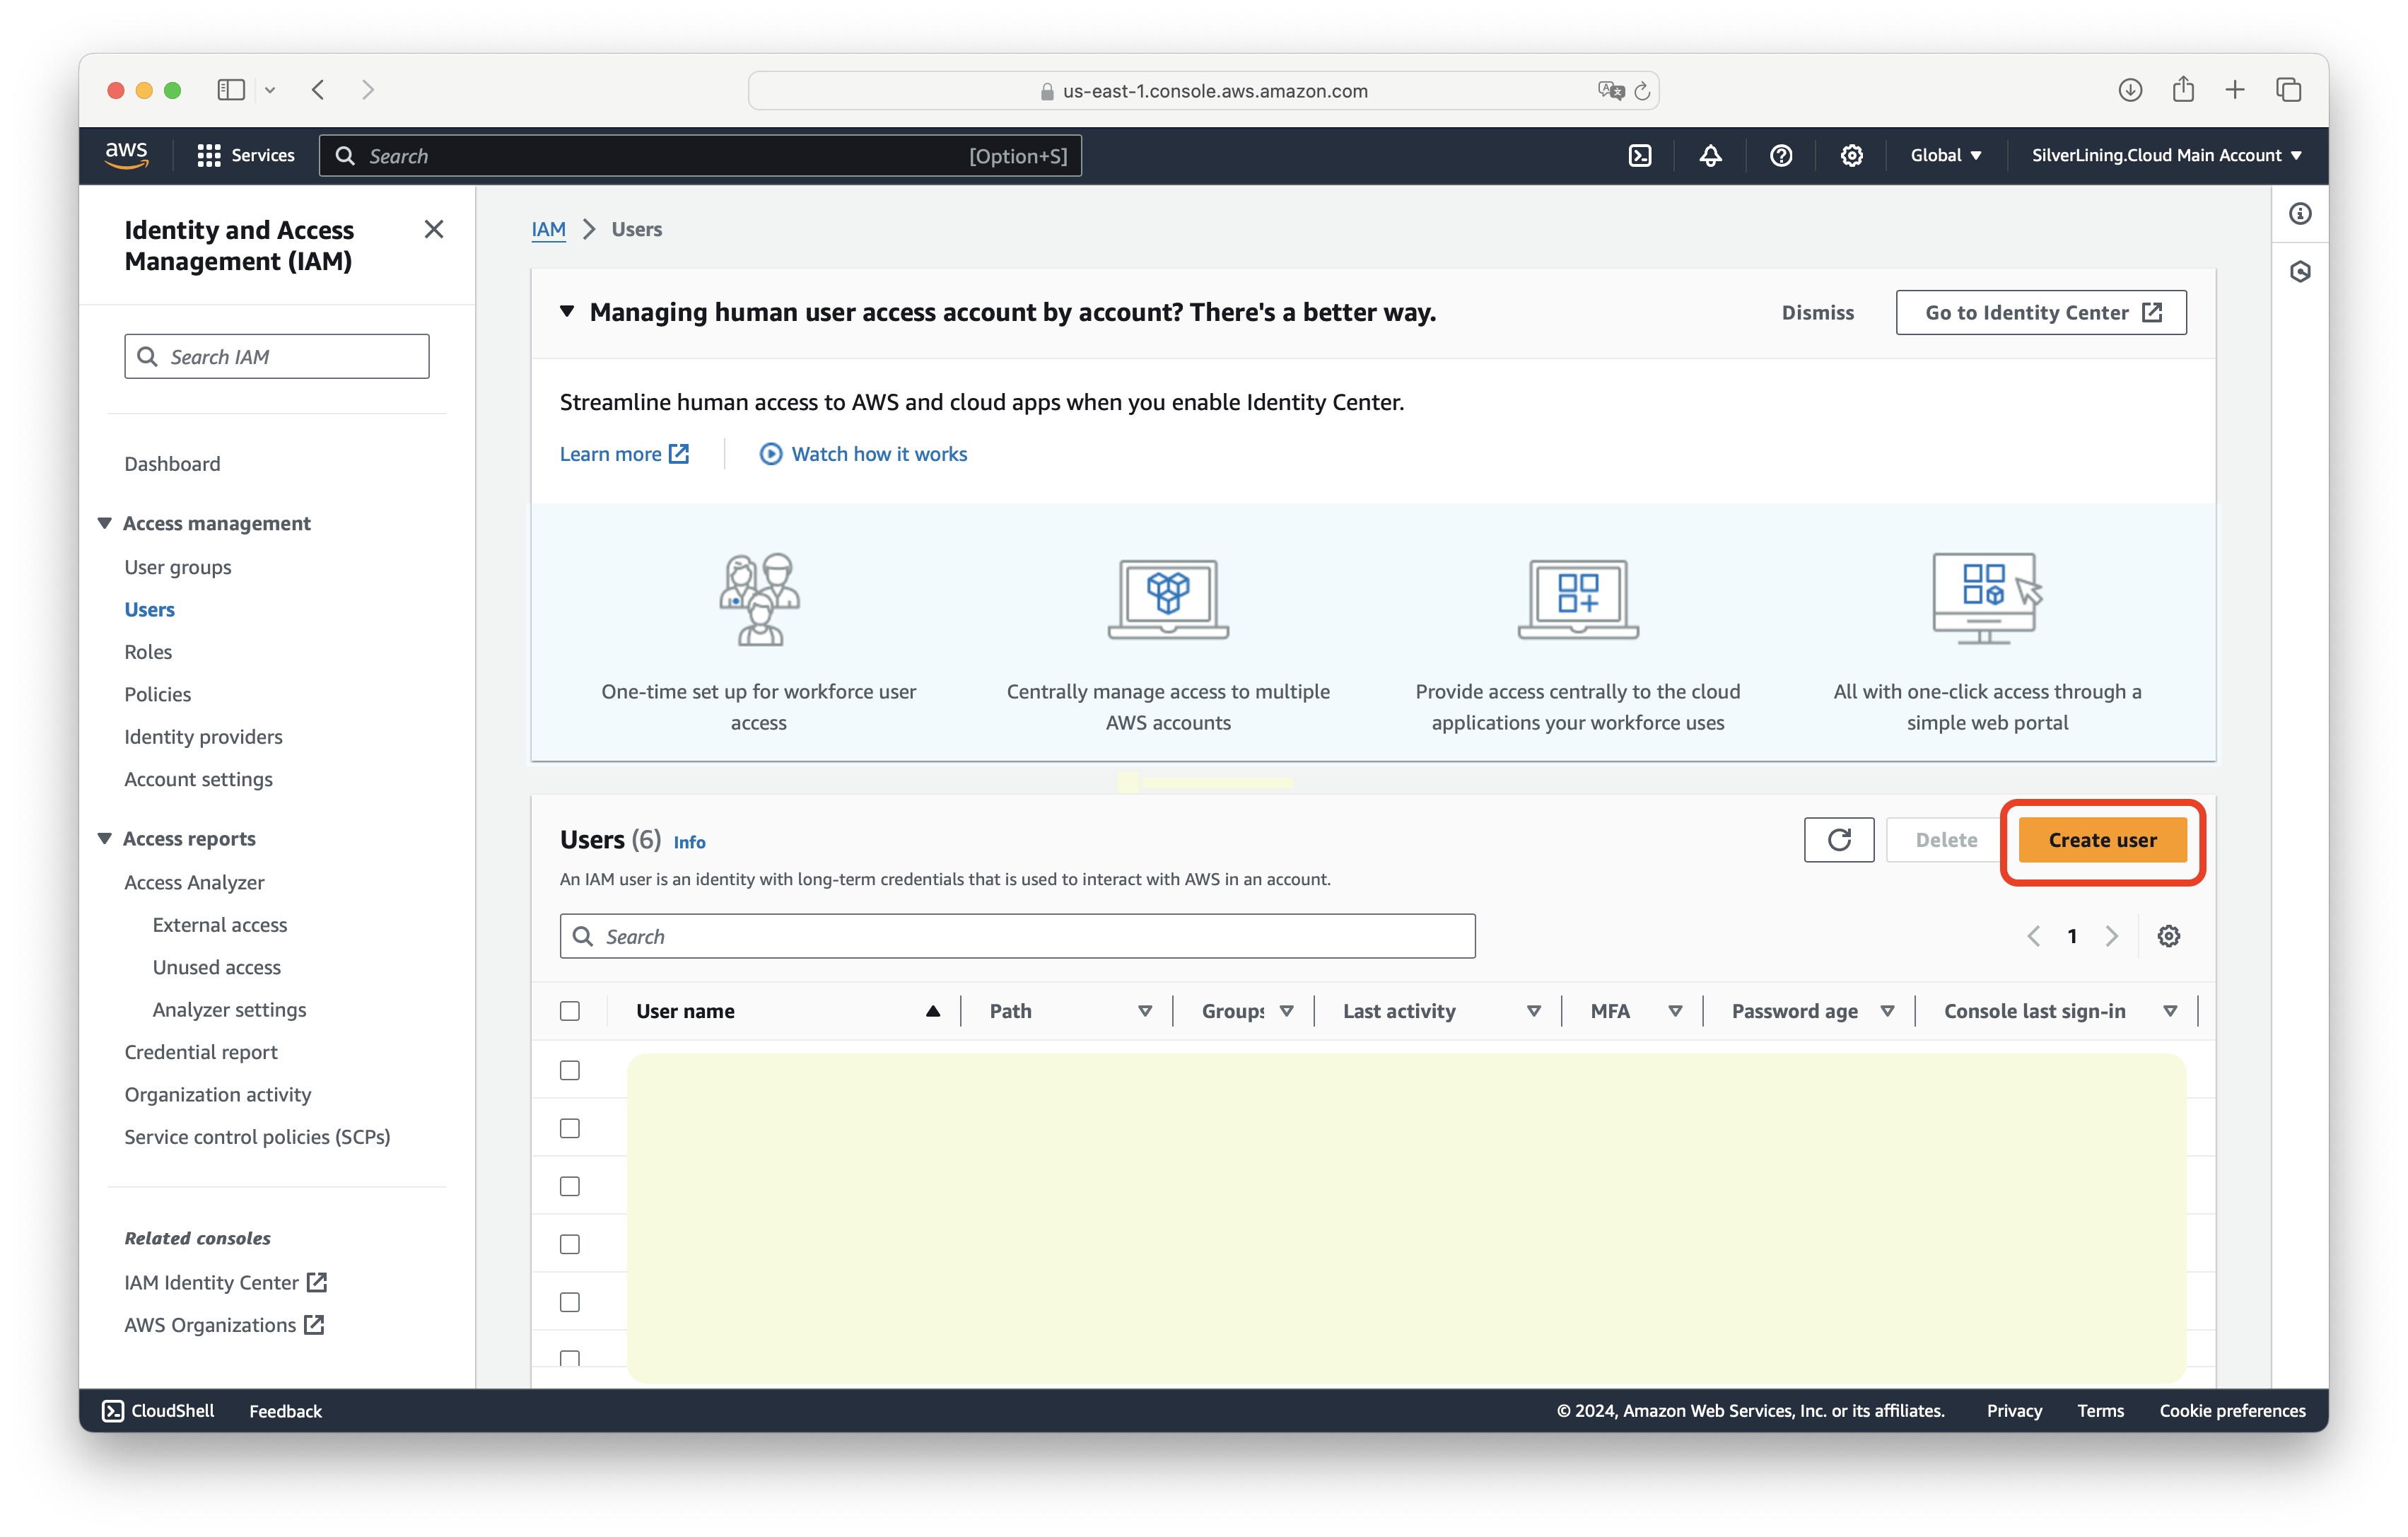
Give it a username, for example, 'Lambda-Deploy-User', and click on 'Next: Permissions'.
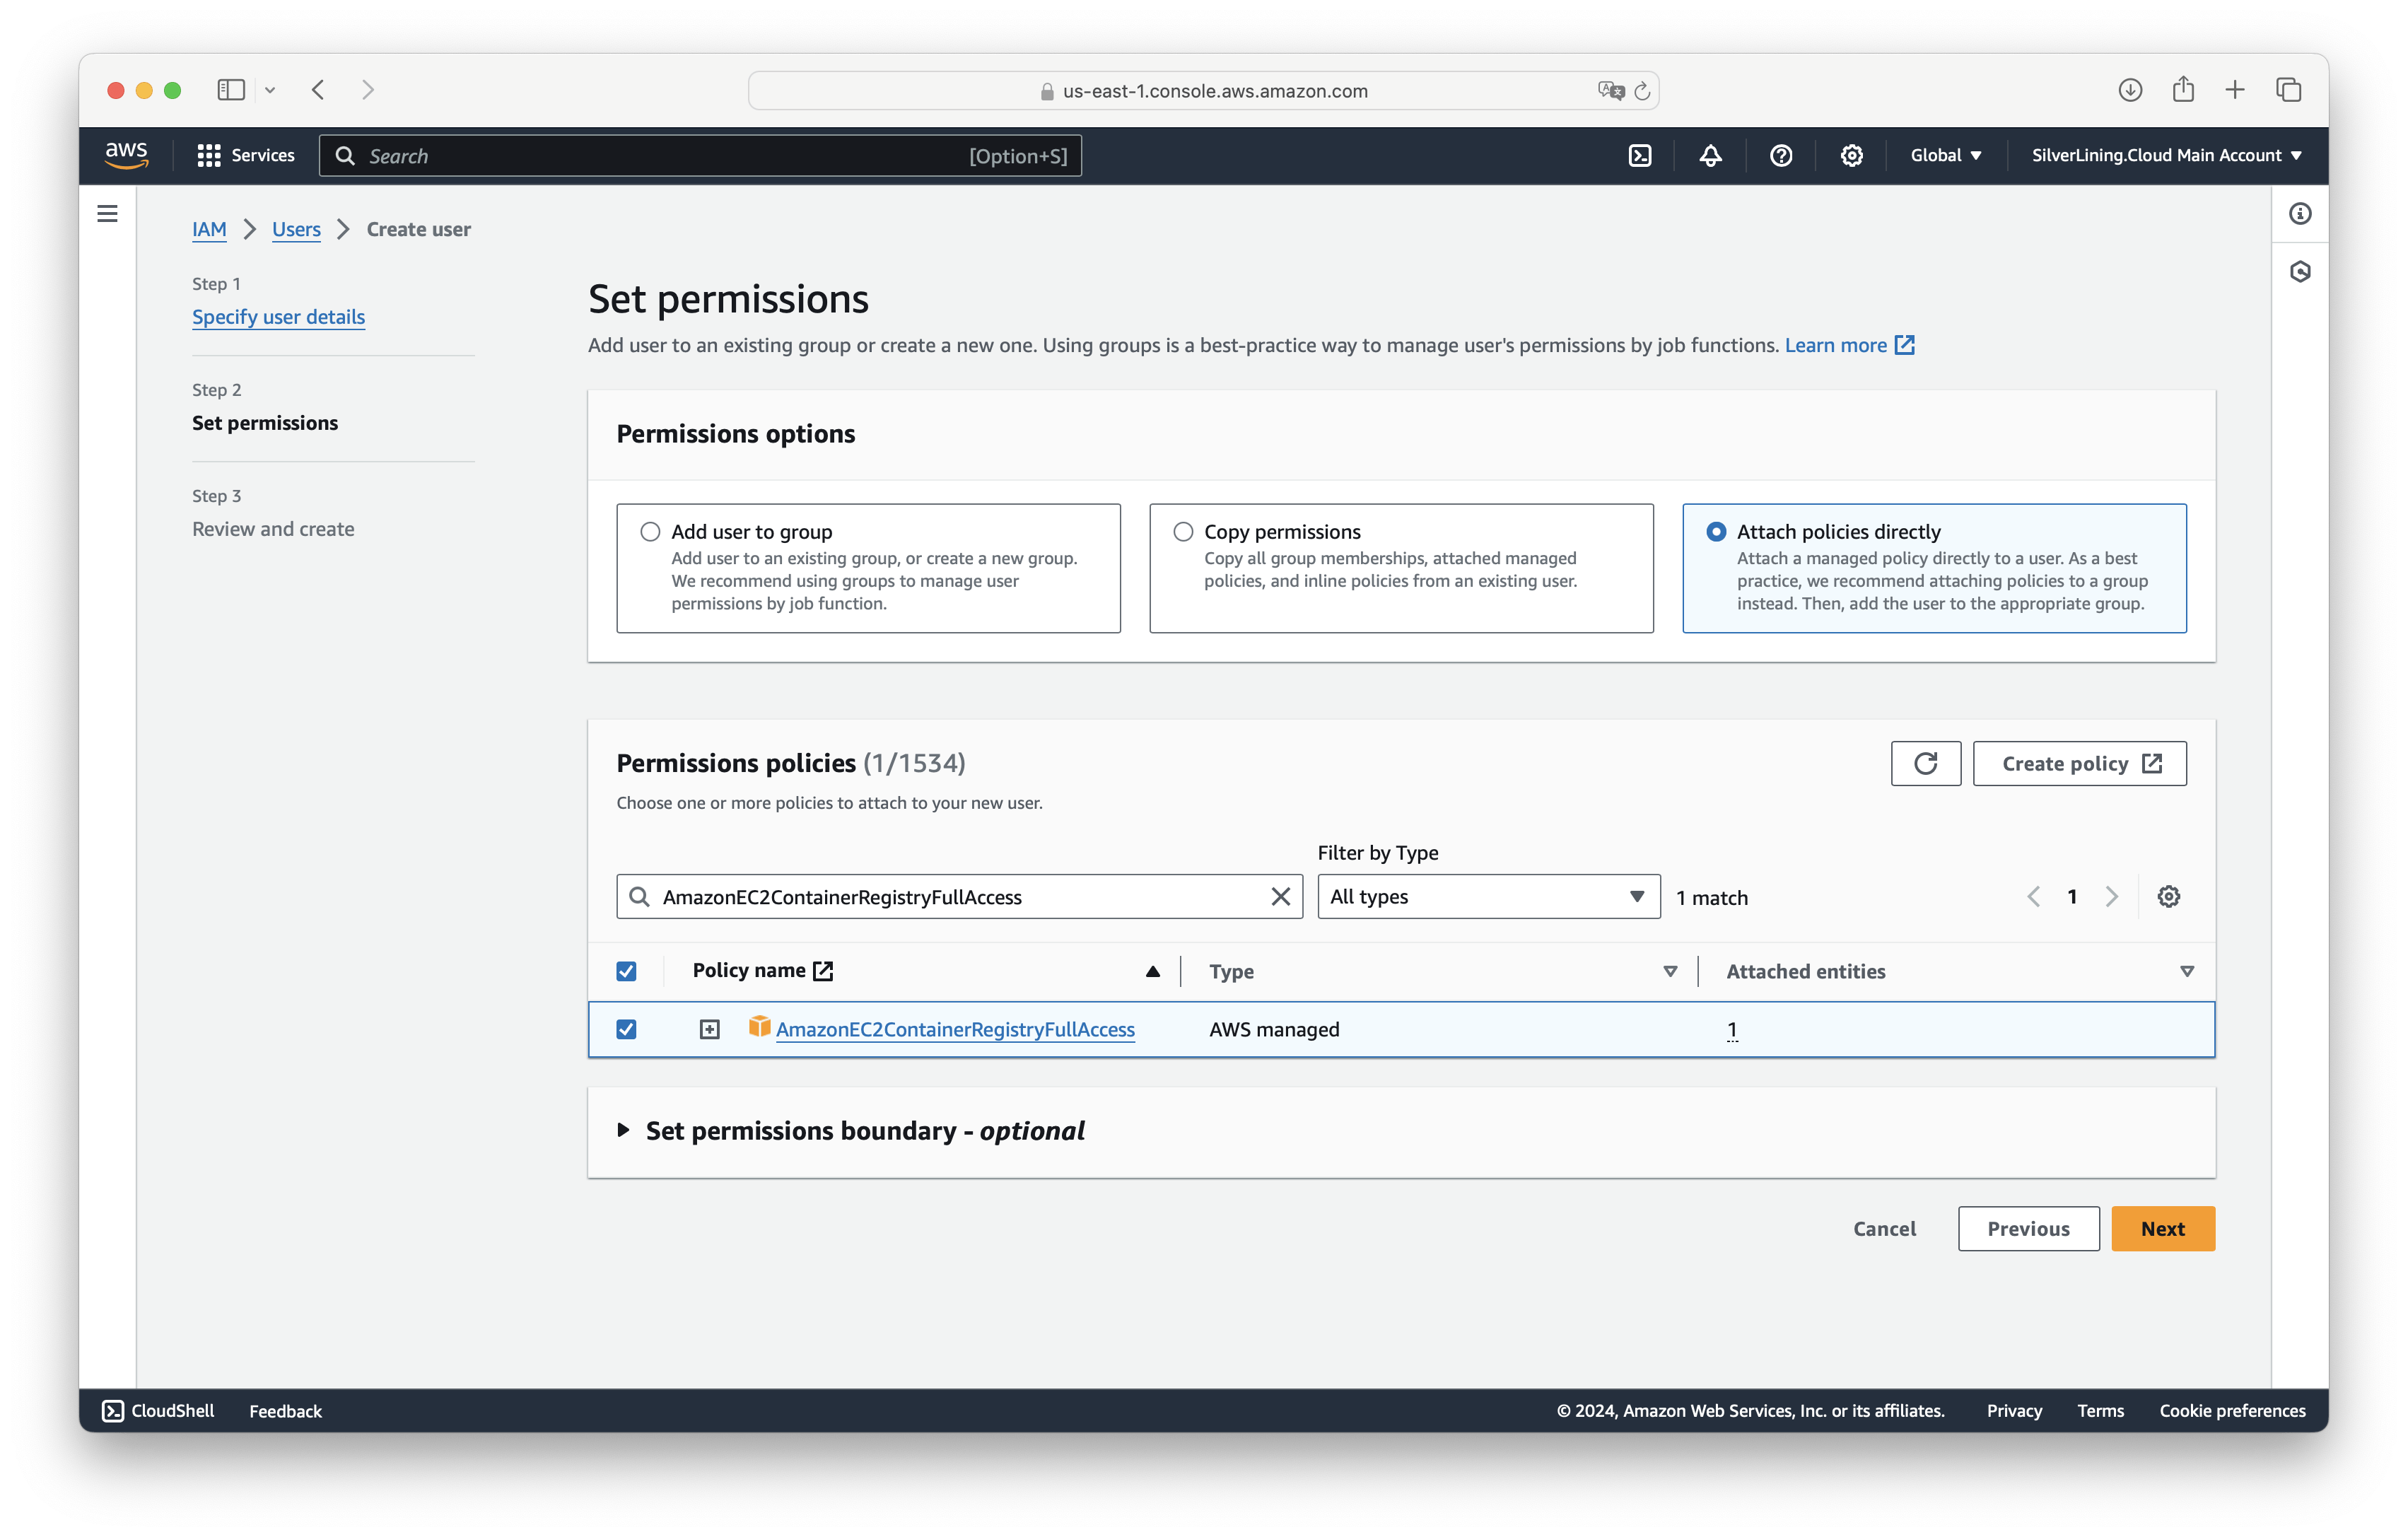
Under 'Set permissions', choose 'Attach existing policies directly'. Then, search for and select 'AmazonEC2ContainerRegistryFullAccess'.
Proceed to create the user by clicking on 'Next: Tags', optionally add tags, then click on 'Next: Review' and finally, 'Create user'.
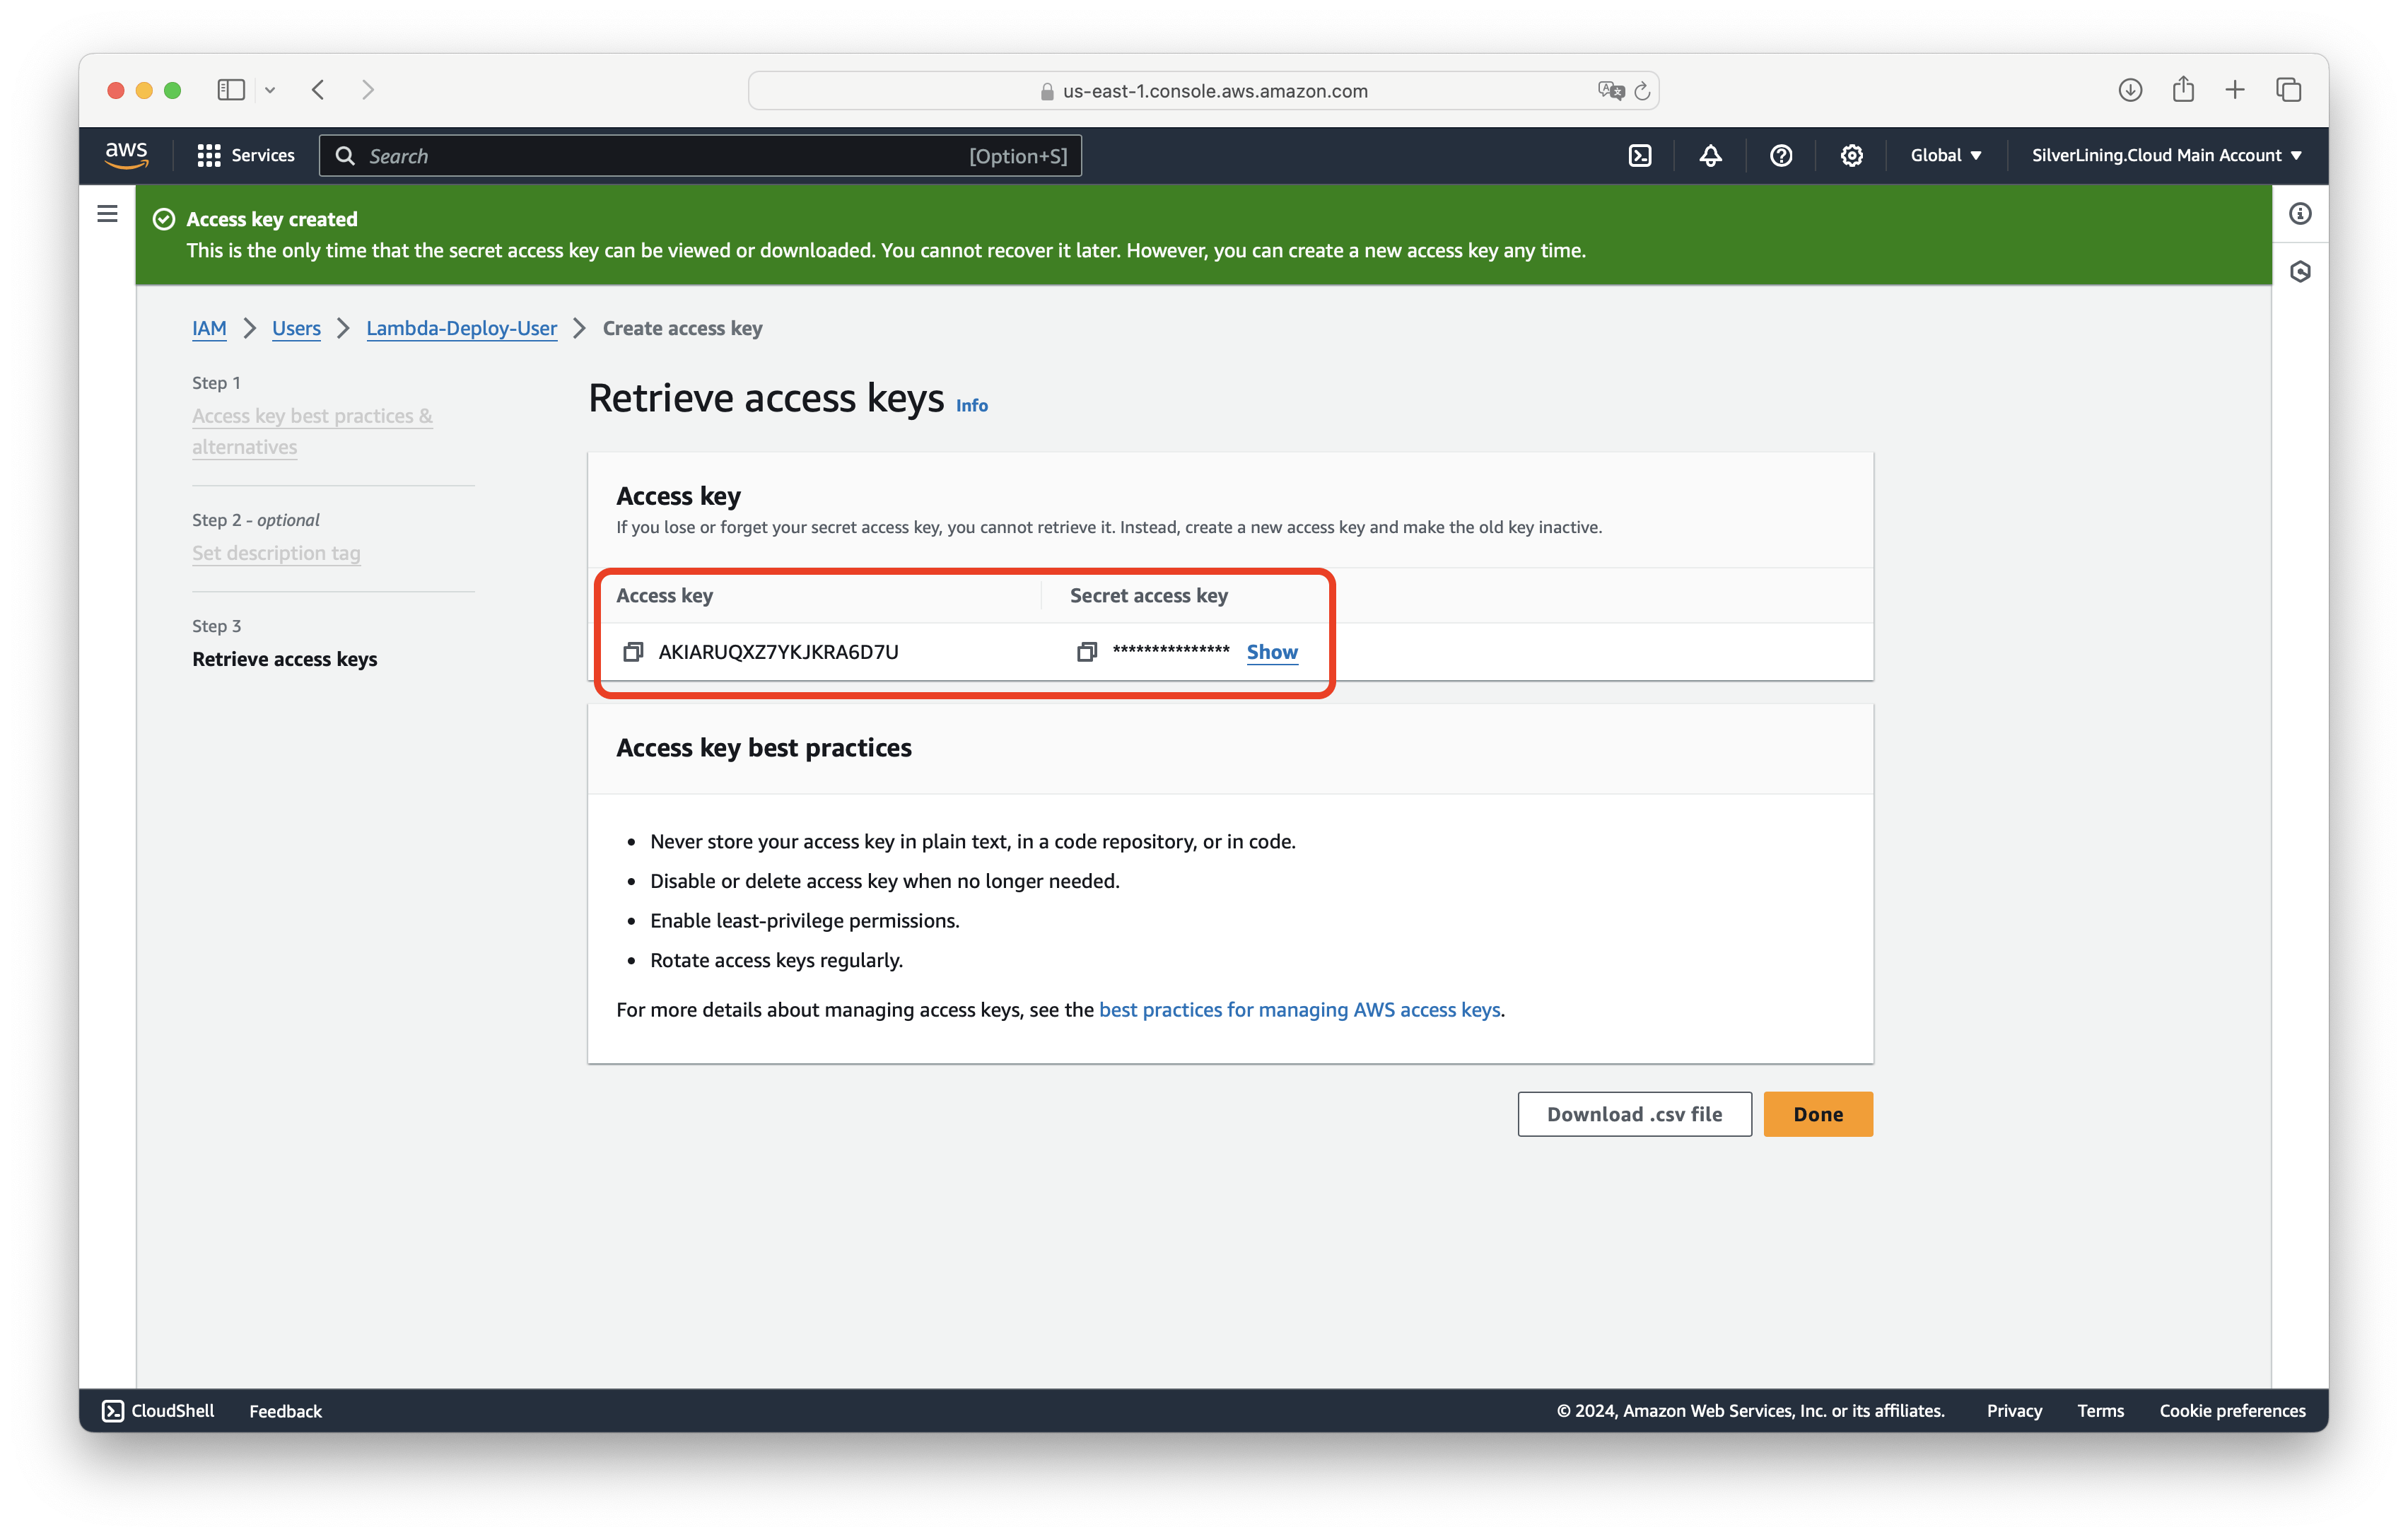
Select the newly created user and go to the 'Security credentials' tab. Under 'Access keys', create a new access key.

When prompted for the use case, select 'Command Line Interface (CLI)'.
Be sure to save the access key ID and the secret access key for later use in this tutorial. Note: This is the only time you will see the secret access key, so it's important to keep it secure.
Deploy and Develop
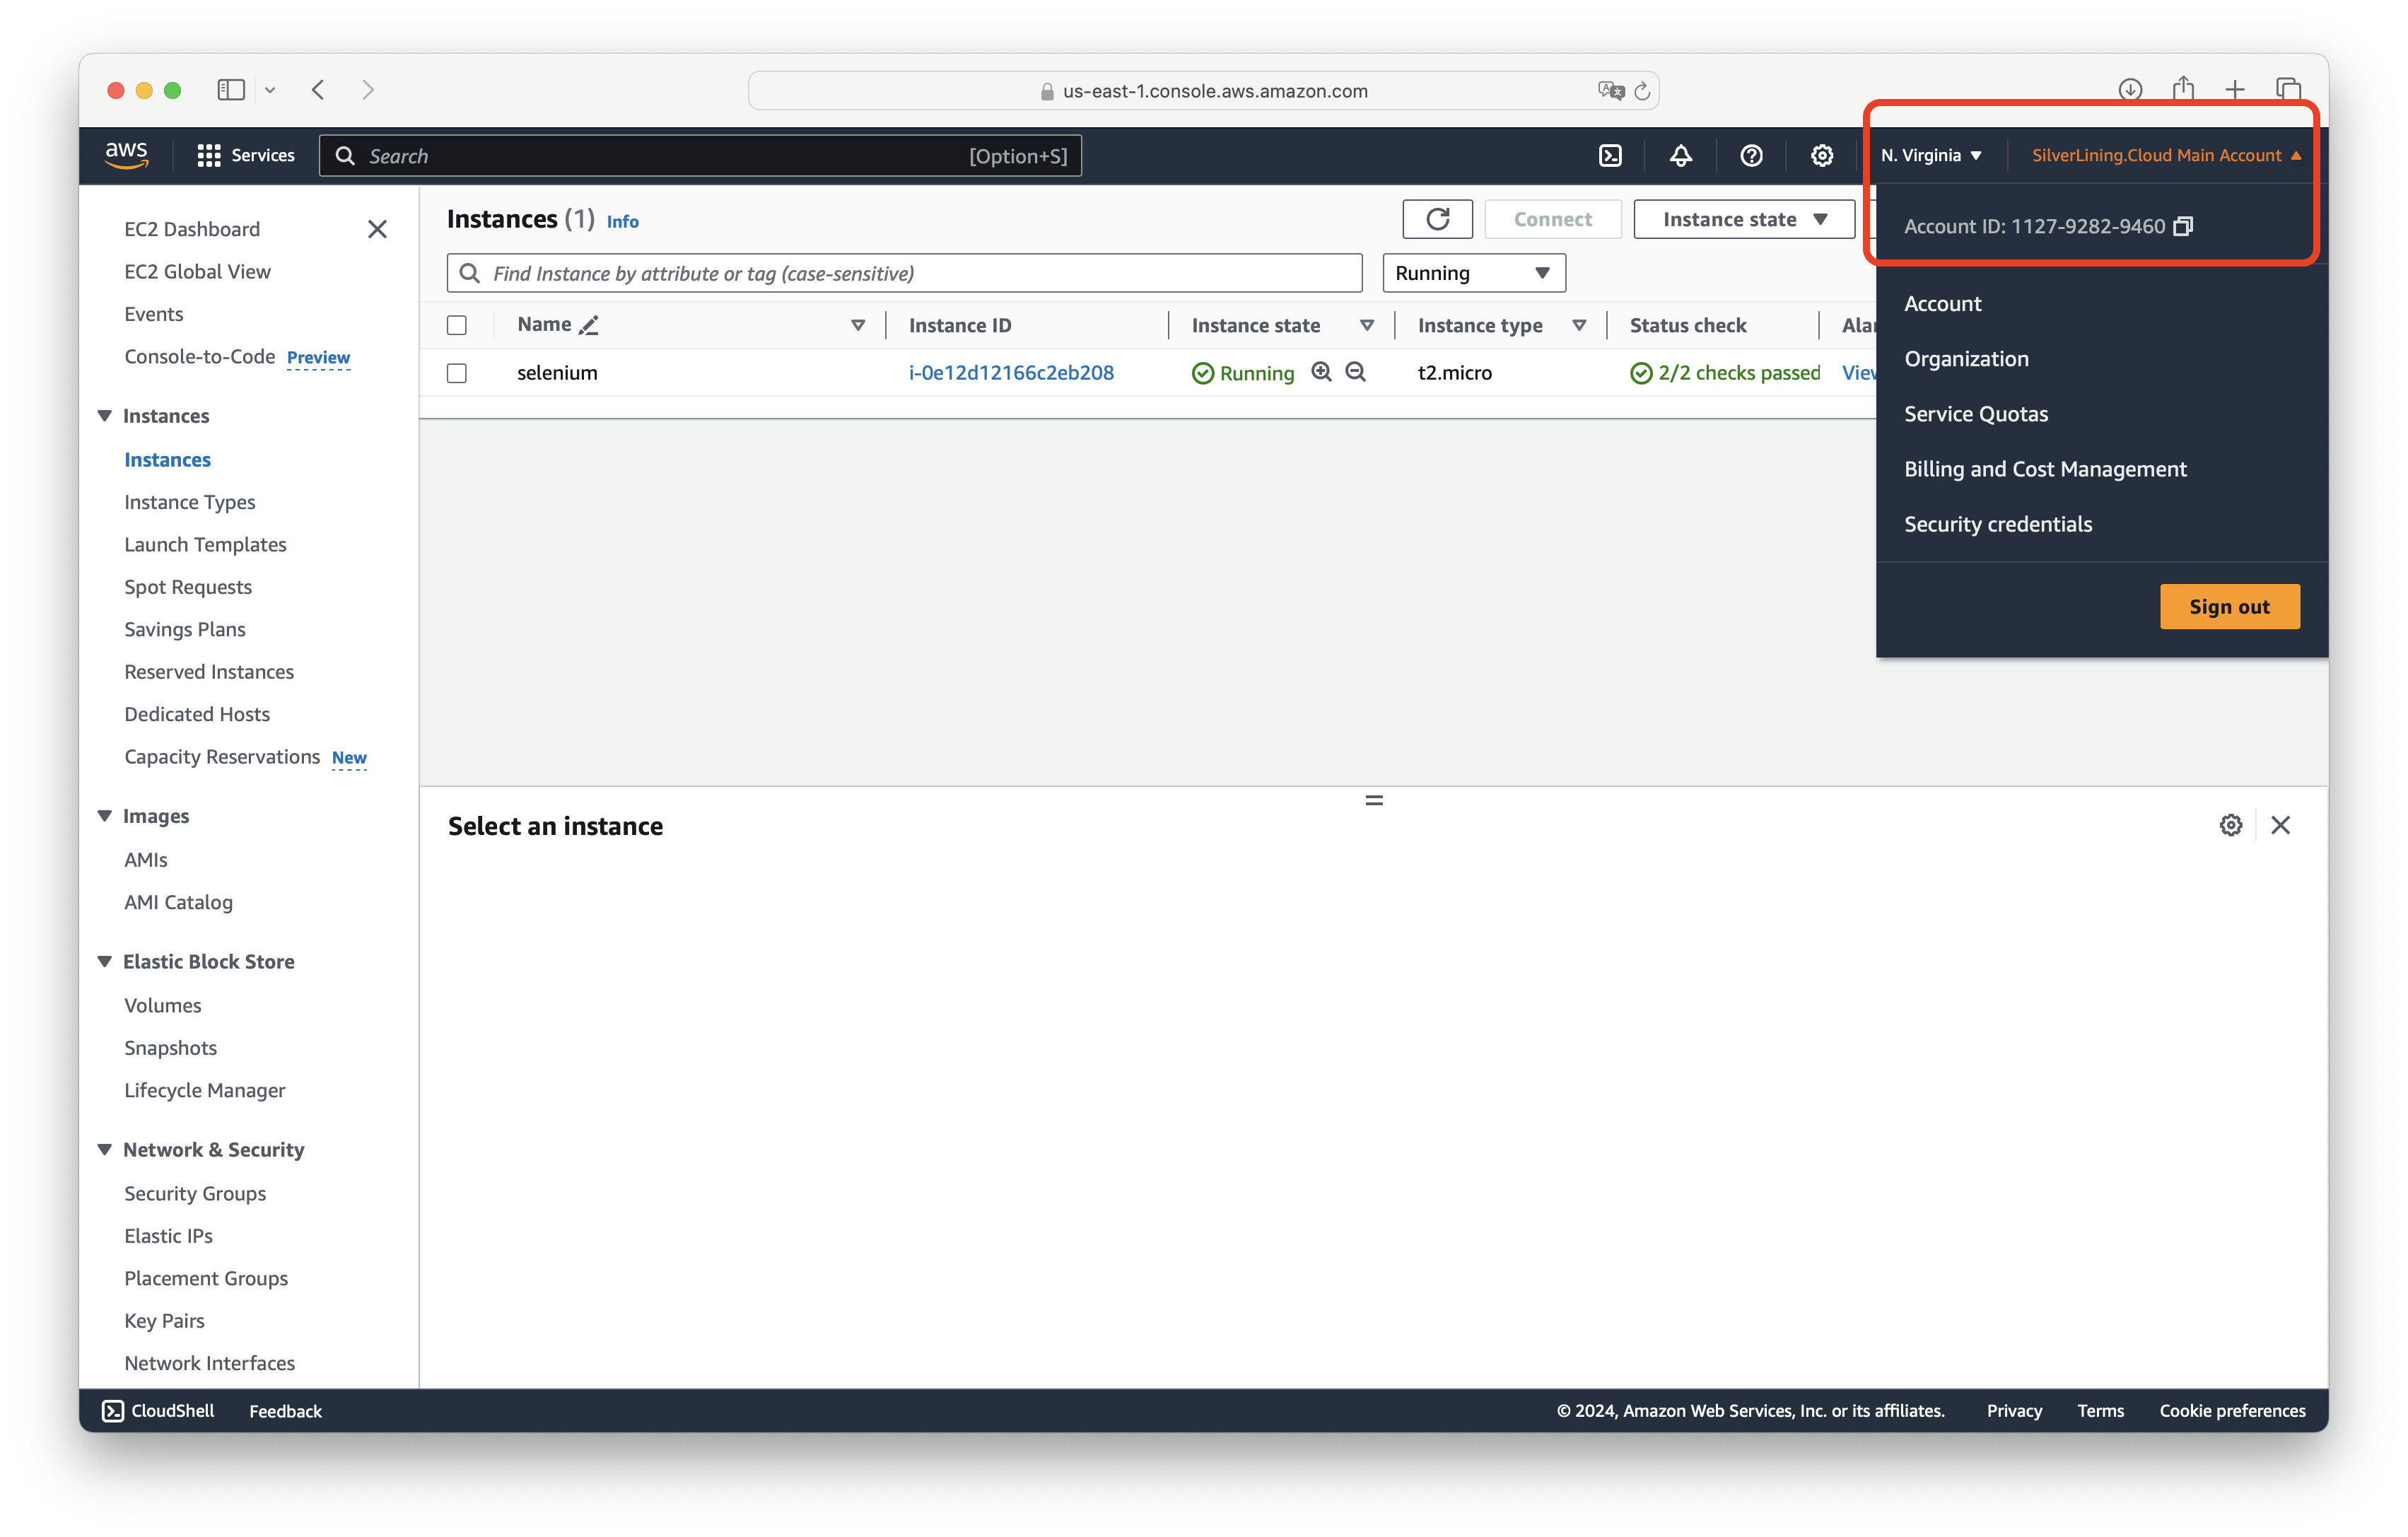
Obtain your AWS Account ID (a 12-digit number) by clicking on 'My Account' in the AWS Management Console. You will need this for subsequent steps.
Launch the Selenium in Lambda EC2 virtual machine, and connect to the terminal via SSH to log in as 'ec2-user'. Refer to the chapter 'Connect to your VM via SSH' for guidance.
Configure your AWS access and secret keys (refer to the chapter 'Set up IAM user') by executing:
aws configure

Navigate to the selenium-docker-python directory with the command:
cd selenium-docker-python

The Lambda function code is located in app.py. Edit the script using:
nano app.py
Alternatively, you can deploy your scripts remotely (see the chapter 'Deploy files on your VM remotely').
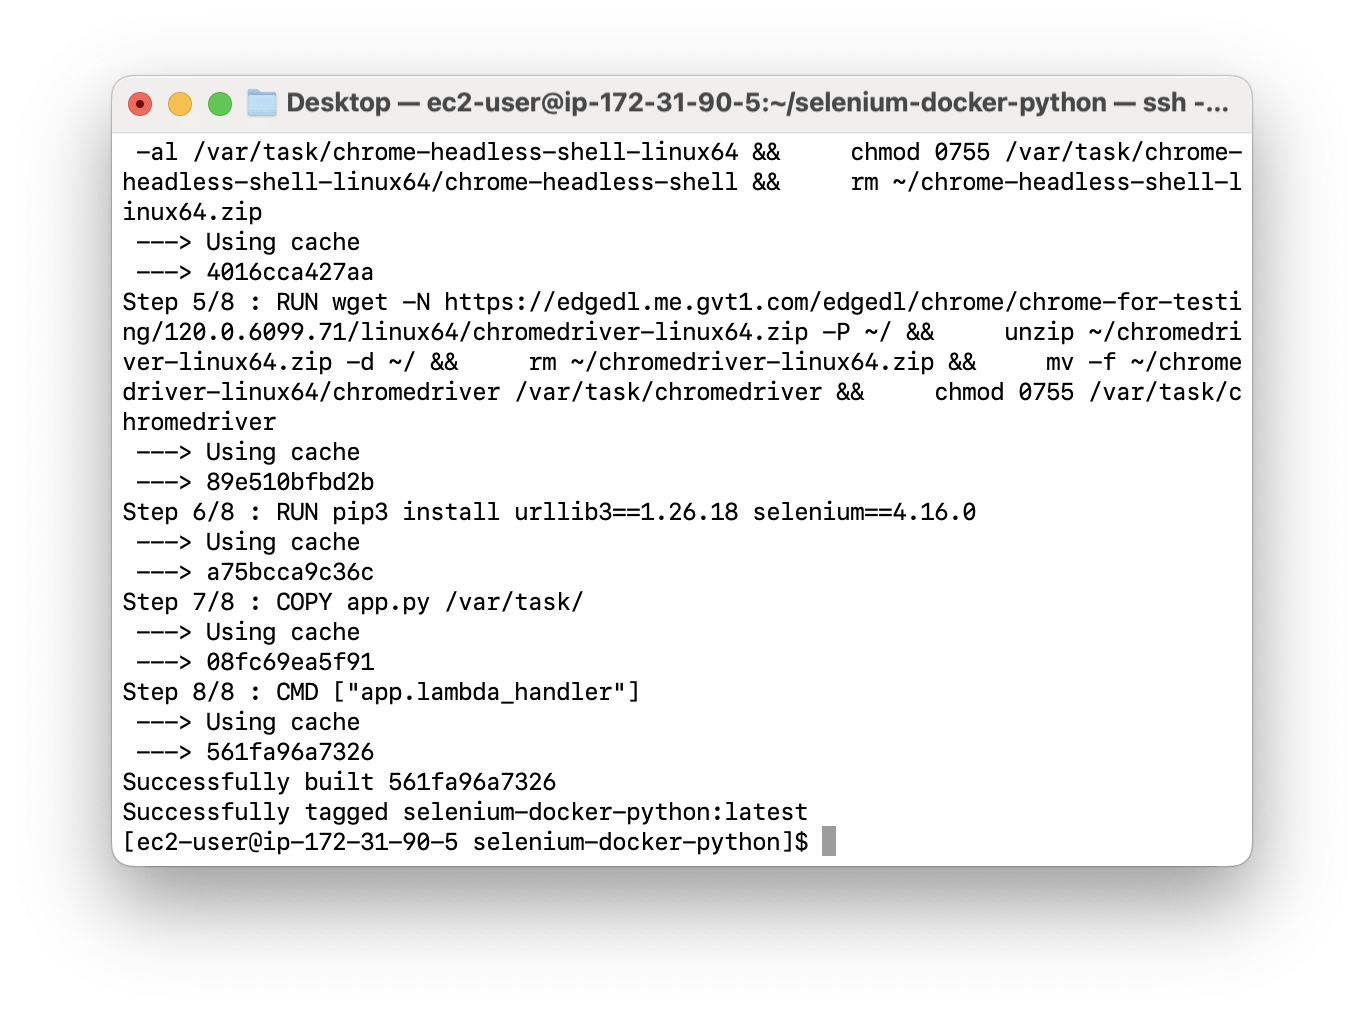
Build the preconfigured Docker image with the following command:
docker build -t selenium-docker-python .
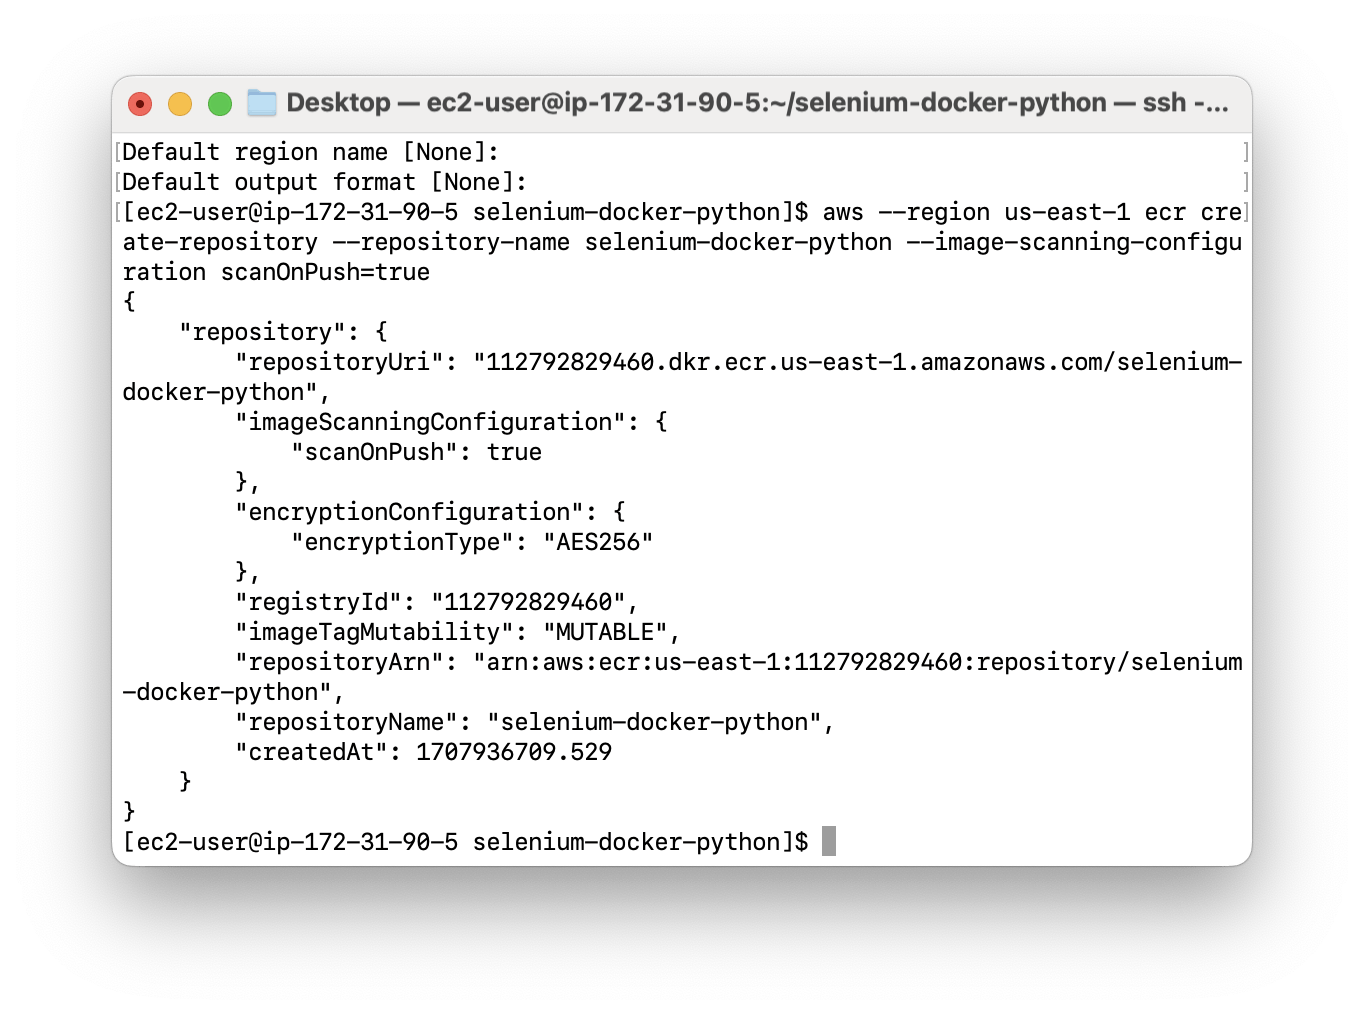
Create a private Docker image repository in Amazon ECR by running:
aws --region us-east-1 ecr create-repository --repository-name selenium-docker-python --image-scanning-configuration scanOnPush=true
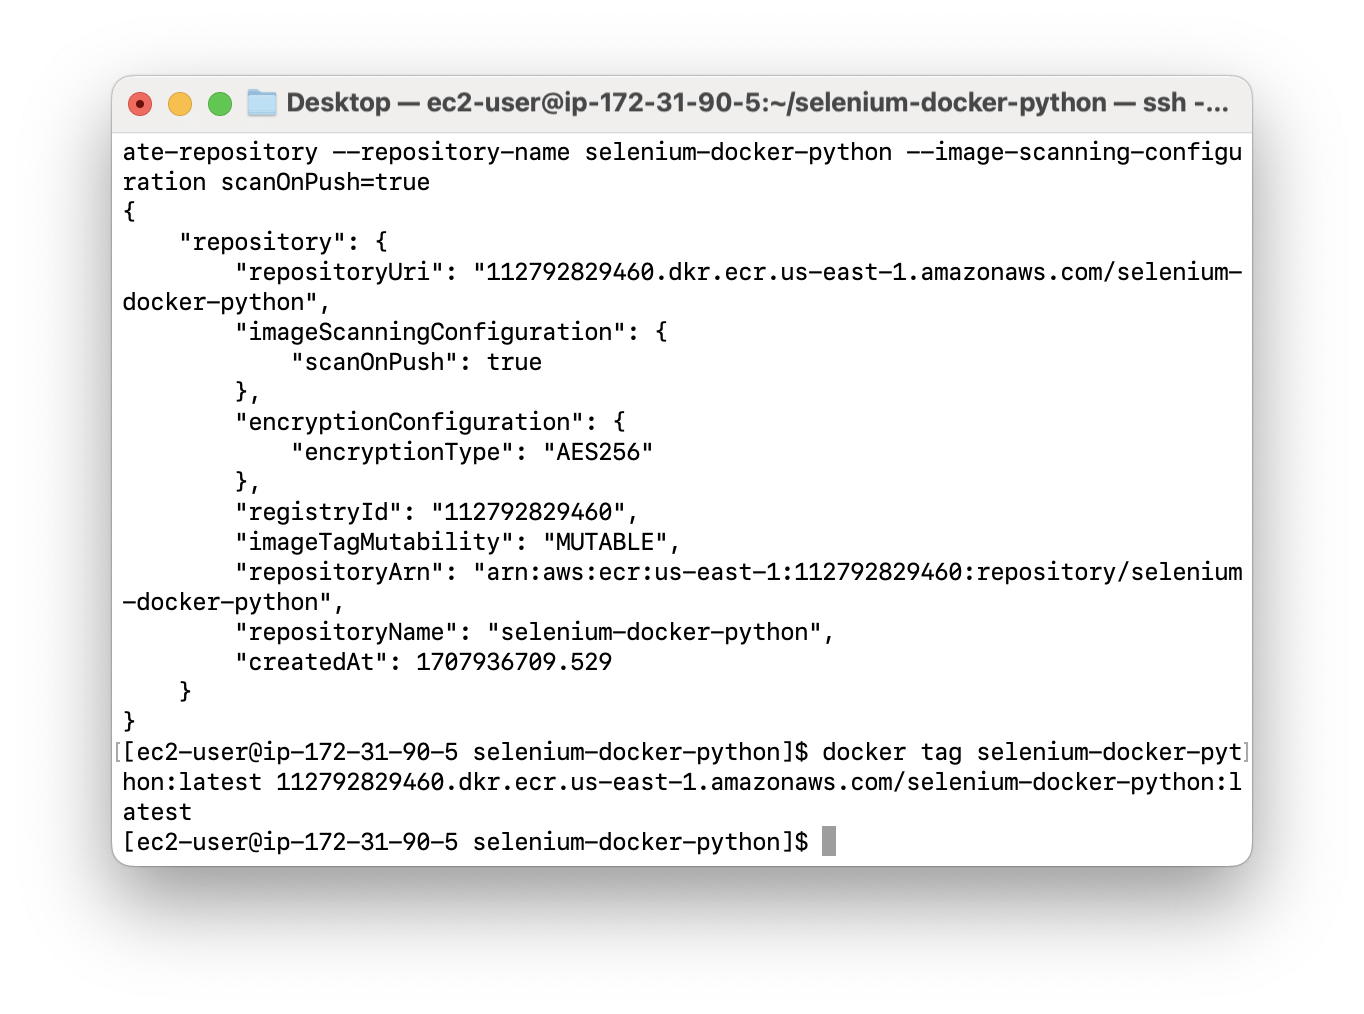
Tag the Docker image you previously created. Replace <Your-AWS-Account-Id> with your actual AWS Account ID (refer to the first step):
docker tag selenium-docker-python:latest <Your-AWS-Account-Id>.dkr.ecr.us-east-1.amazonaws.com/selenium-docker-python:latest
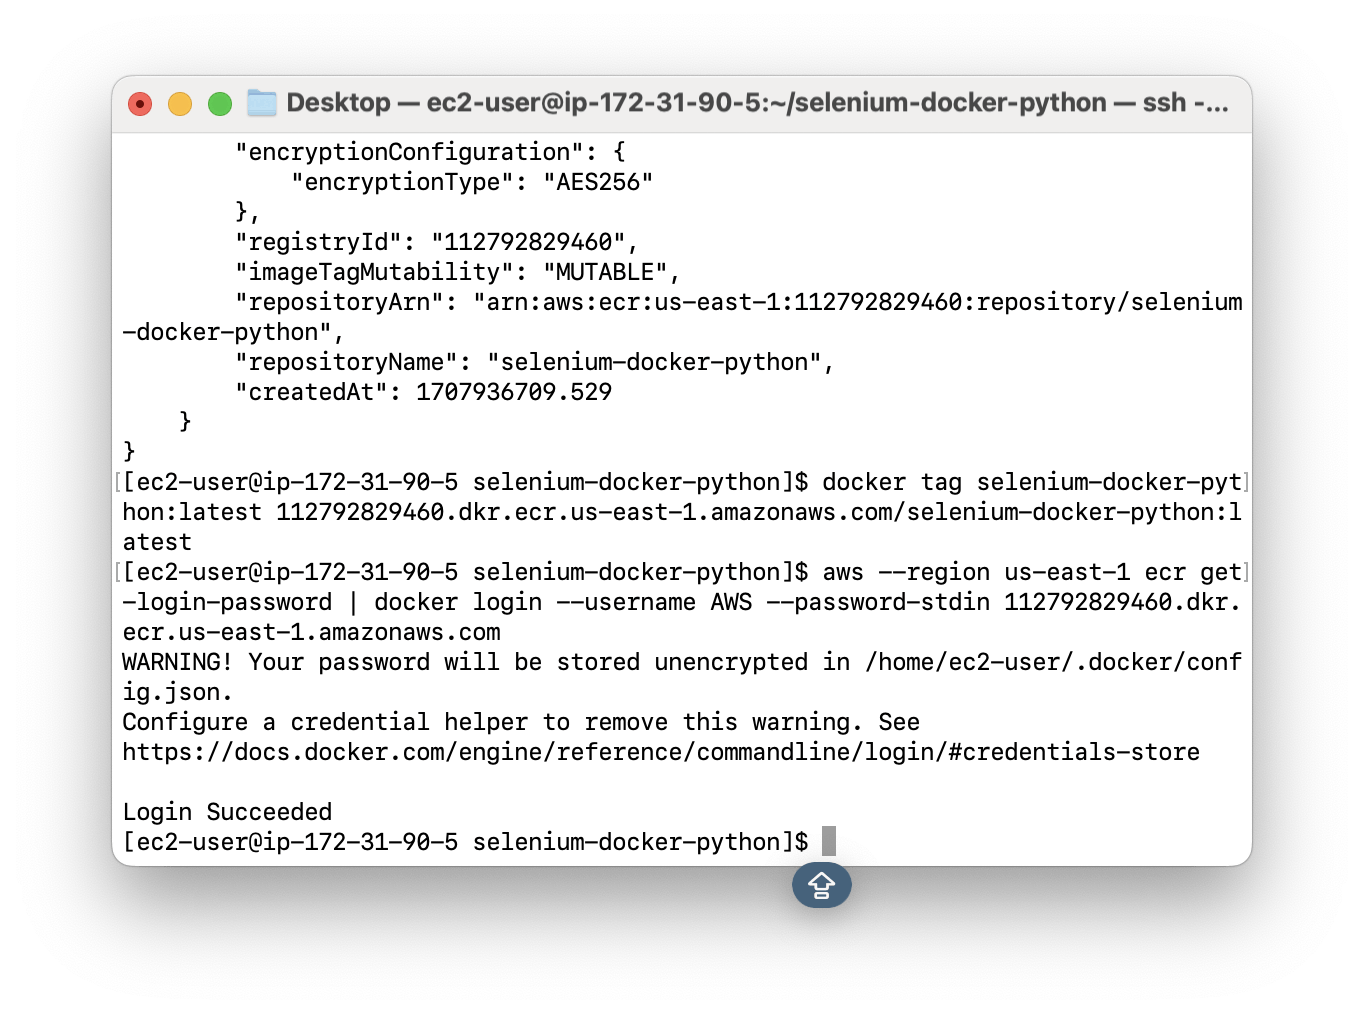
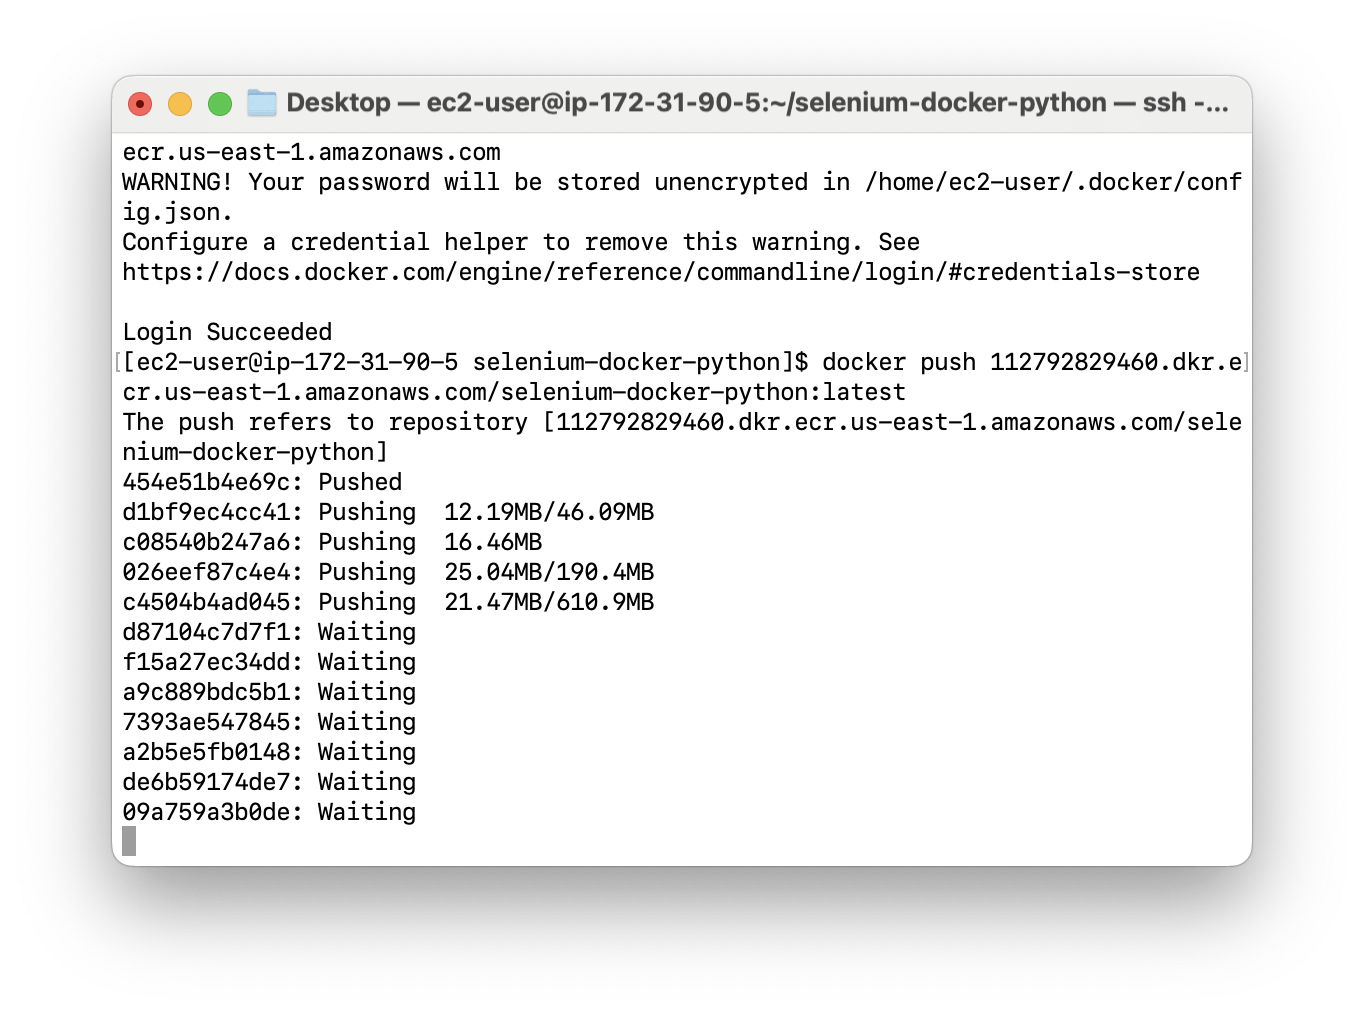
Log in to your AWS account with Docker. Again, replace <Your-AWS-Account-Id> with your actual AWS Account ID:
aws --region us-east-1 ecr get-login-password | docker login --username AWS --password-stdin <Your-AWS-Account-Id>.dkr.ecr.us-east-1.amazonaws.com
Upload the Docker image to the ECR repository you created. Ensure to replace <Your-AWS-Account-Id> with your actual AWS Account ID:
docker push <Your-AWS-Account-Id>.dkr.ecr.us-east-1.amazonaws.com/selenium-docker-python:latest
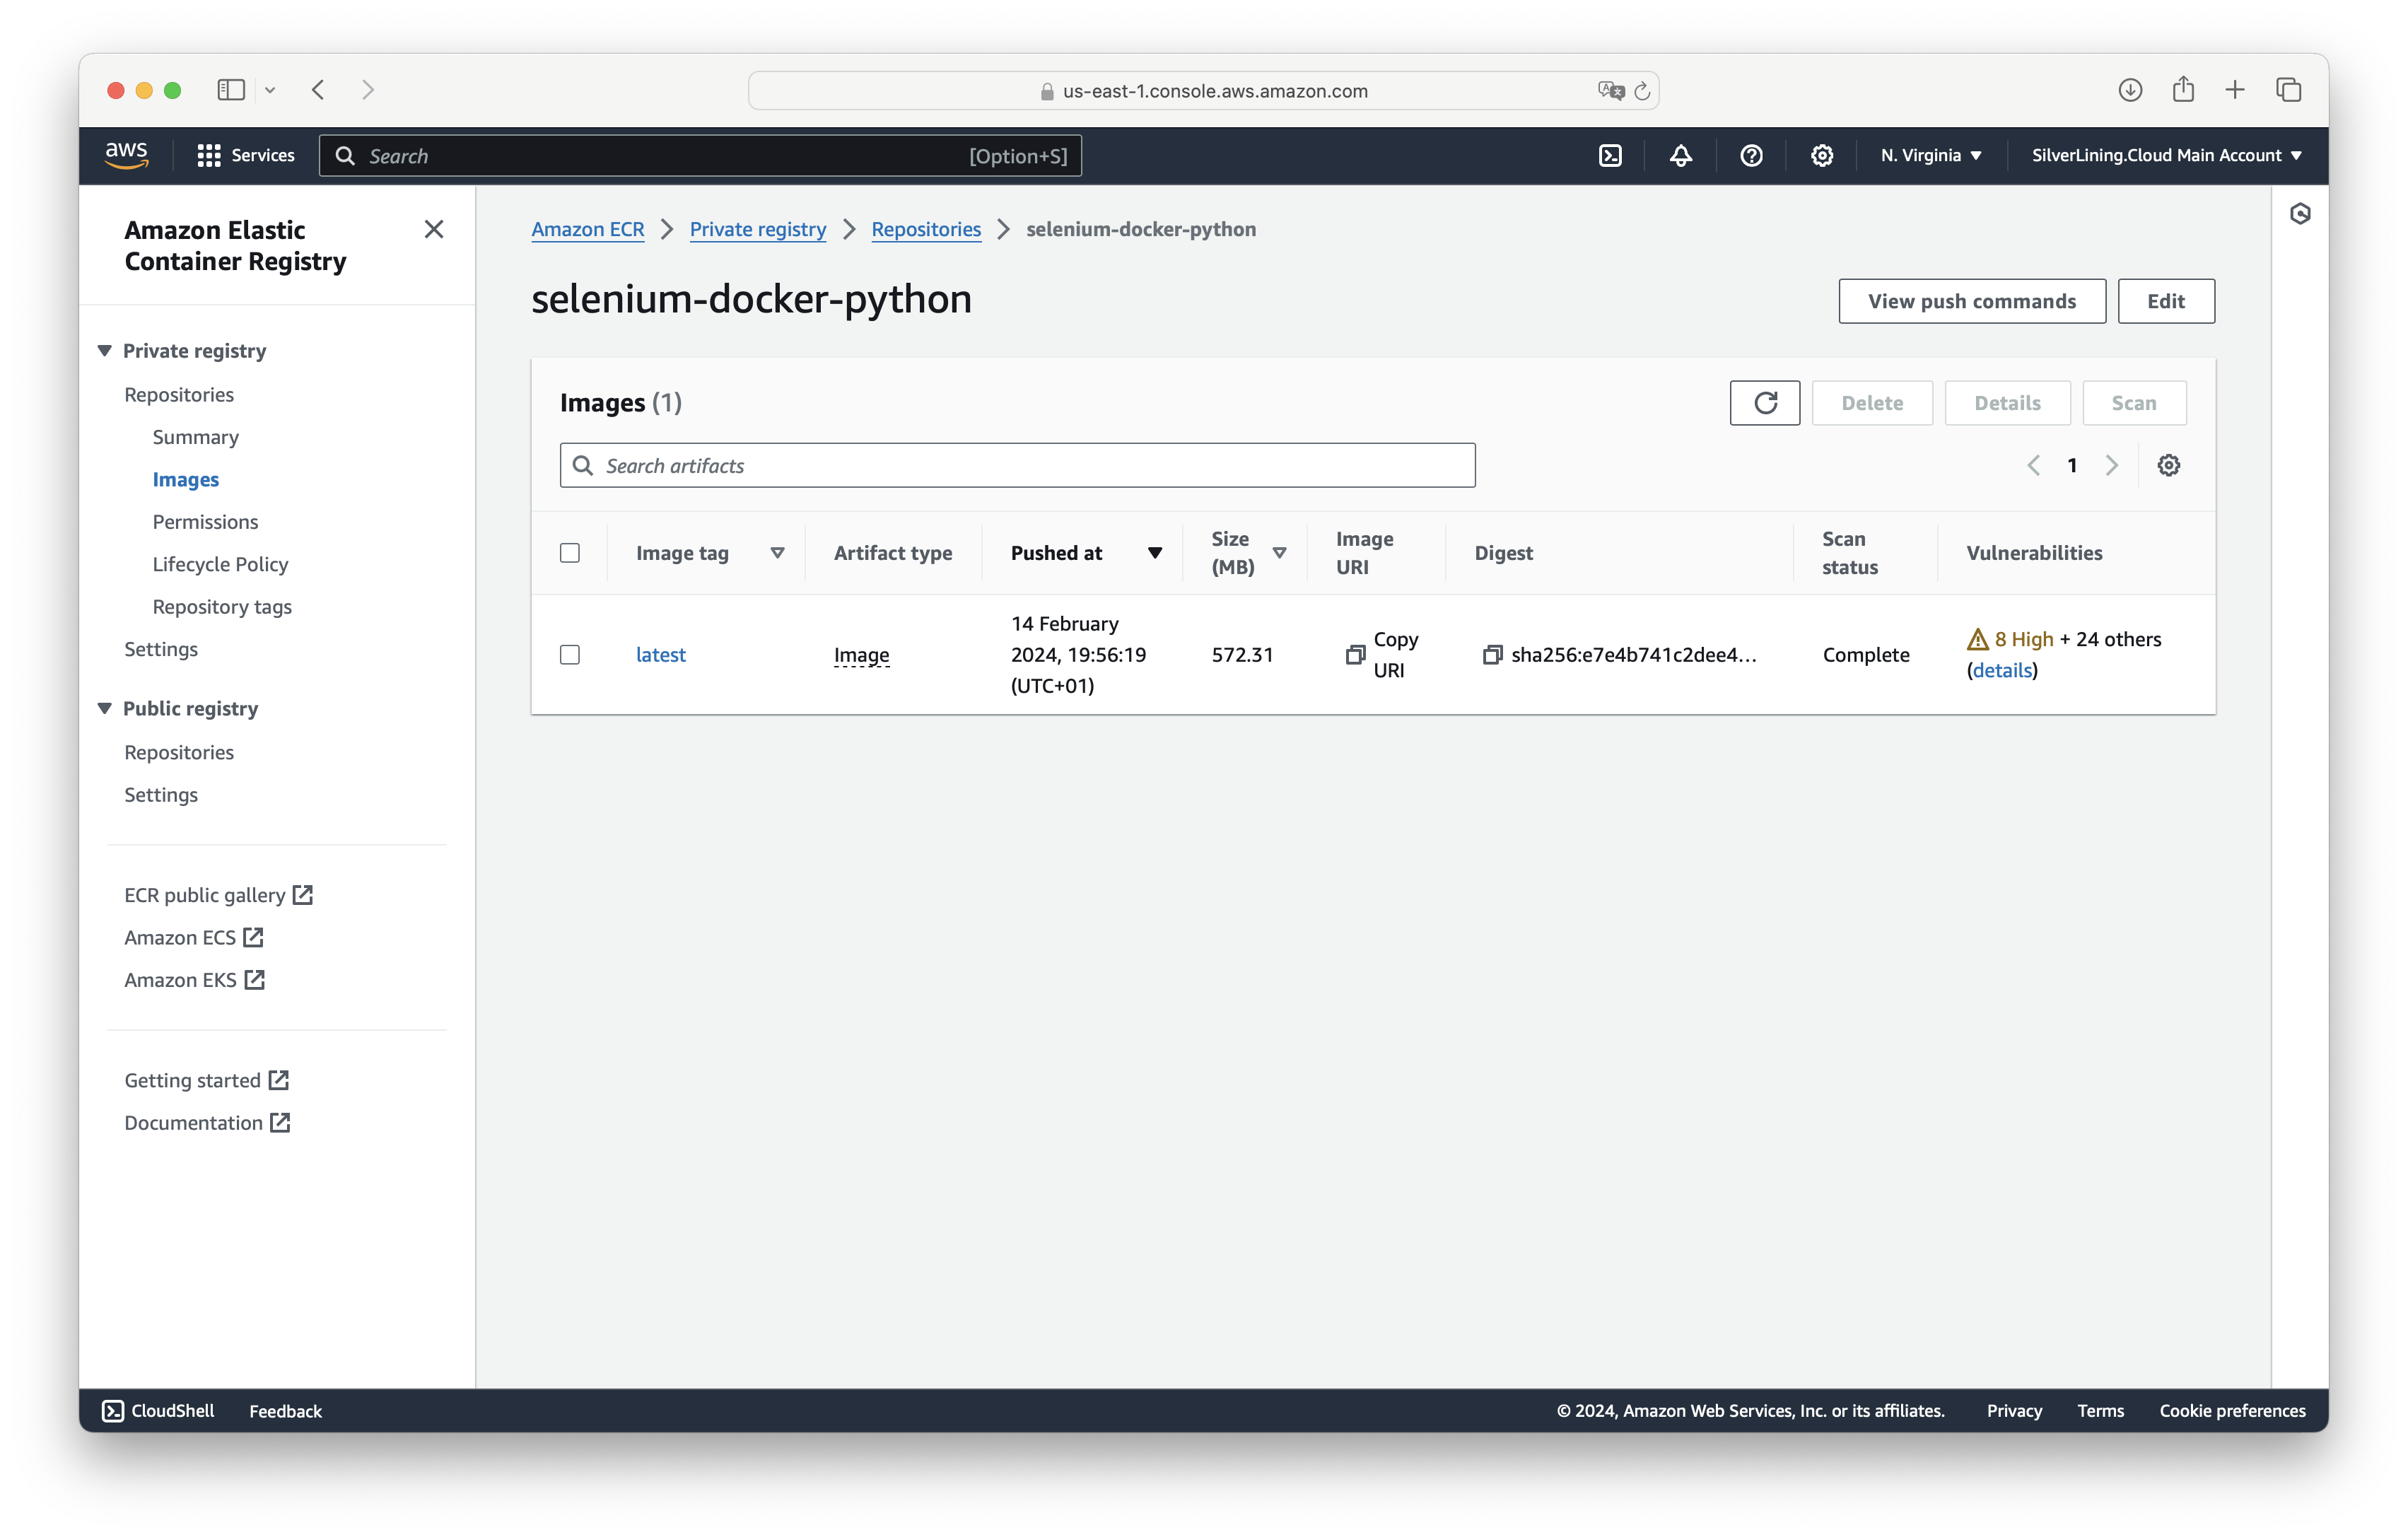
You can now find the repository holding the Docker image at: https://us-east-1.console.aws.amazon.com/ecr/repositories
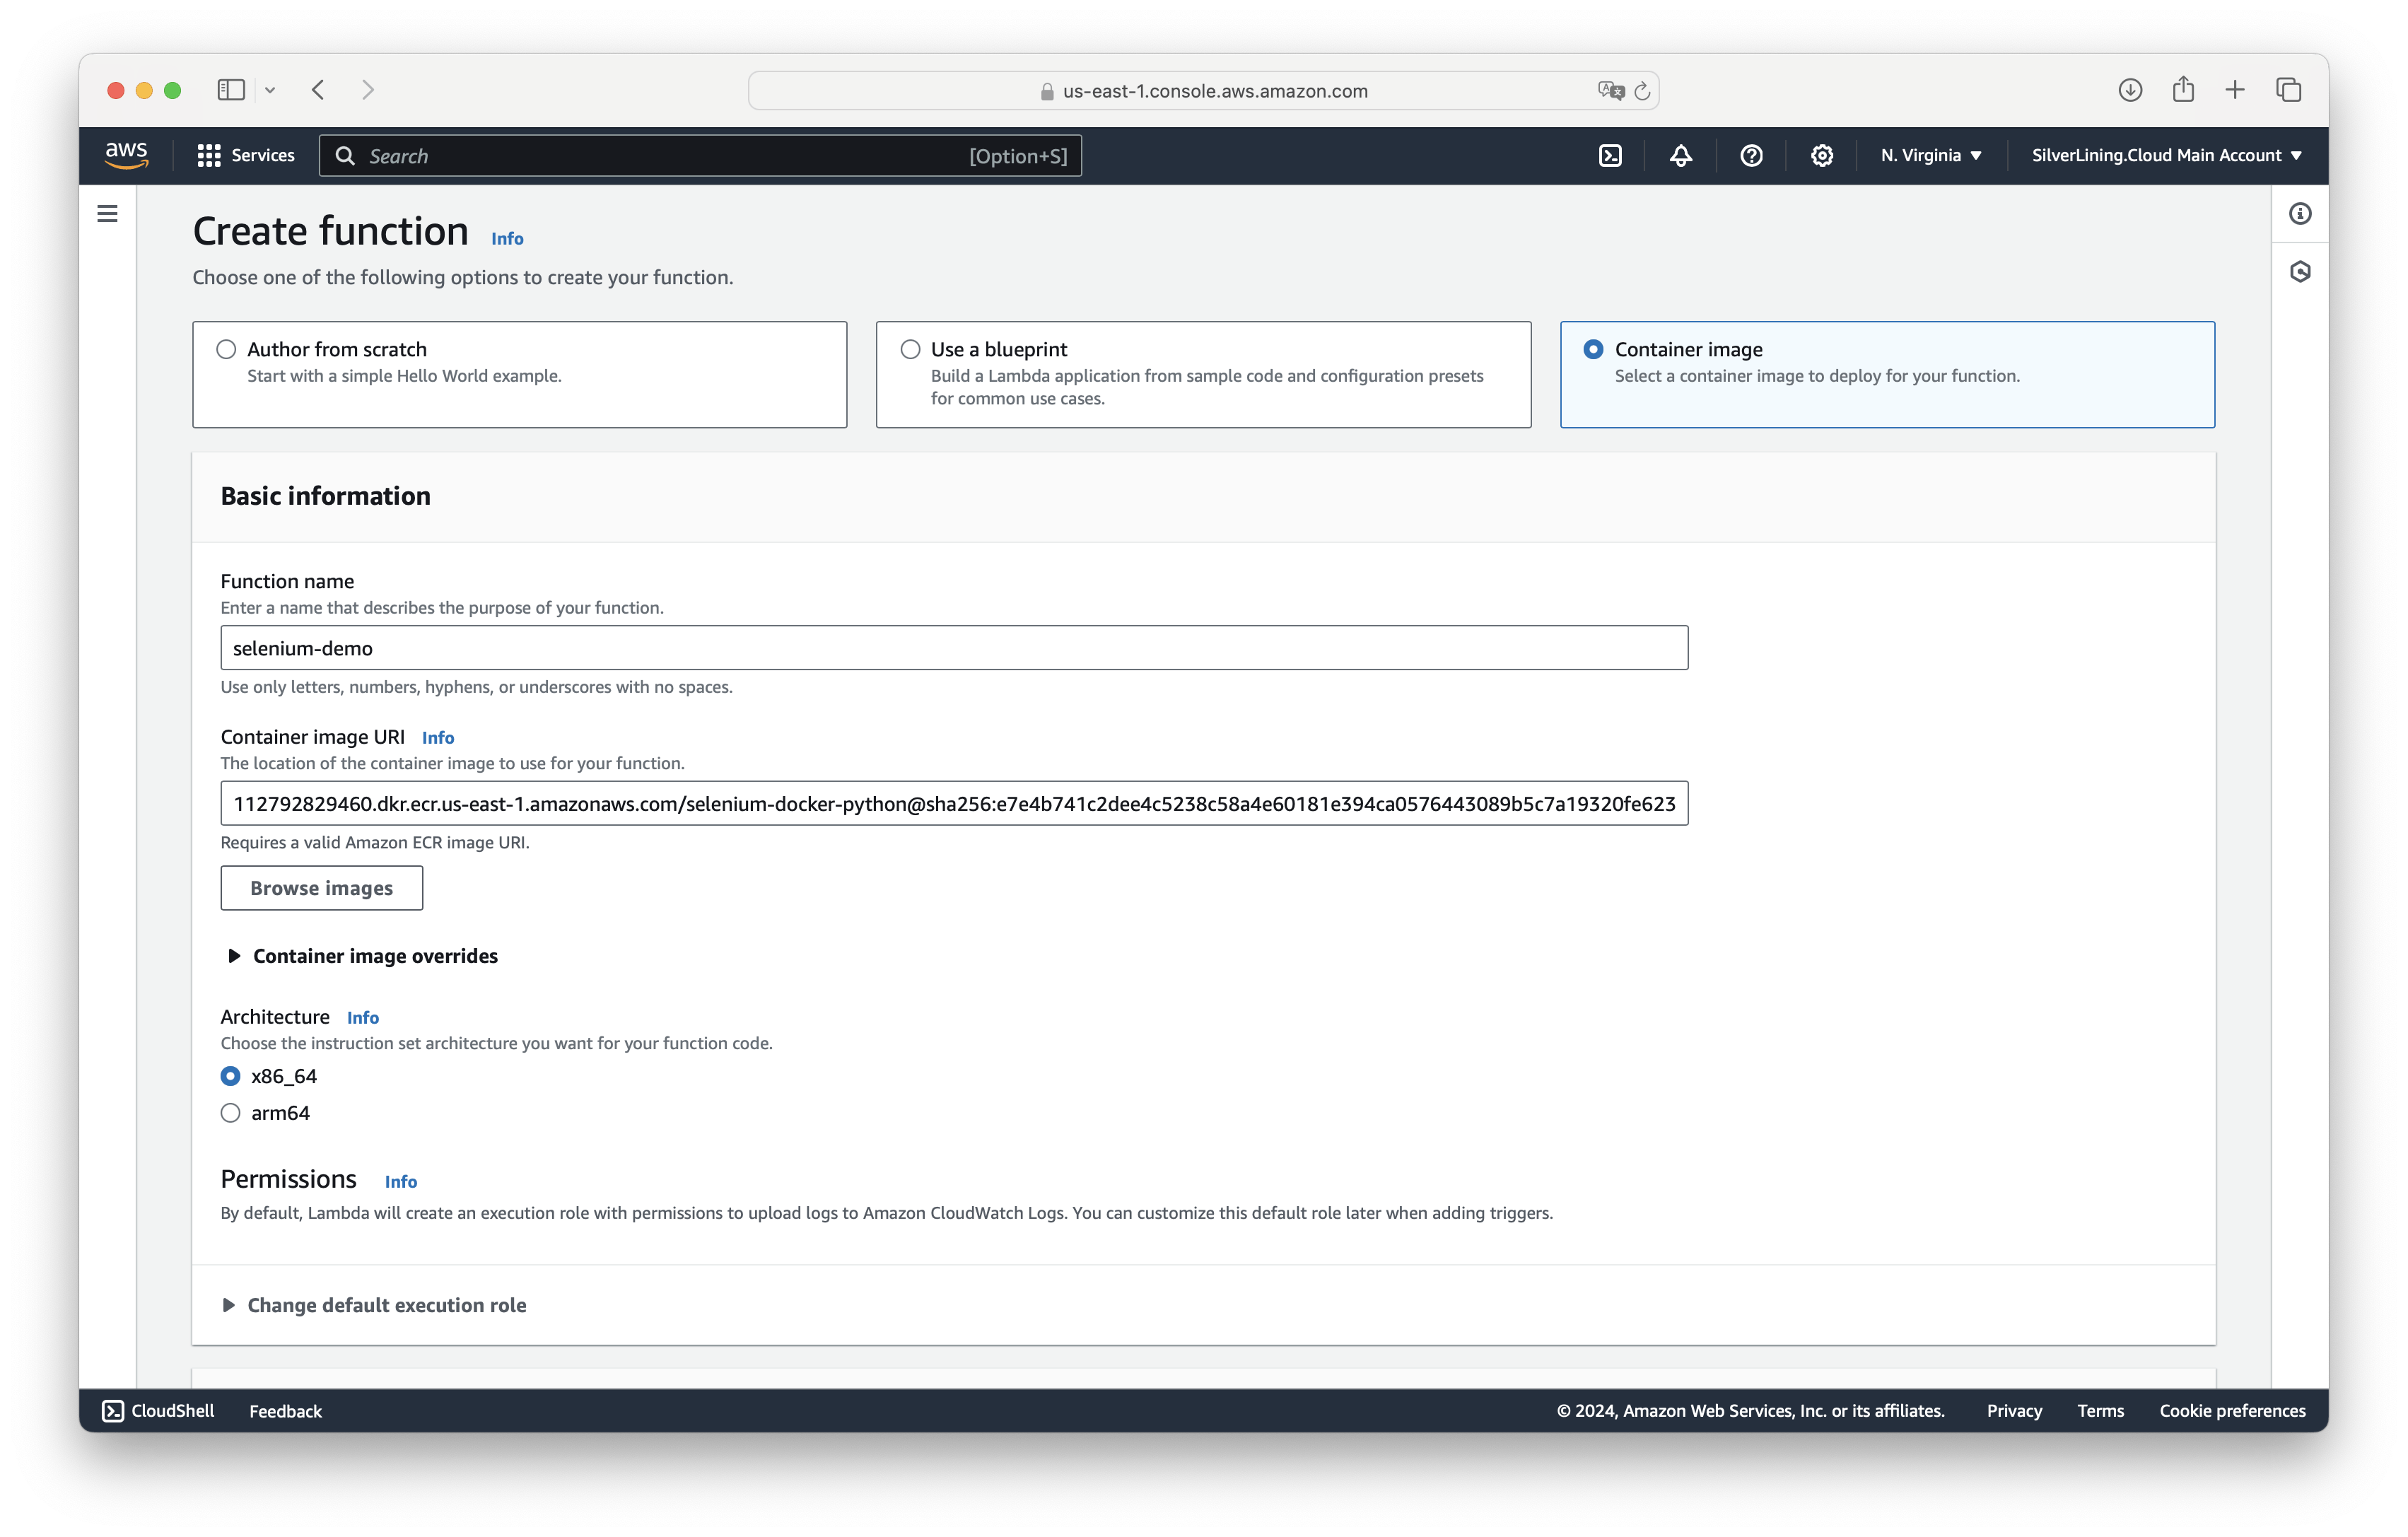
To deploy to AWS Lambda, visit https://us-east-1.console.aws.amazon.com/lambda/home and click on 'Create function'.
Select 'Container image' as the source, give your function a name, and proceed.
Click on 'Browse images', select the uploaded image, and then click on 'Create function'.
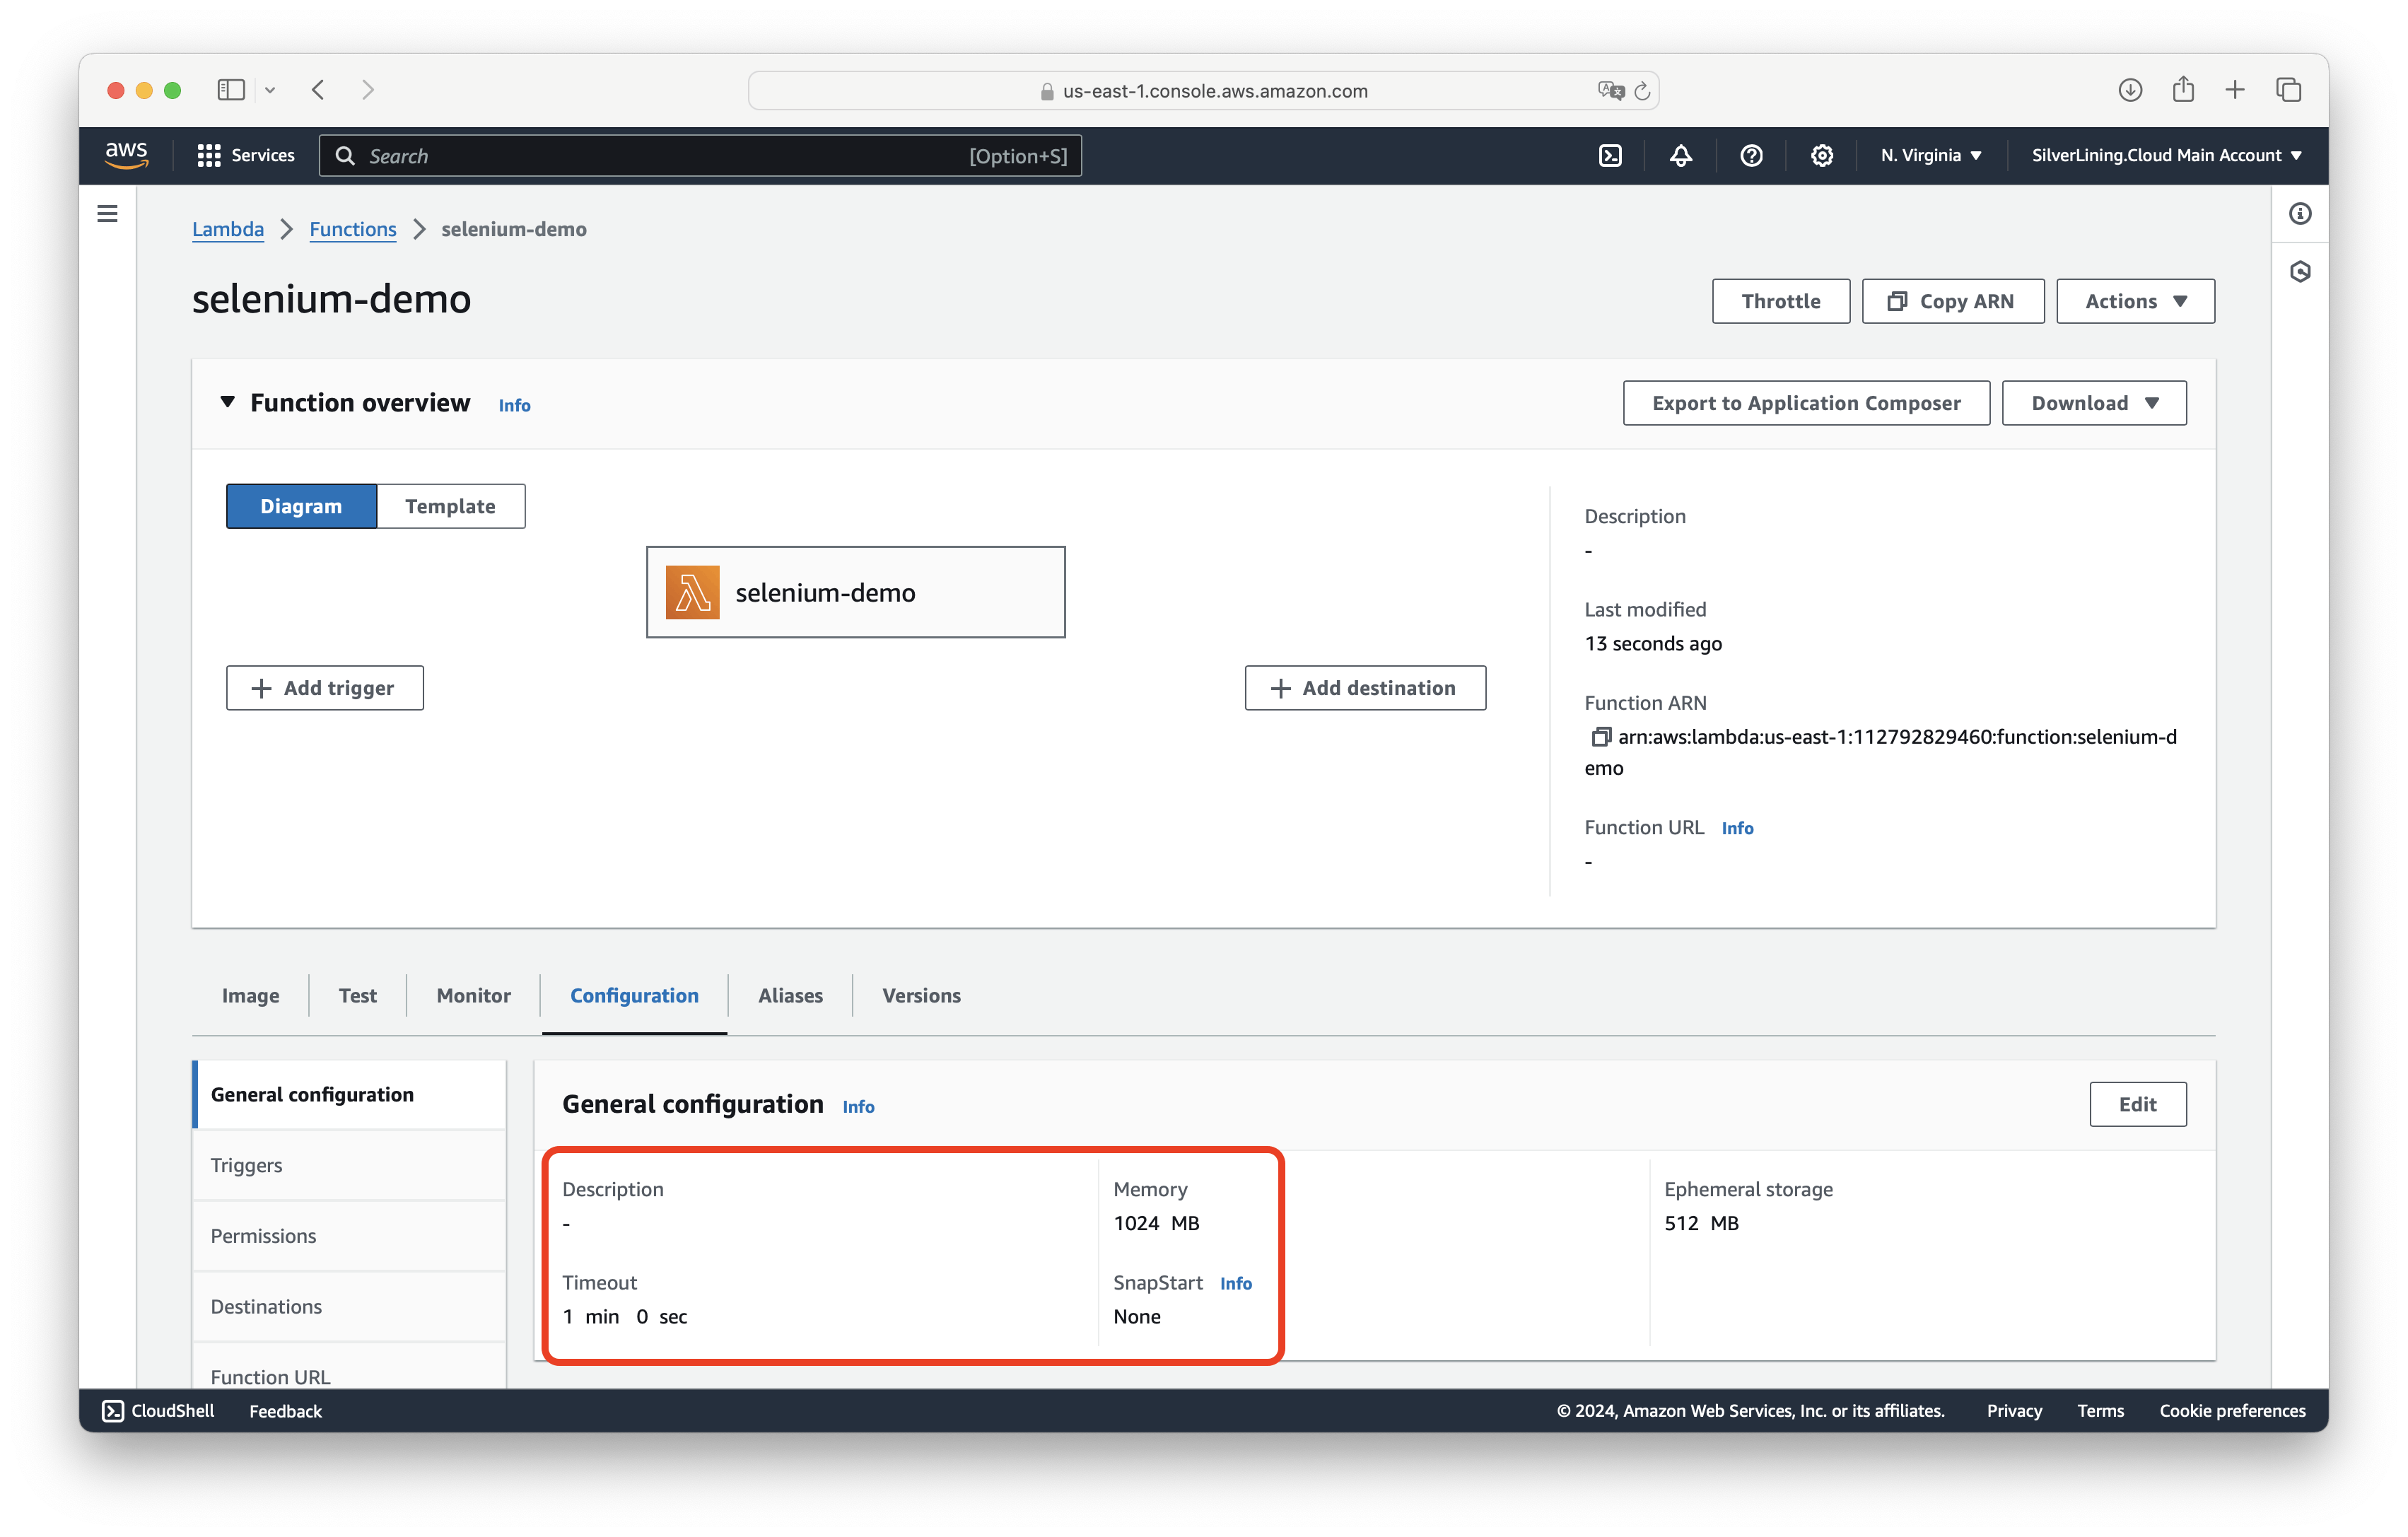
Once the function is created, navigate to 'Configuration', and adjust the memory to at least 1024 MB and the timeout to a minimum of 20 seconds.
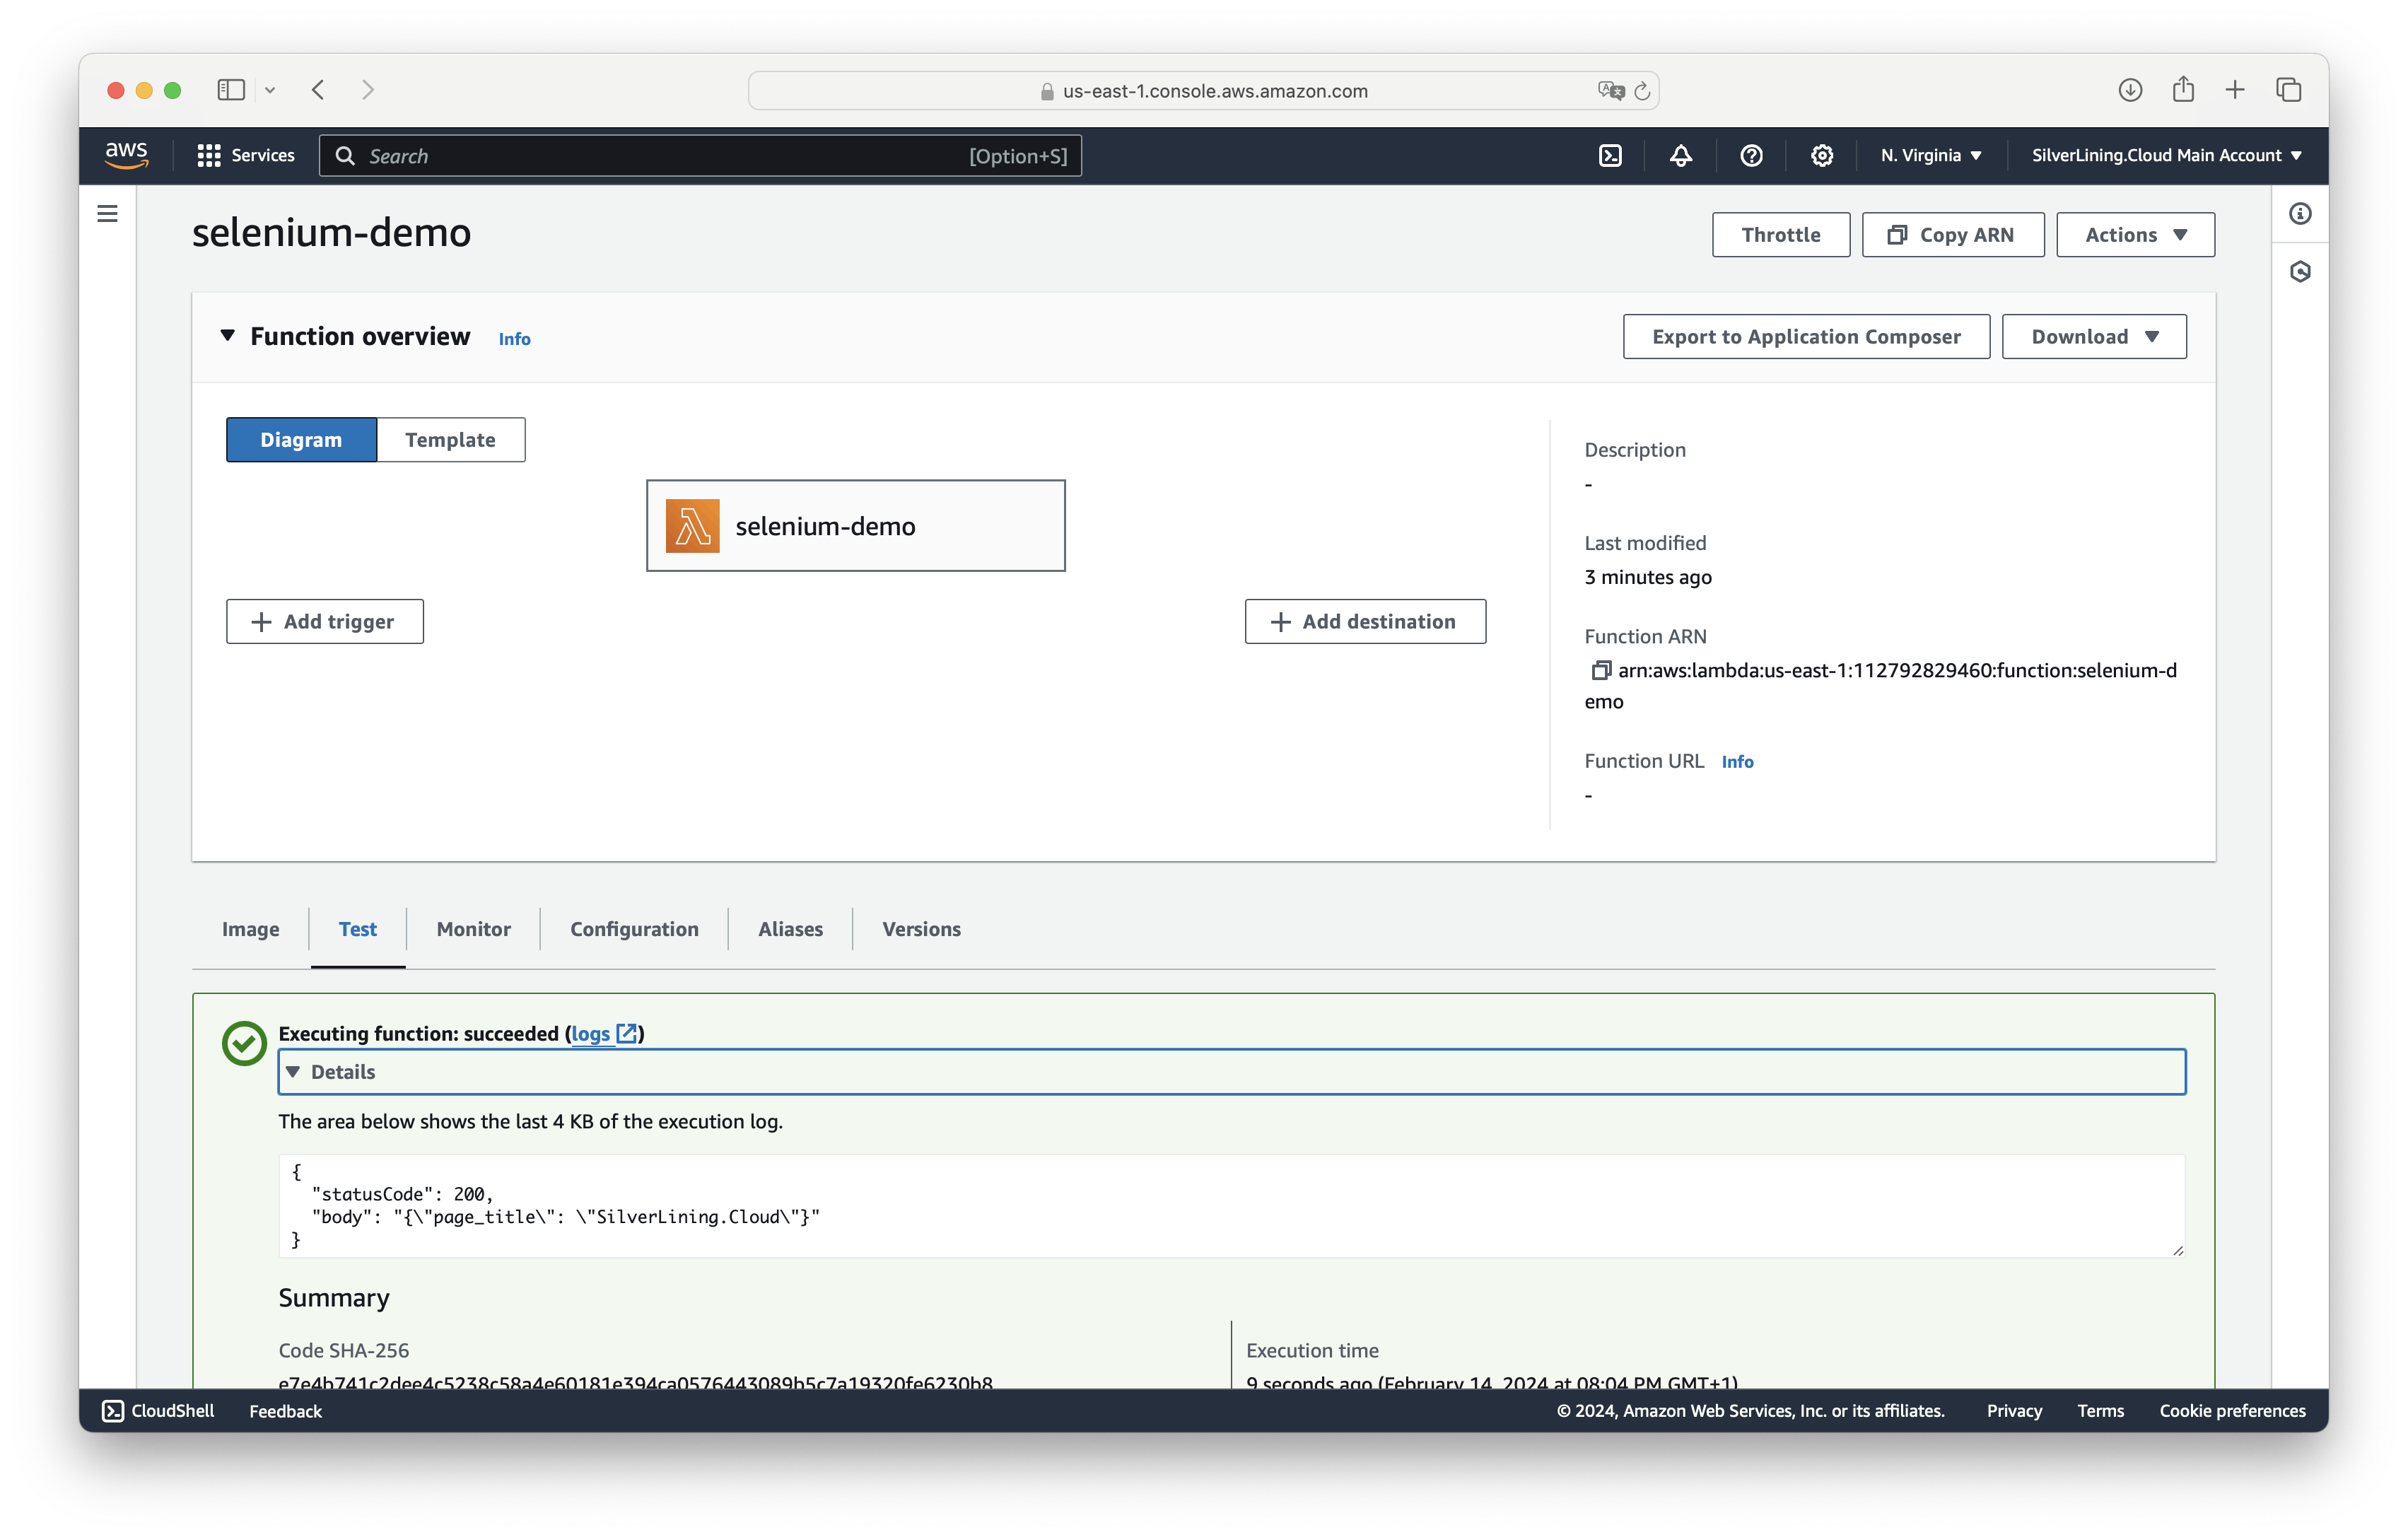
The setup is now complete. You can test the function by selecting the 'Test' tab.
Troubleshooting
How can I cancel my subscription?
To cancel your subscription, follow these steps:
- Go to the AWS Marketplace Console at https://aws.amazon.com/marketplace/library. Ensure that you are logged into the account that is subscribed to the product you want to cancel.
- Find the product you want to cancel and click on 'Manage.'
- Click on 'Actions' and then select 'Cancel subscription.'
For more detailed instructions, visit the AWS Marketplace Buyer Guide at https://docs.aws.amazon.com/marketplace/latest/buyerguide/cancel-subscription.html.